
Power Query: A Tangled Web Part 4
19 March 2025
Welcome to our Power Query blog. This week, I look at the M code created when I extract web data using ‘Add Table Using Examples’.
When extracting data from the web, Power Query utilises M code to access the data in a form that can be used in reports. Over the next few blogs, I continue to examine the M code produced. The data I am going to use to investigate web data is our very own website:
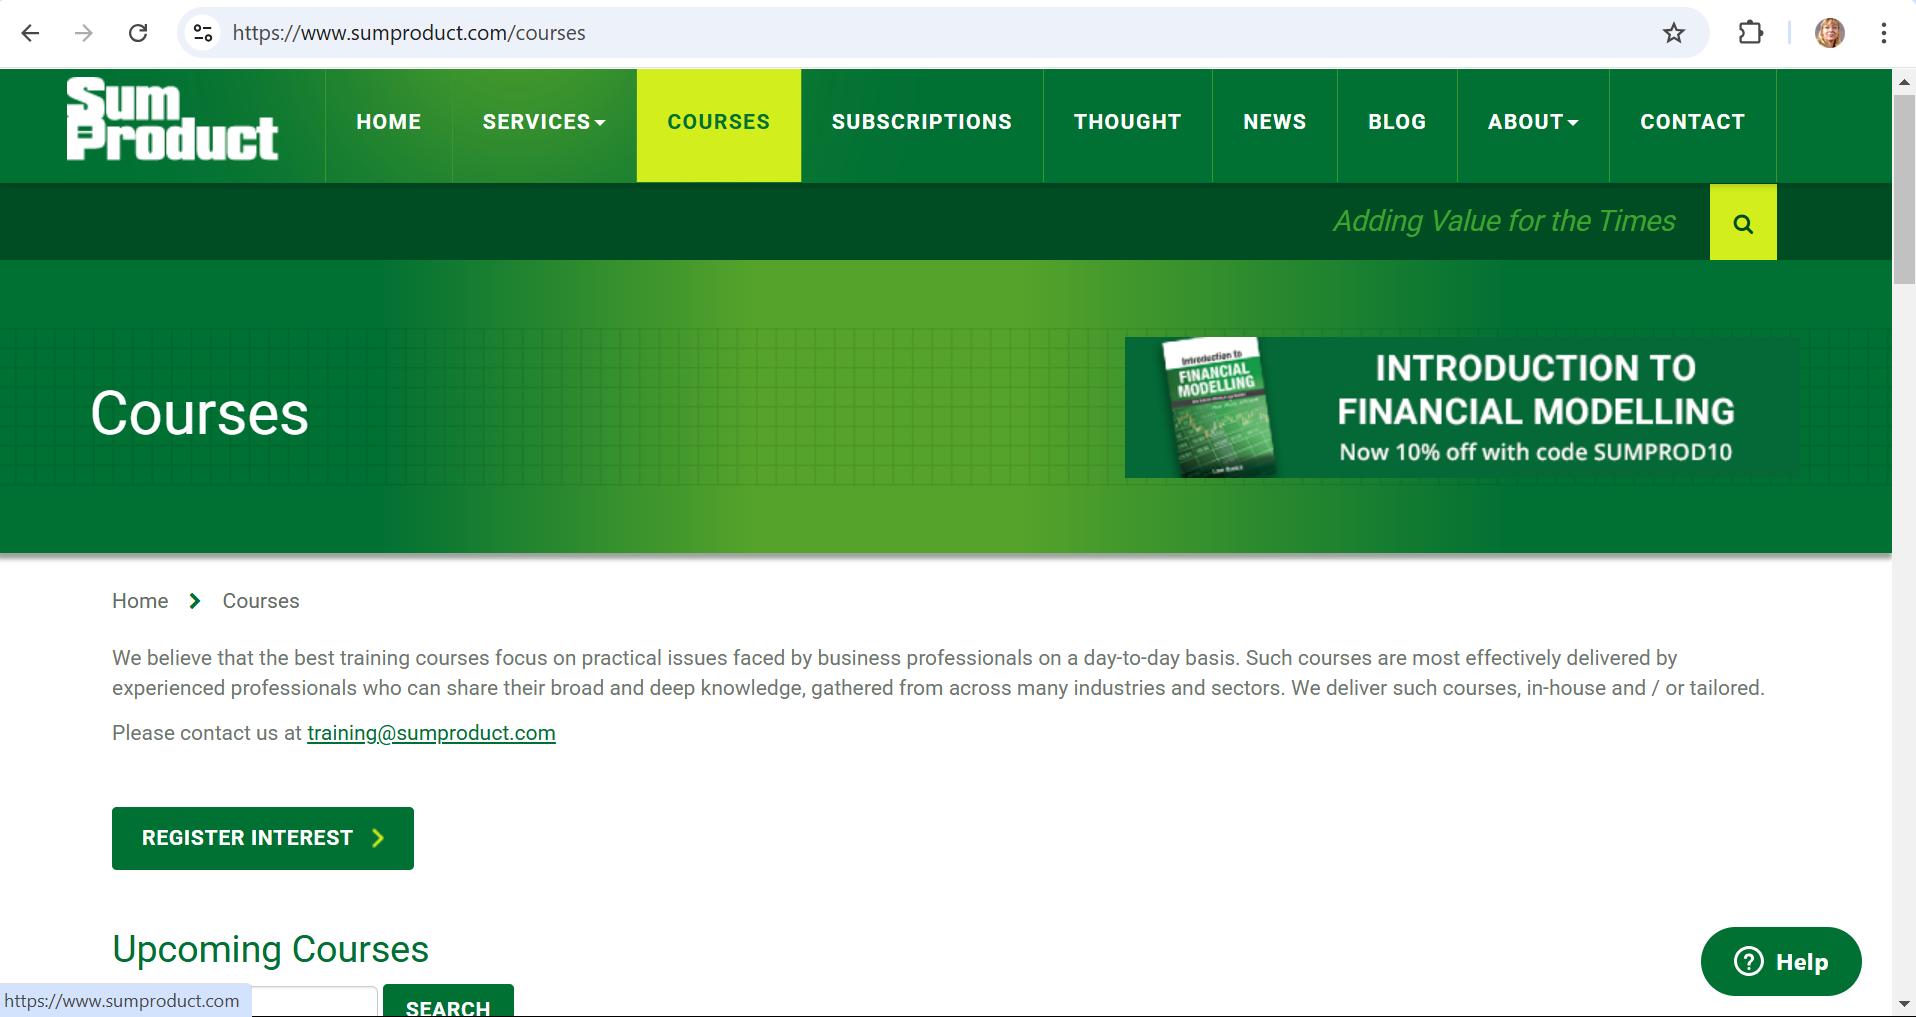
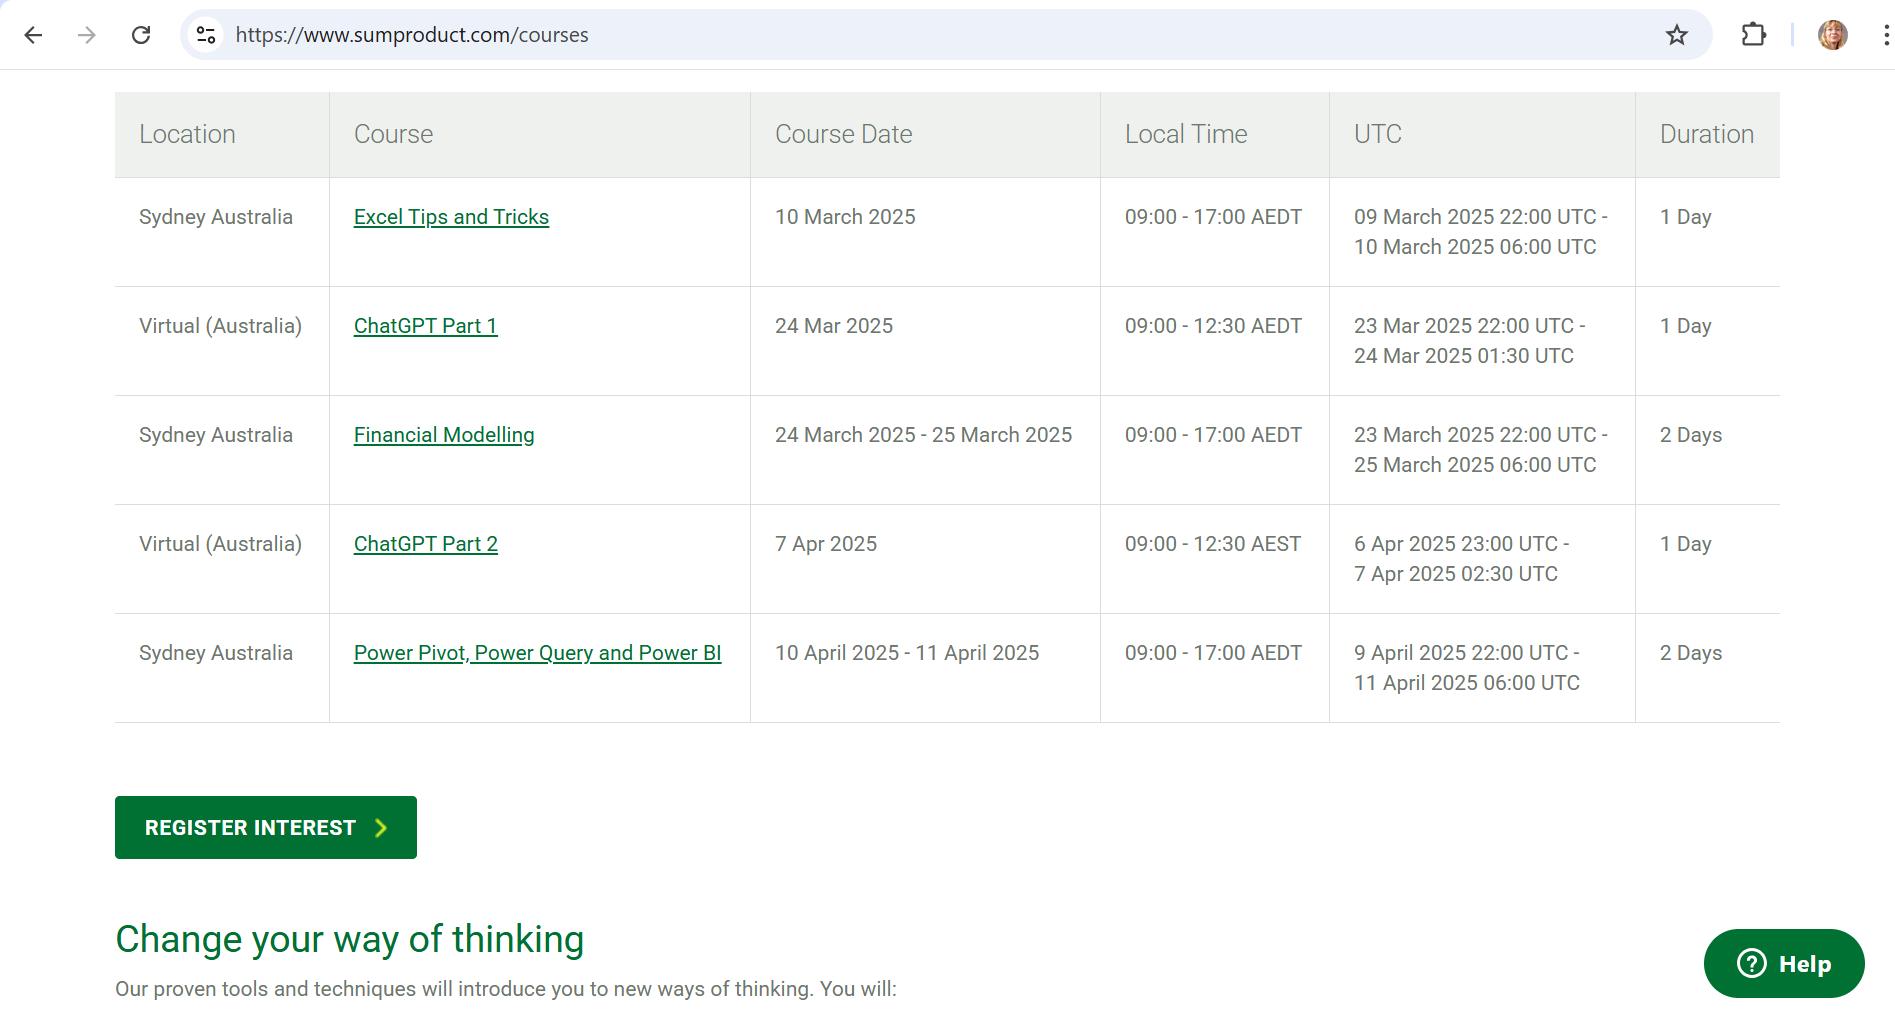
This page contains a table of upcoming courses, along with various buttons and text:
In Part 1, I used the web connector to examine the data in the Navigator dialog.
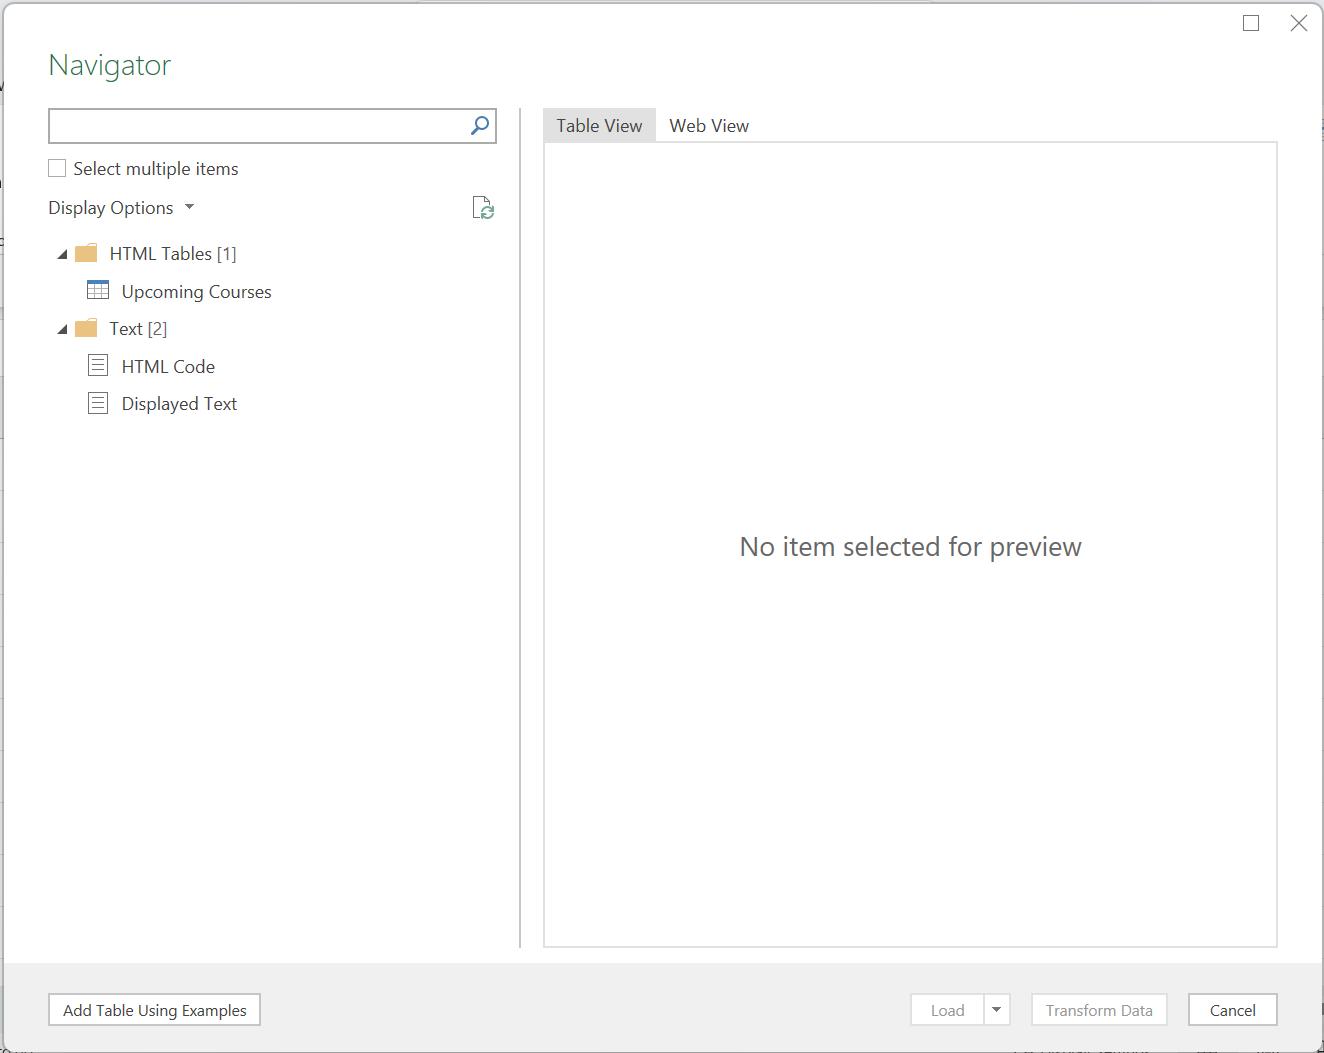
I also created more tables using the ‘Add Table Using Examples’ functionality.
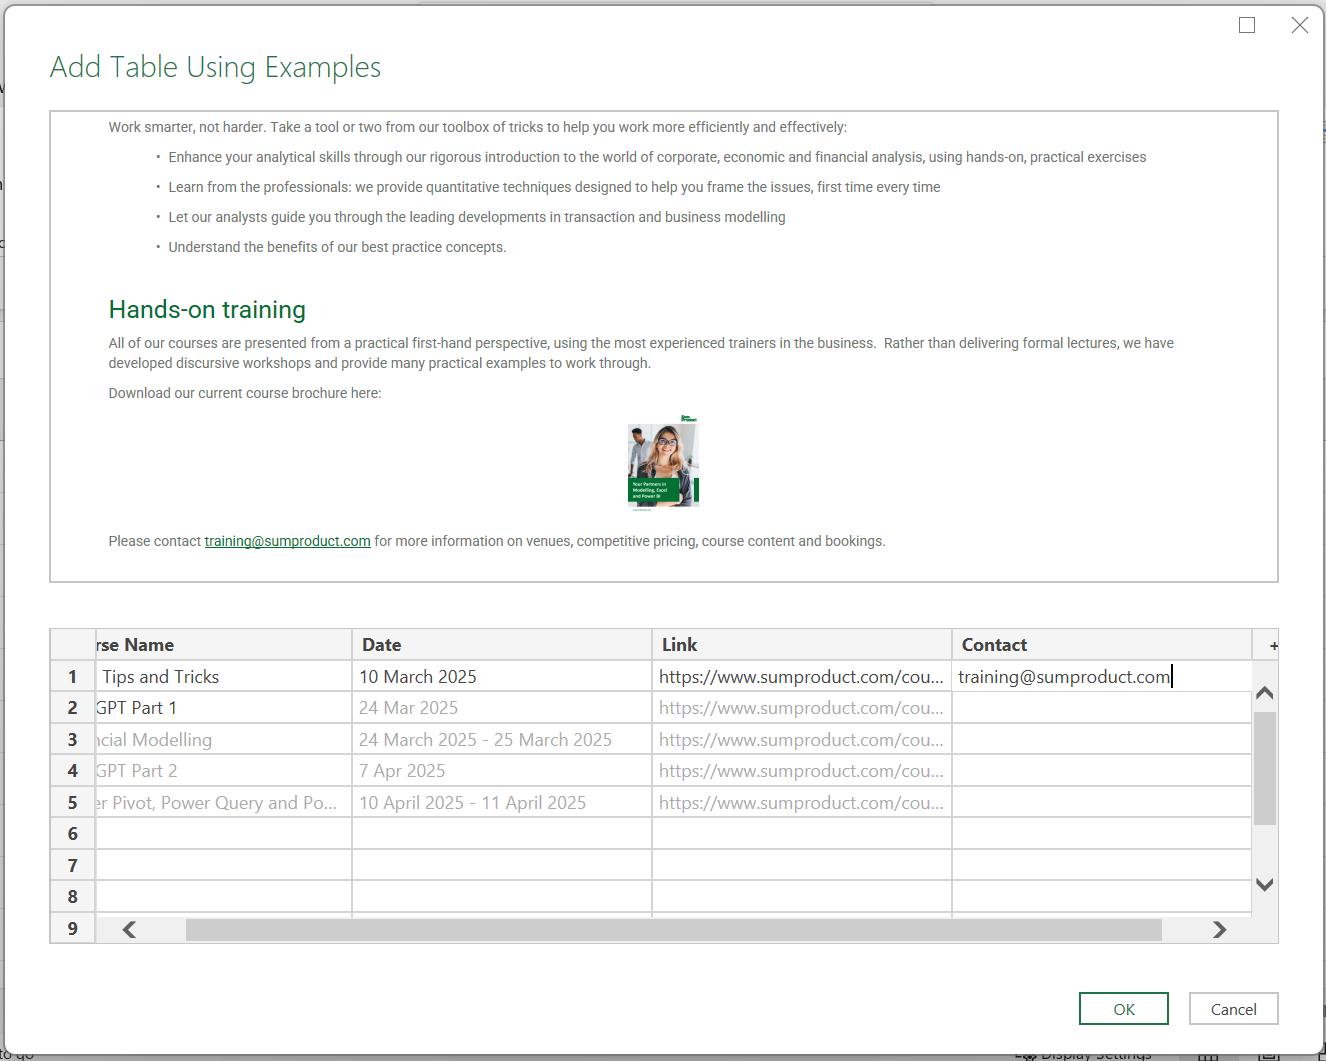
I found that I cannot combine data from inside a table and data outside of that table in the same custom table. I therefore added two [2] custom tables:
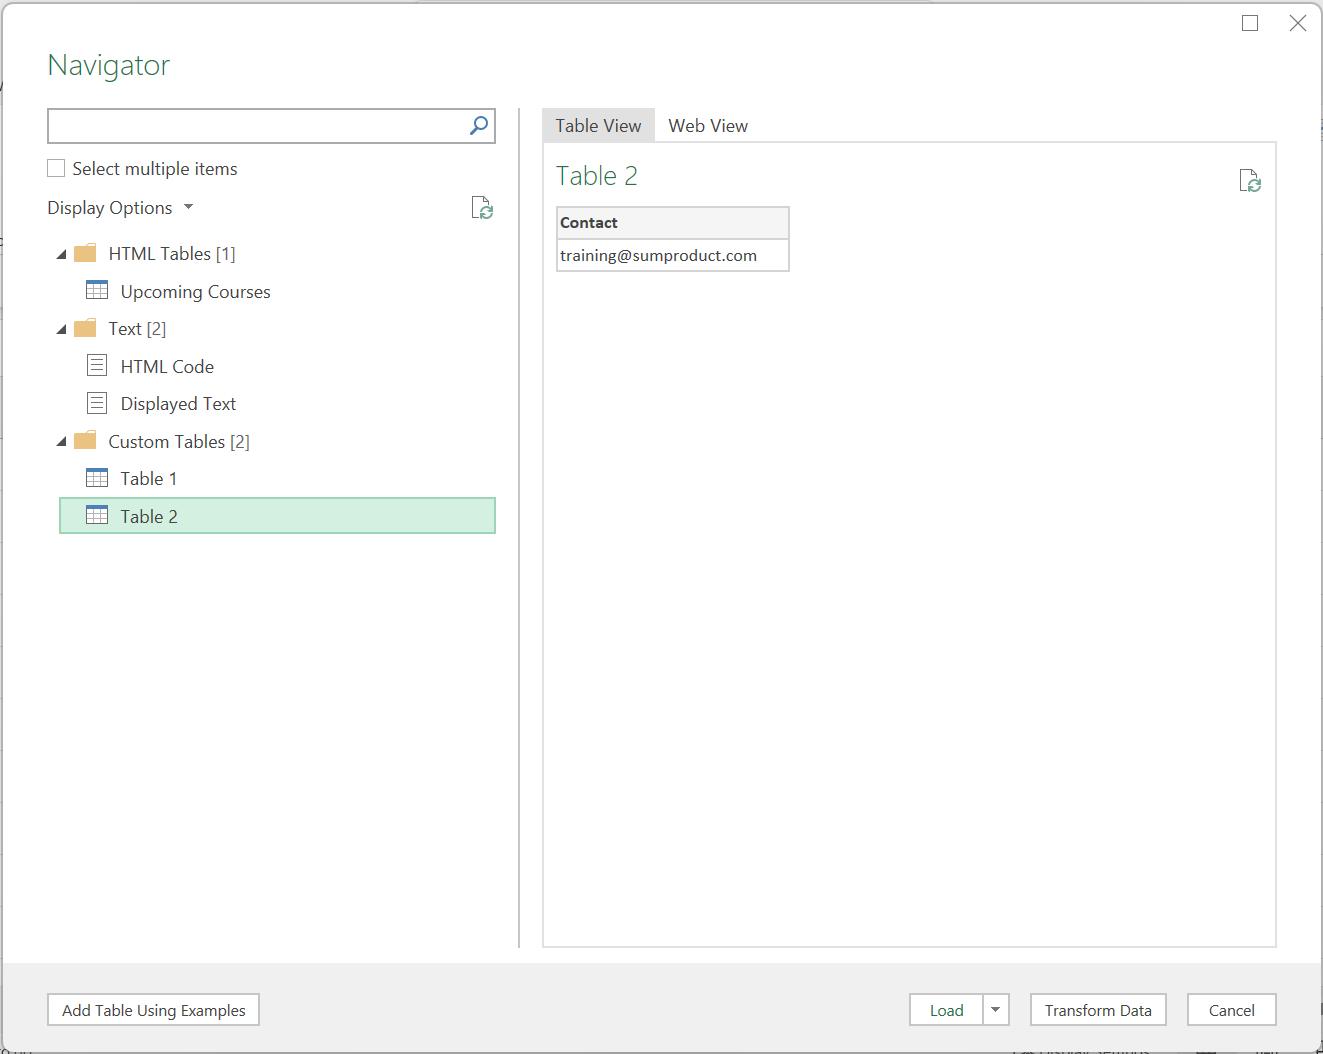
The training contact data has been captured in Table 2 but not in Table 1. In Part 2, I loaded all the queries into the Power Query editor:
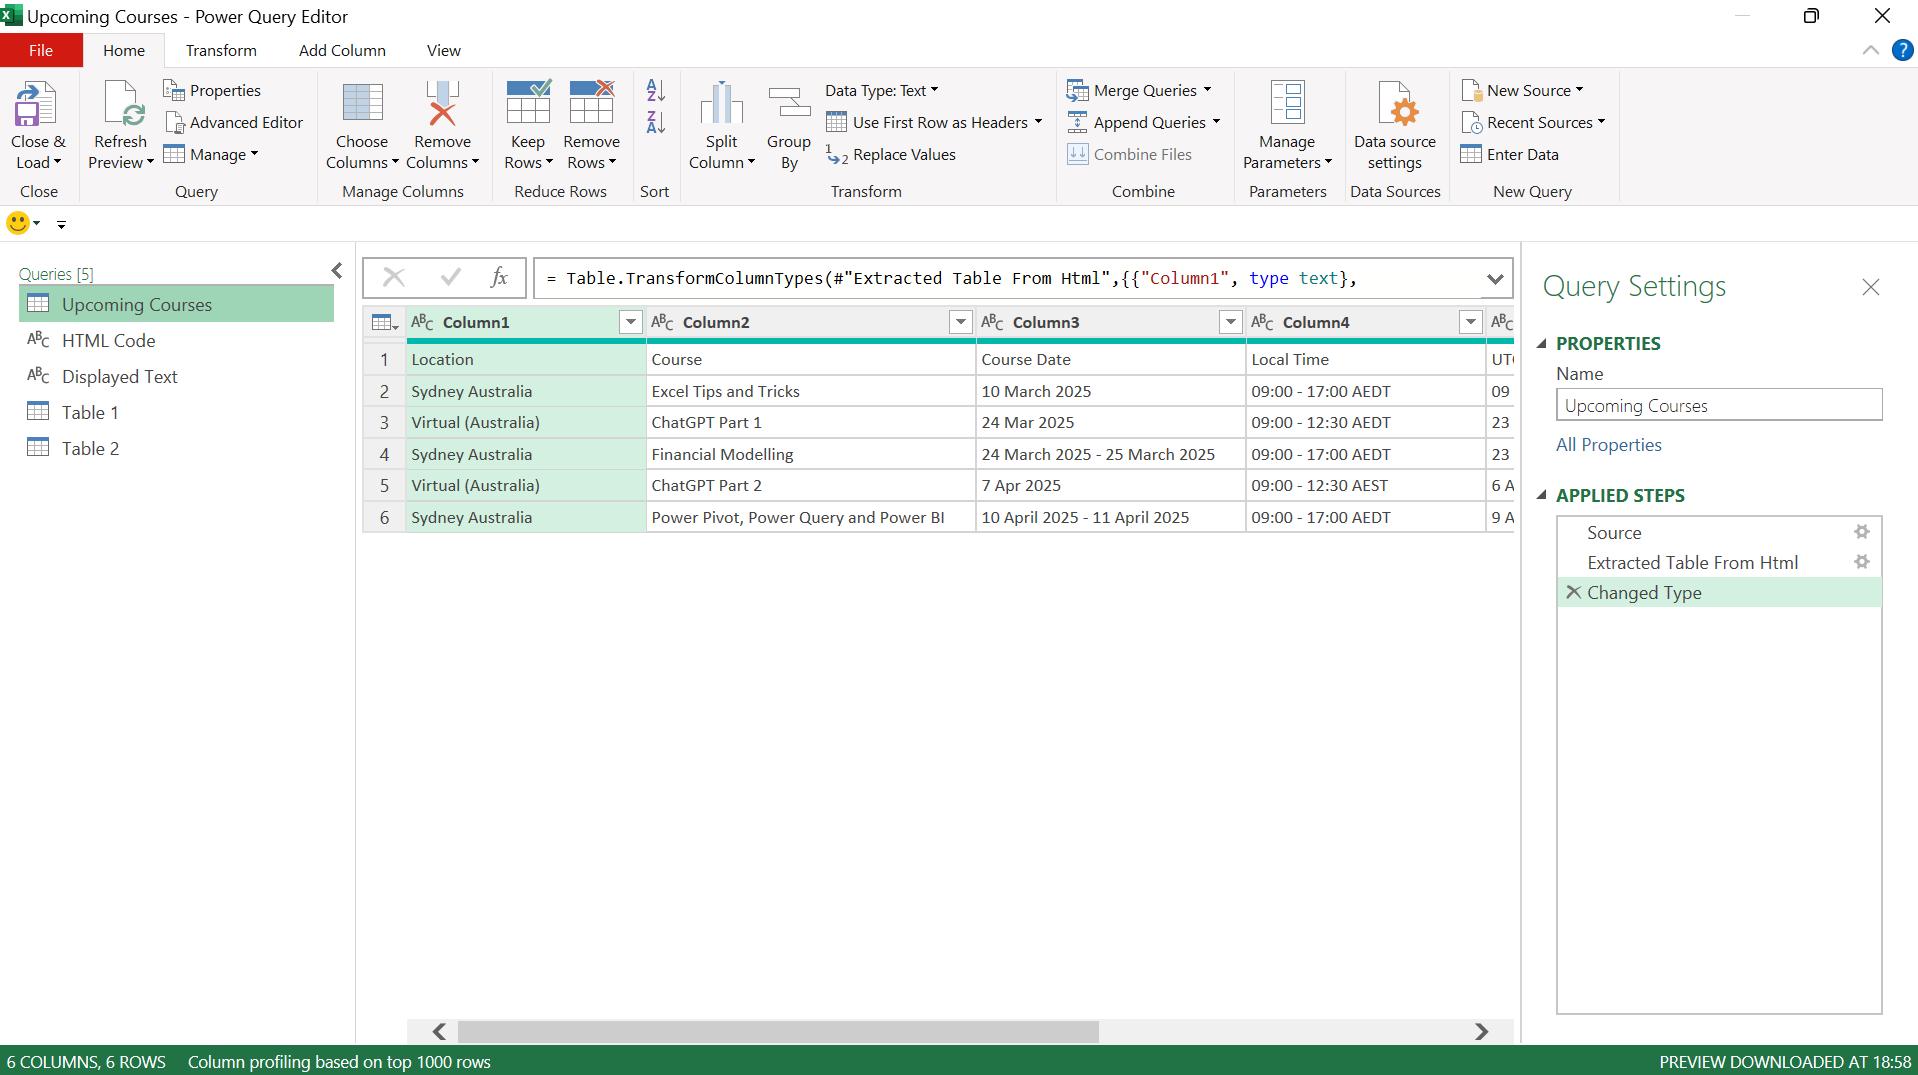
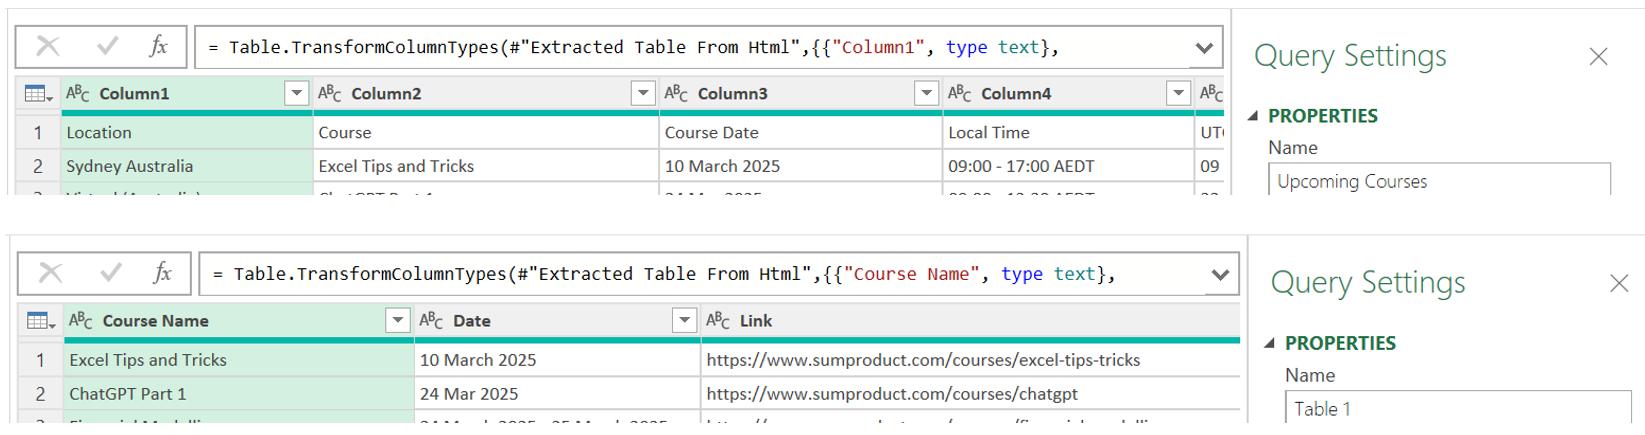
Last time, I looked at the M code created in Upcoming Courses, which was the table that was extracted automatically into the Navigator dialog from the webpage.
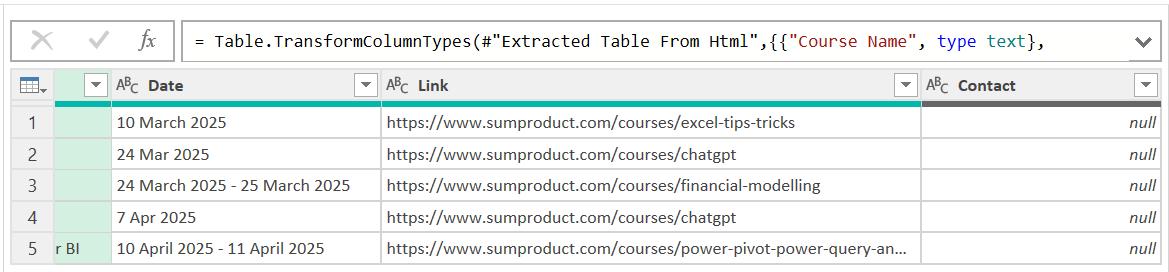
This week, I will look at the M code created for the tables I created using ‘Add Table Using Examples’ and look for any differences to the Upcoming Courses M code. I begin by looking at Table 1. I created this table by choosing elements of the HTML table on the webpage:
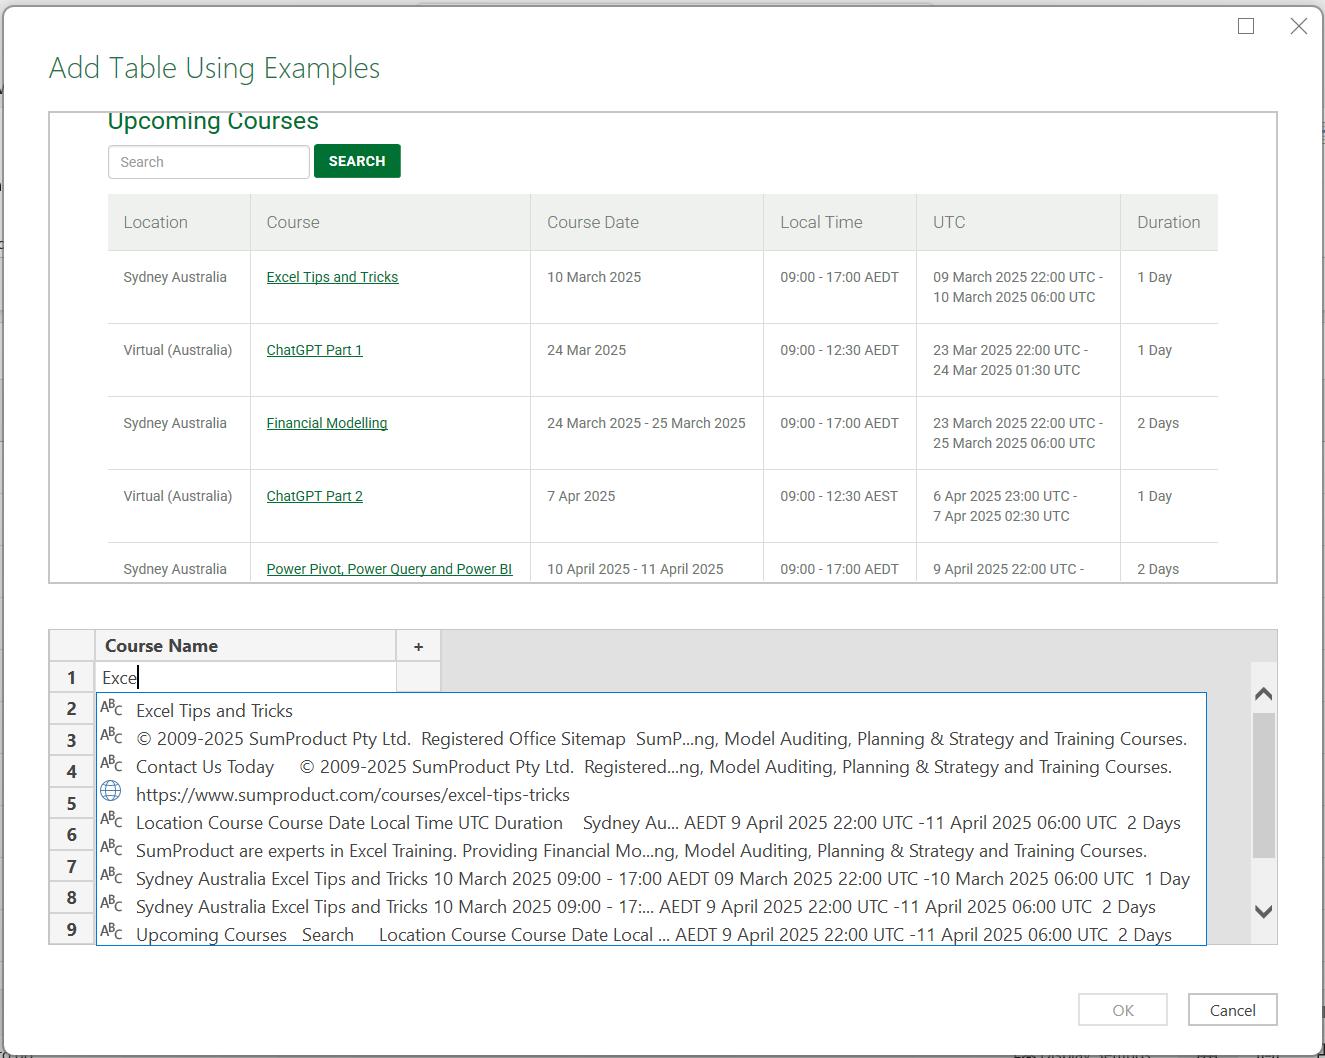
I also have a column called Contact, where I tried to select data outside the HTML table, but this is populated with null values:
The first step of Table1 is the same as the ‘Source’ step for all my web queries:
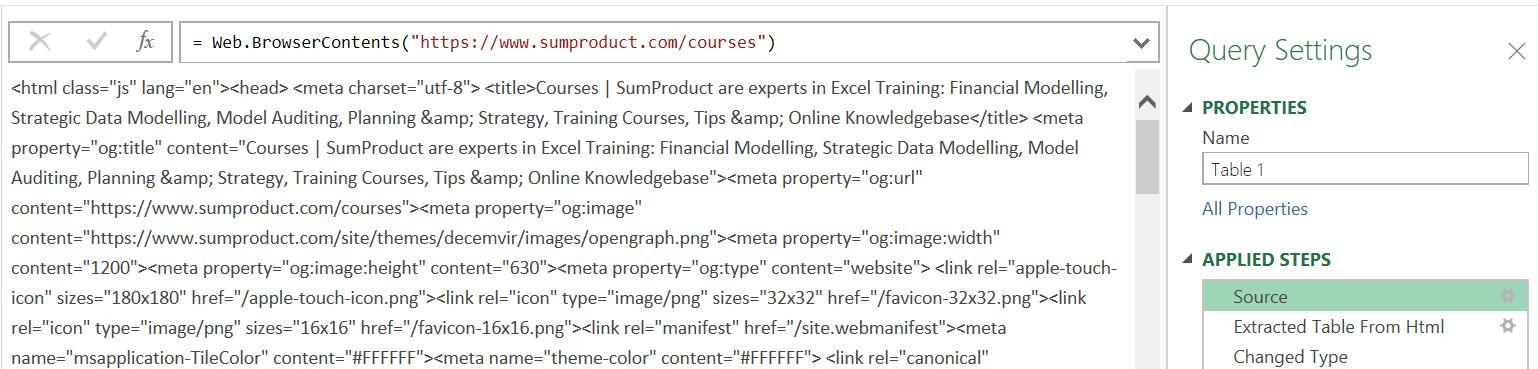
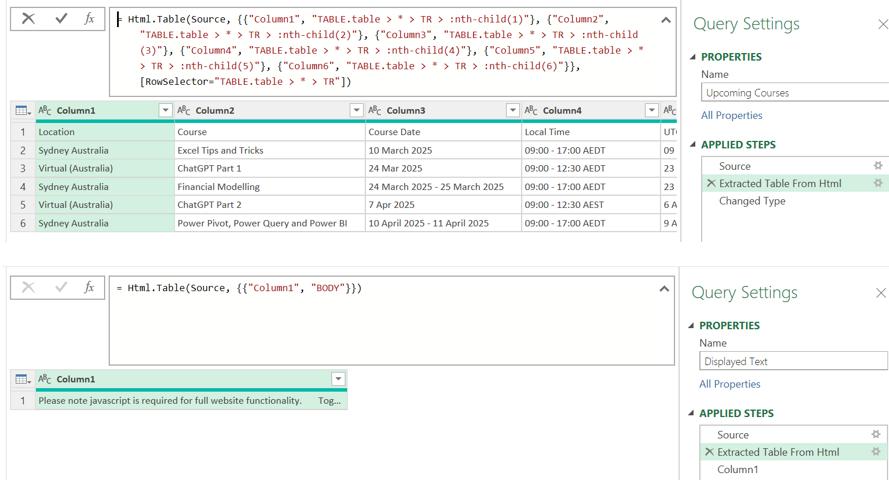
This shows me the contents of the web page. The second step has the same name as the second step for the queries Displayed Text and Upcoming Courses. Last time, I showed that the second step of Upcoming Courses uses the same M function as the second step of Displayed Text, i.e. Html.Table(), but with more data specified:
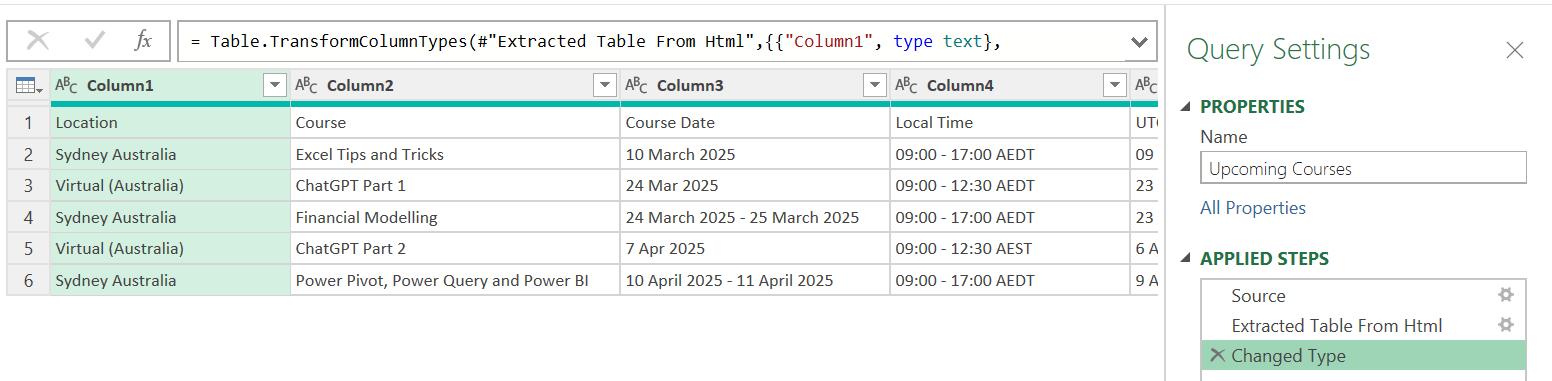
Let’s look at the M code in ‘Extracted Table From Html’ for Table1:
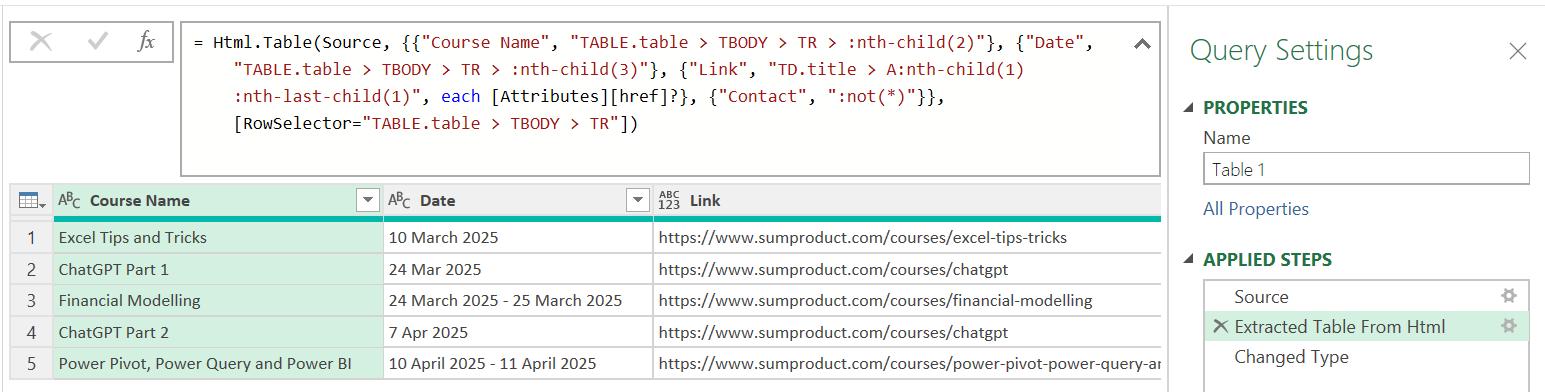
At first glance, this seems similar to the M code in Upcoming Courses. This is the step for Table 1:
= Html.Table(Source, {{"Course Name", "TABLE.table > TBODY > TR > :nth-child(2)"}, {"Date", "TABLE.table > TBODY > TR > :nth-child(3)"}, {"Link", "TD.title > A:nth-child(1):nth-last-child(1)", each [Attributes][href]?}, {"Contact", ":not(*)"}}, [RowSelector="TABLE.table > TBODY > TR"])
And this is the step for Upcoming Courses:
= Html.Table(Source, {{"Column1", "TABLE.table > * > TR > :nth-child(1)"}, {"Column2", "TABLE.table > * > TR > :nth-child(2)"}, {"Column3", "TABLE.table > * > TR > :nth-child(3)"}, {"Column4", "TABLE.table > * > TR > :nth-child(4)"}, {"Column5", "TABLE.table > * > TR > :nth-child(5)"}, {"Column6", "TABLE.table > * > TR > :nth-child(6)"}}, [RowSelector="TABLE.table > * > TR"])
On closer inspection, I see that one of the main differences is that it uses TBODY instead of *. For example, look at the code used to get the first column in each query:
Table 1:
{{"Course Name", "TABLE.table > TBODY > TR > :nth-child(2)"}
Upcoming Courses:
{{"Column1", "TABLE.table > * > TR > :nth-child(1)"}
This is because rather than selecting everything from the HTML table, signified by the *, I am getting the data I have specified, which is the body of my custom table TBODY. Since I have chosen the columns, the names appear in the step and are in the headings, not the first row as they were for Upcoming Courses.
The way that the data for the Link column is extracted is also different – this is the hyperlink for the appropriate Course Name in the HTML table:
{"Link", "TD.title > A:nth-child(1):nth-last-child(1)", each [Attributes][href]?}
This is extracting the data from the link, which is why it needs to have the attribute href. The Contact column has no child elements or attributes:
{"Contact", ":not(*)"}
This results in a null value in this column. Having examined the M code in Table 1, next time I will look at the code in the final custom table Table2 and complete the example by combining my custom tables.
Come back next time for more ways to use Power Query!