
Power Query: It’s Good to Share(Point) Part 1
25 September 2024
Welcome to our Power Query blog. This week, I look at how to access data on SharePoint.
In this series, I am considering how to access data on SharePoint. SharePoint is used by many companies to store organised data which may then be accessed and shared throughout the organisation. I will be starting with a single file and then move on to consider combining data in a SharePoint folder.
The data for this series will come from the following SharePoint folder:
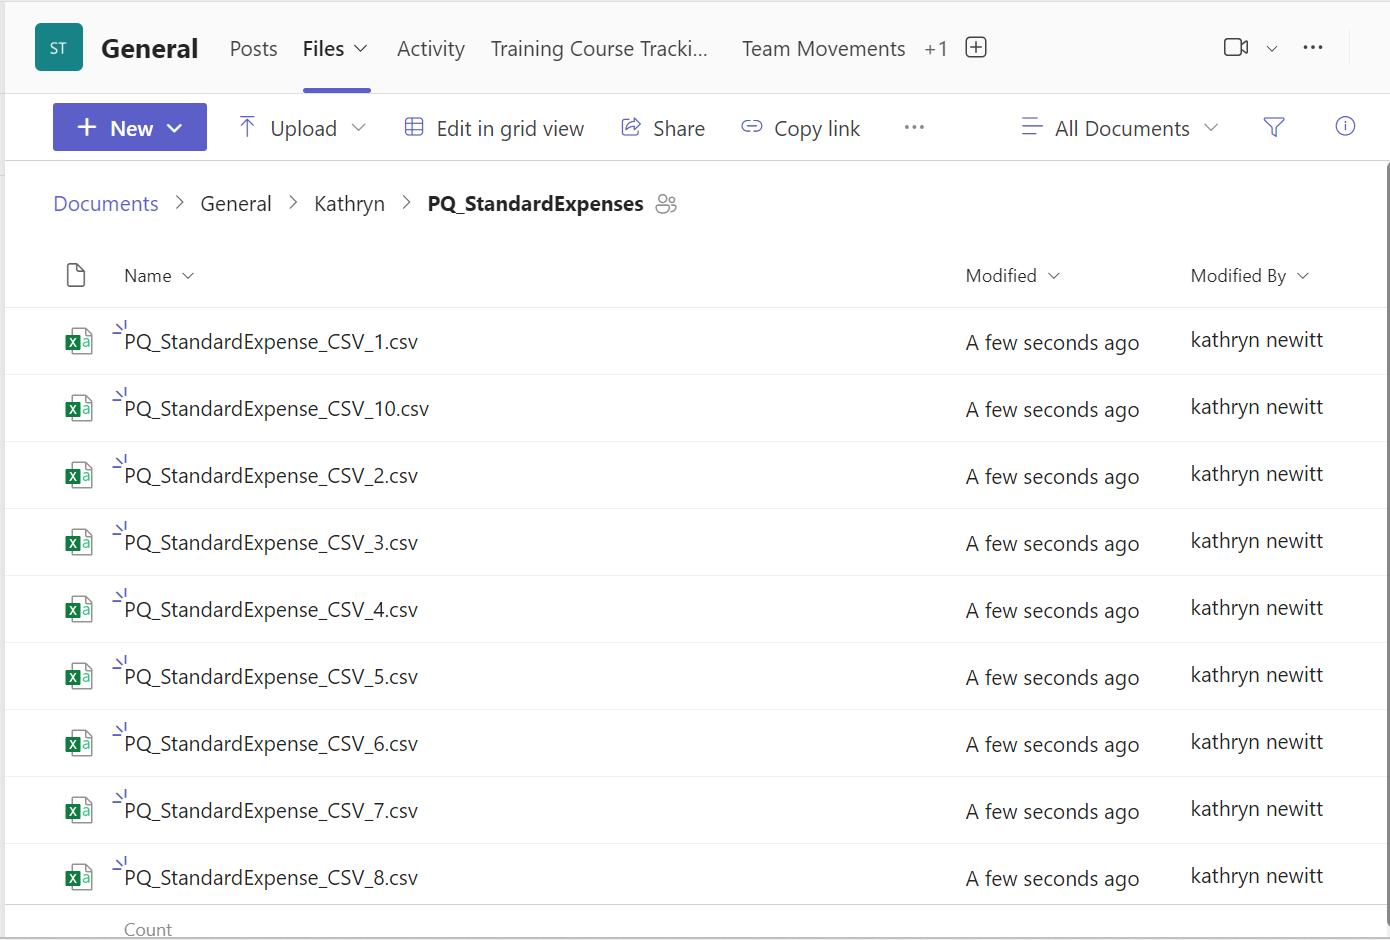
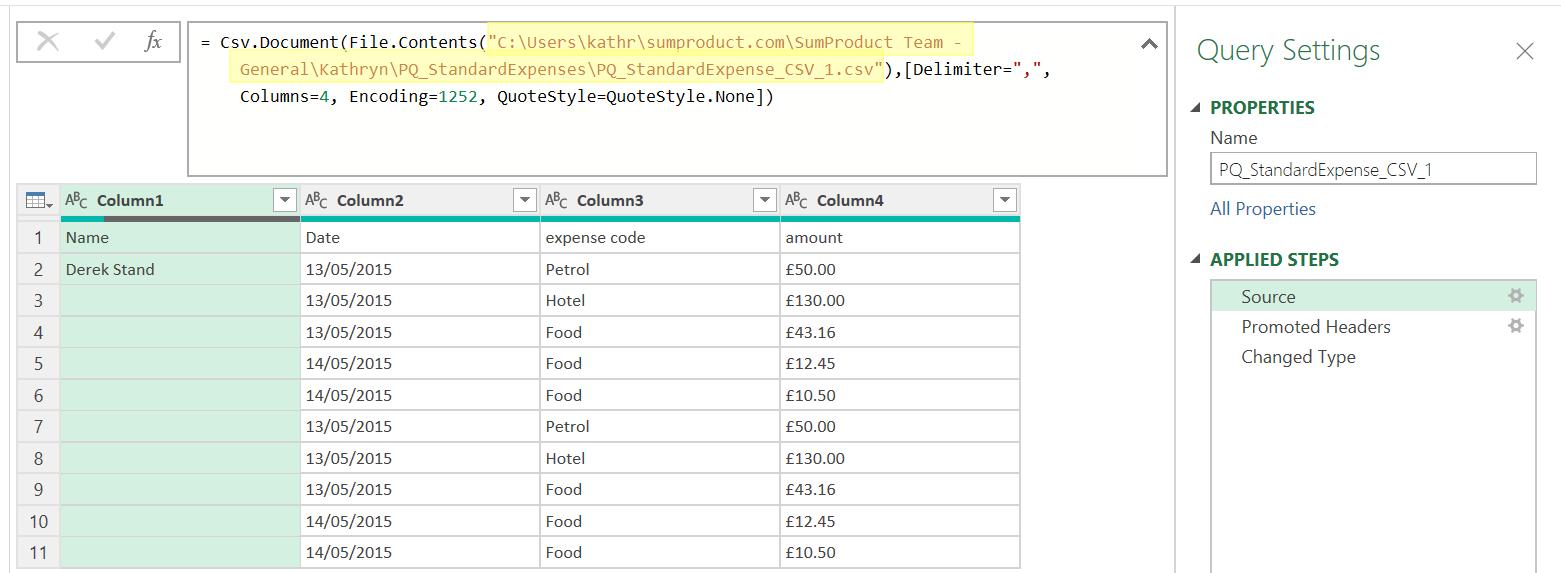
Regular readers will be familiar with the expense data in the form of CSV files, I’m sure!
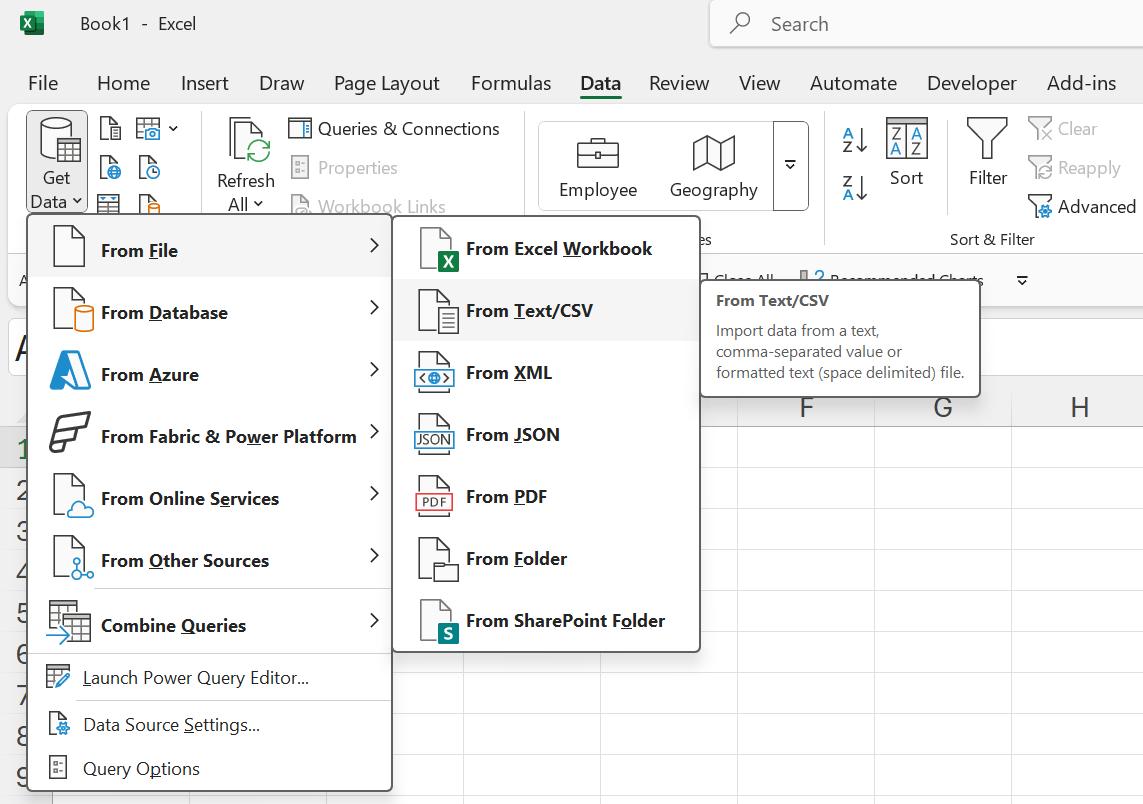
The first challenge is how to access this data from Power Query. I open a new Excel workbook and navigate to the Data tab, where I may access the File option on the ‘Get Data’ dropdown.
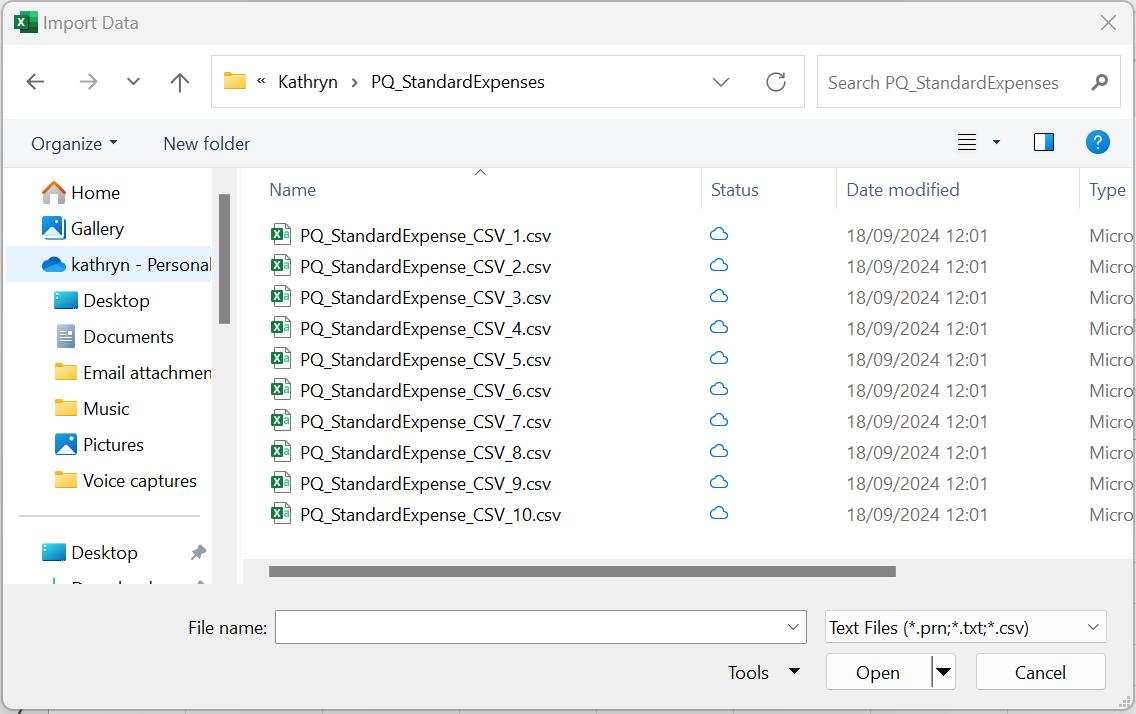
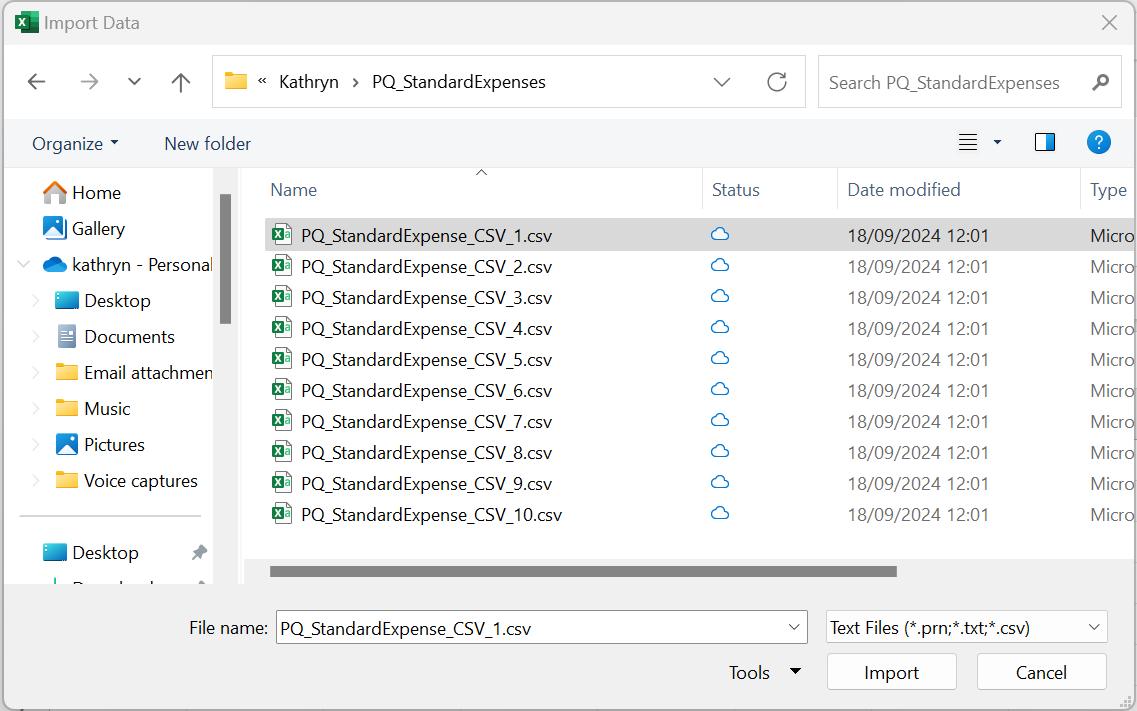
Choosing this option presents me with the ‘Import Data’ dialog, where I am able to locate the data since I have mapped the SharePoint site to a local folder.
It’s possible to encounter issues. For example, if I were to continue with this method of accessing my data:
When the data is imported, the path used means that if I were to share this workbook with another user in my company, they would need to change the path:
I would like
to create a solution that can be shared more easily. There is another option in the File section
of the ‘Get Data’ dropdown:
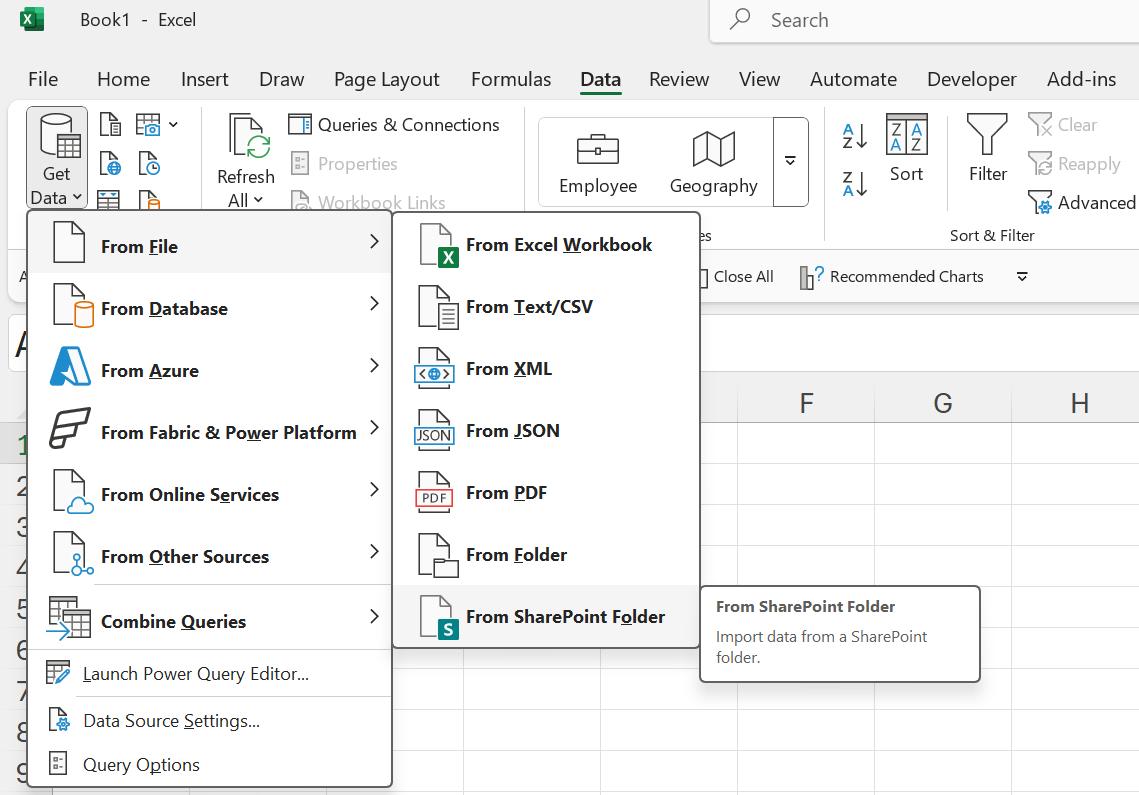
If I click on the ‘From SharePoint Folder’ option, I see the following dialog:
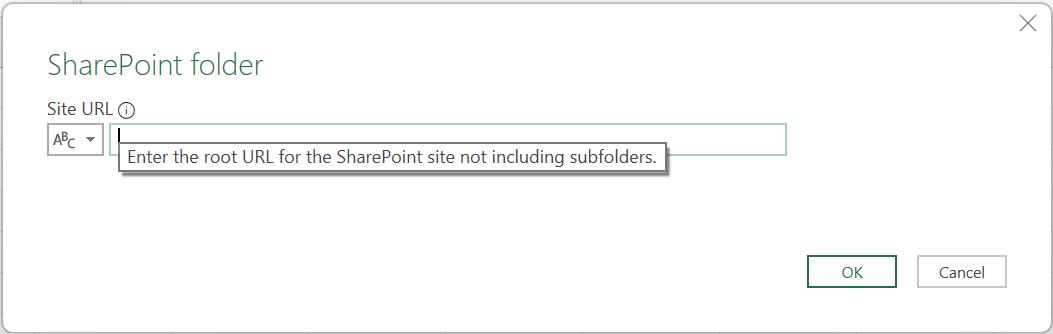
This prompts me for a URL for the SharePoint site. However, this is for a folder, not a single file. I will look at extracting data from a SharePoint folder in Part 3.
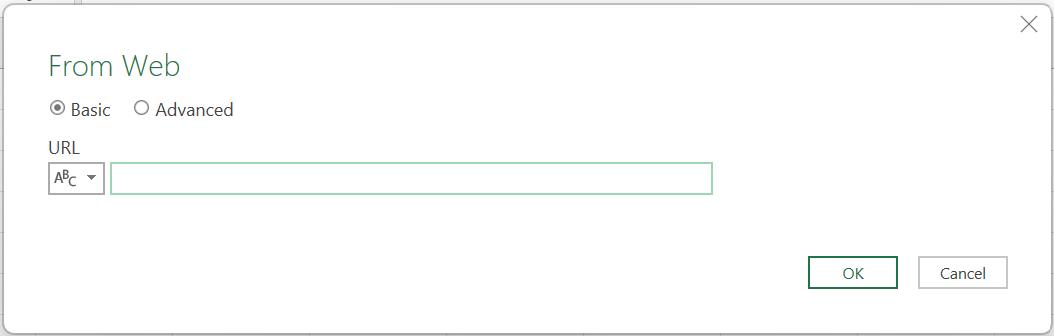
This does however make it clear that I will need a URL to access my CSV file in SharePoint. On the ‘Get Data’ dropdown, there is also a ‘From Web’ option in the ‘From Other Sources’ section:
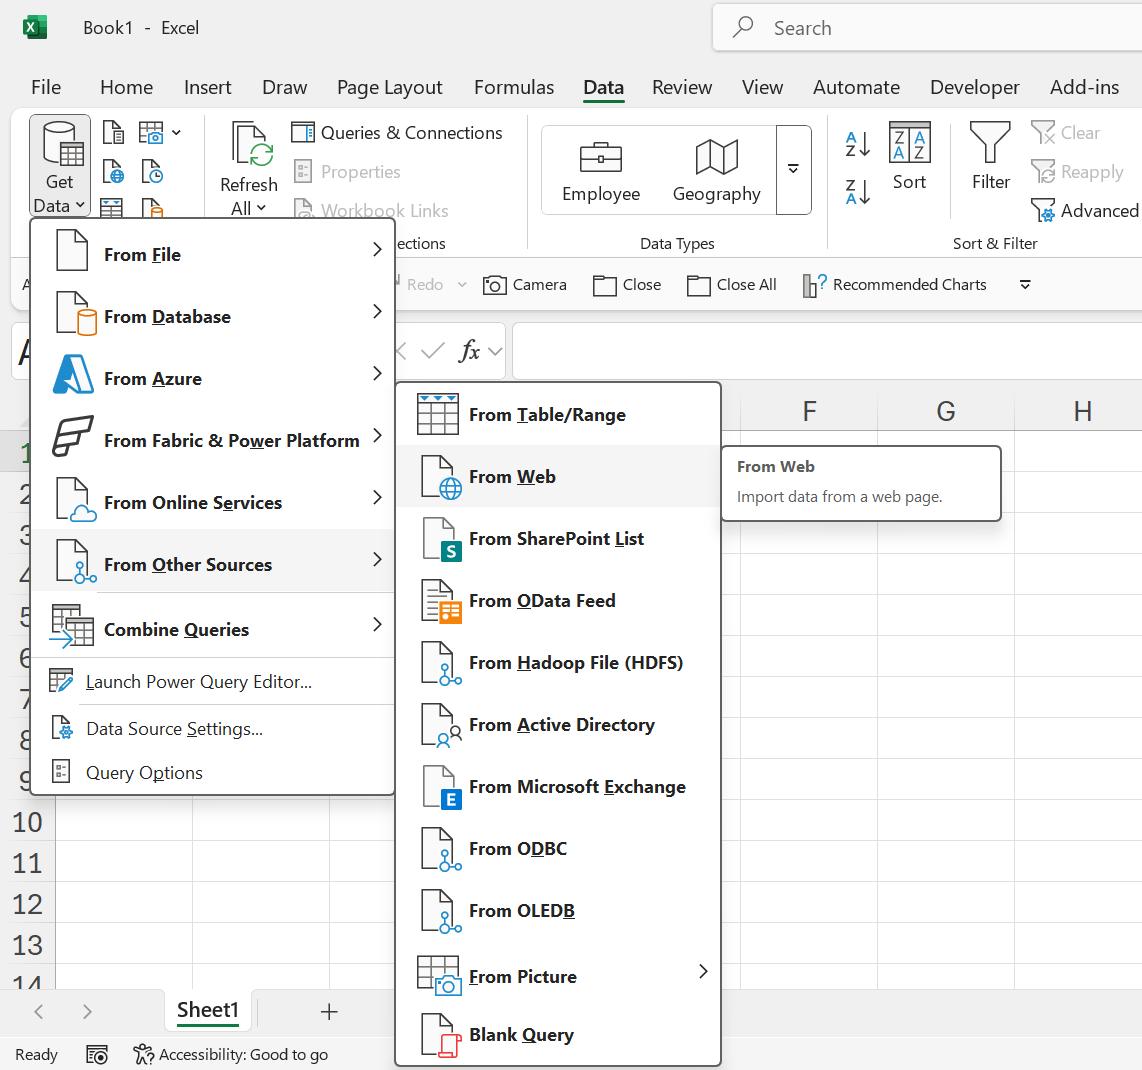
This prompts me for the URL for a webpage, which in my case will be the CSV I wish to access:
Next time, I will look at how I can find the URL I need.
Come back next time for more ways to use Power Query!