Power Query: It’s Good to Share(Point) Part 4
16 October 2024
Welcome to our Power Query blog. This week, I look at how to access a folder of data on SharePoint.
In this series, I am considering how to access data on SharePoint. SharePoint is used by many companies to store organised data which may then be accessed and shared throughout the organisation. I will be starting with a single file and then move on to consider combining data in a SharePoint folder.
The data for this series will come from the following SharePoint folder:
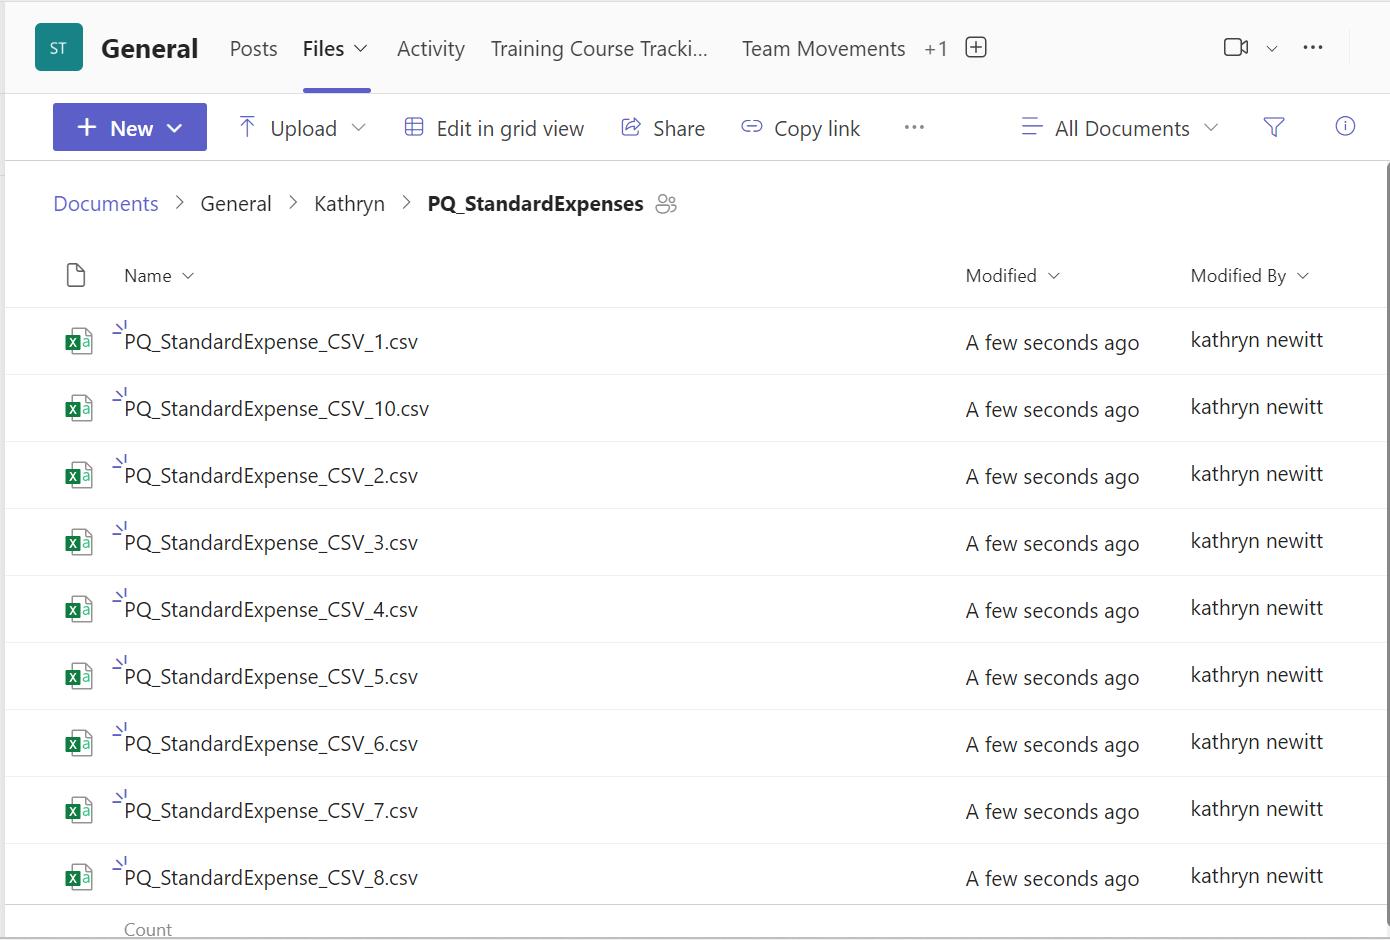
Regular readers will be familiar with the expense data in the form of CSV files, I’m sure!
In Part 1, I established that it wasn’t sufficient to use the mapped drive on my PC that points to the SharePoint Site:
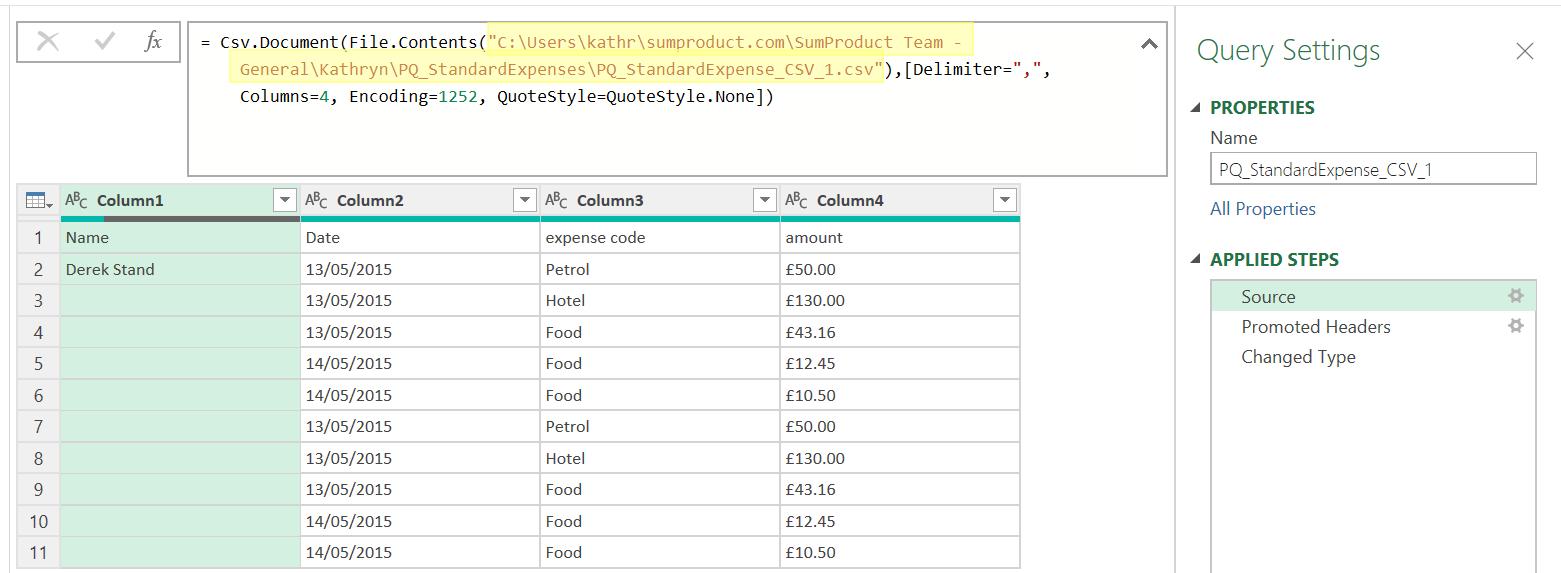
I would like to create a solution that can be shared with needing to change the path in File.Contents(). I need to use the ‘From Web’ option in the ‘From Other Sources’ section on the ‘Get Data’ dropdown:
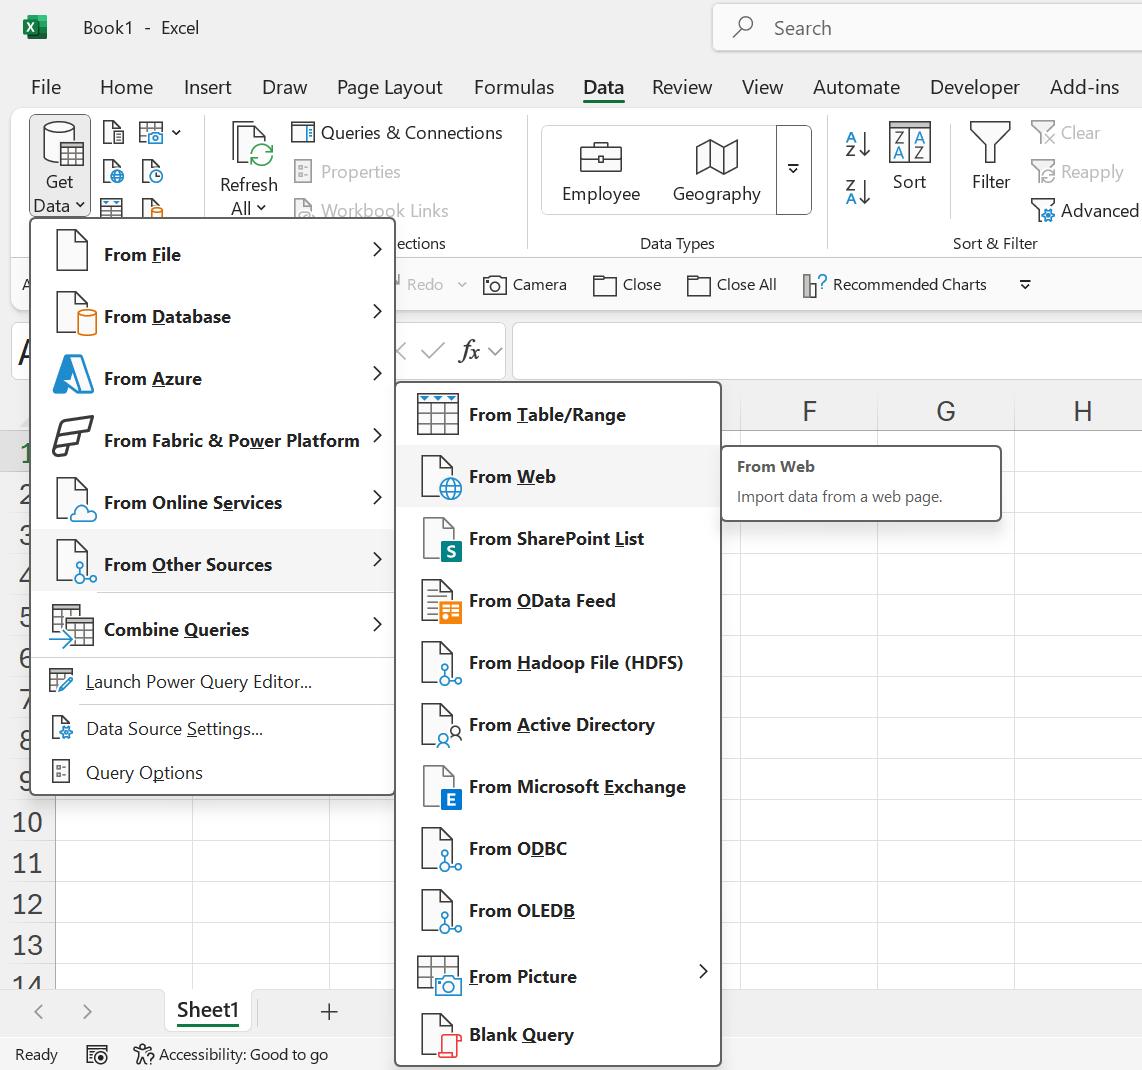
This prompts me for the URL for a webpage, which in my case will be the CSV I wish to access:

In Part 2, I copied the URL from the SharePoint file:
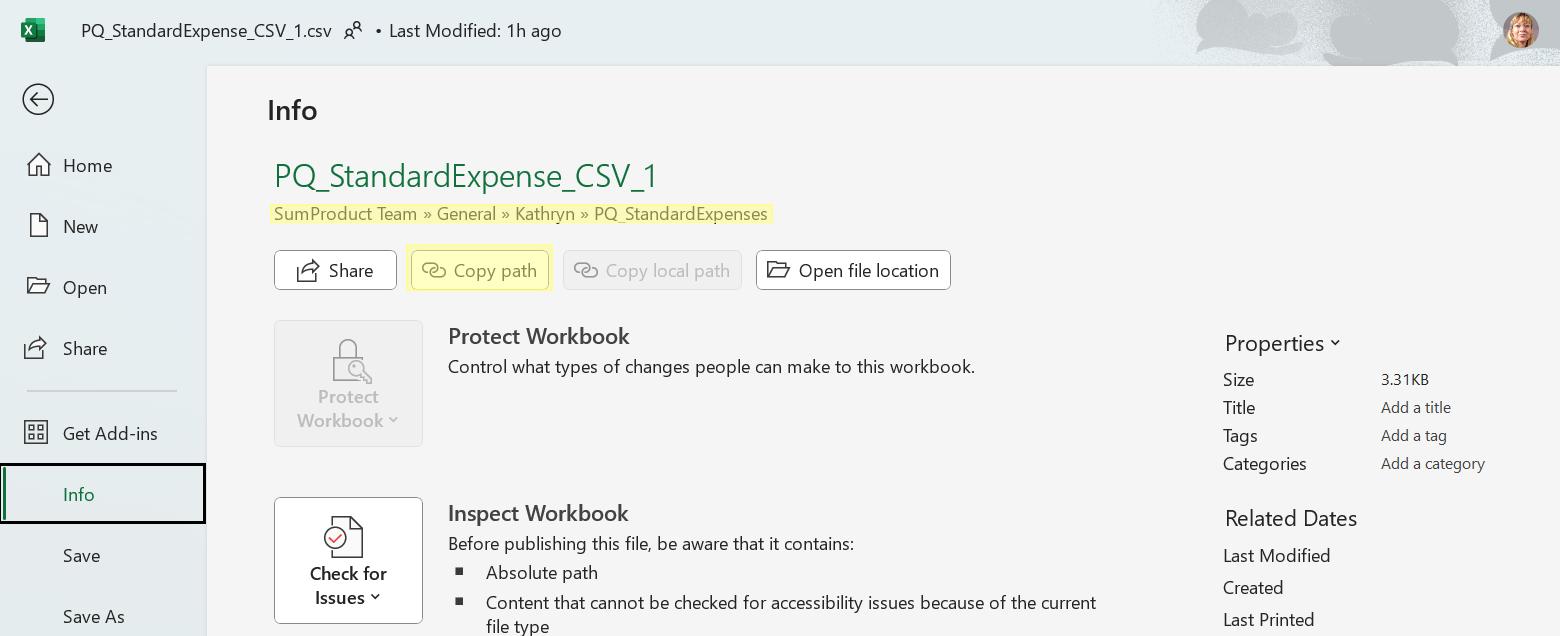
I used this information in the ‘From Web’ dialog in my blank Excel workbook, using the shortcut CTRL + V:

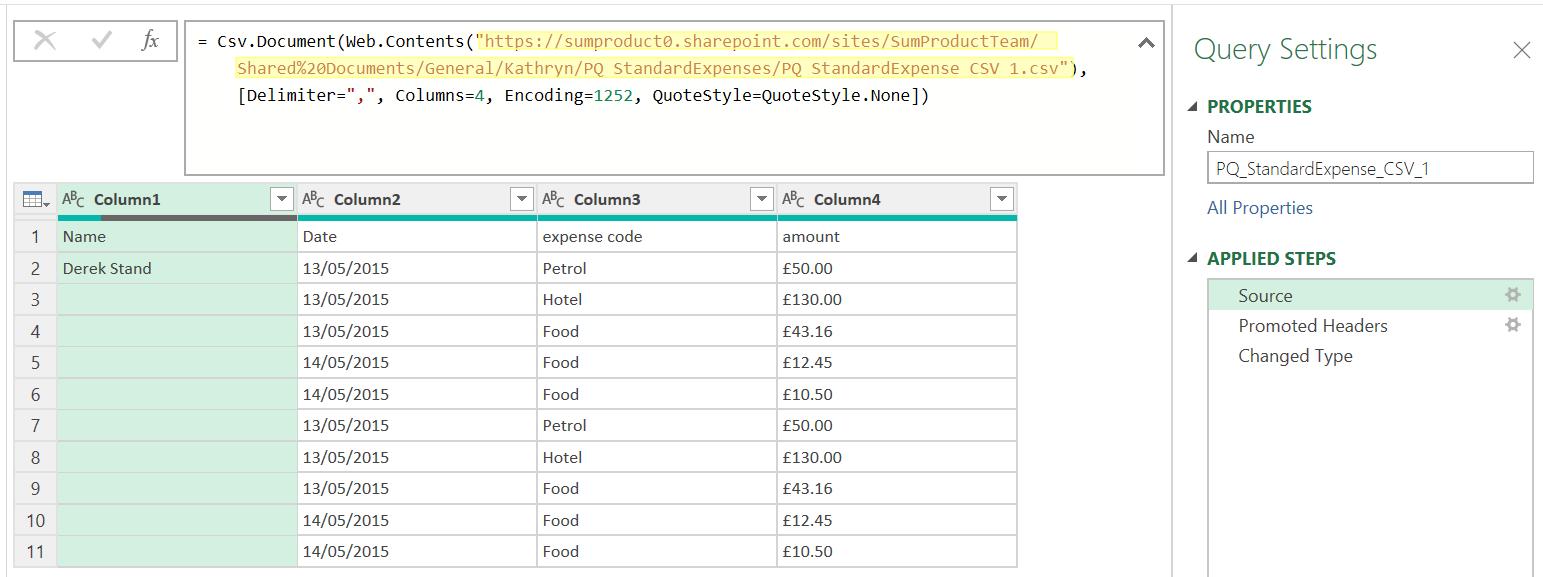
Last time, I modified the URL and connected to SharePoint, where I extracted the single CSV file:
Having removed my saved credentials, when I share the workbook with another user, they are prompted to enter their credentials to access the data.

Now I have successfully linked to a single CSV file, I will use the ‘From SharePoint Folder’ option to combine all the CSVs in the folder. I start in an empty Excel workbook, and find the ‘From SharePoint Folder’ option in the Files section of ‘Get Data’:
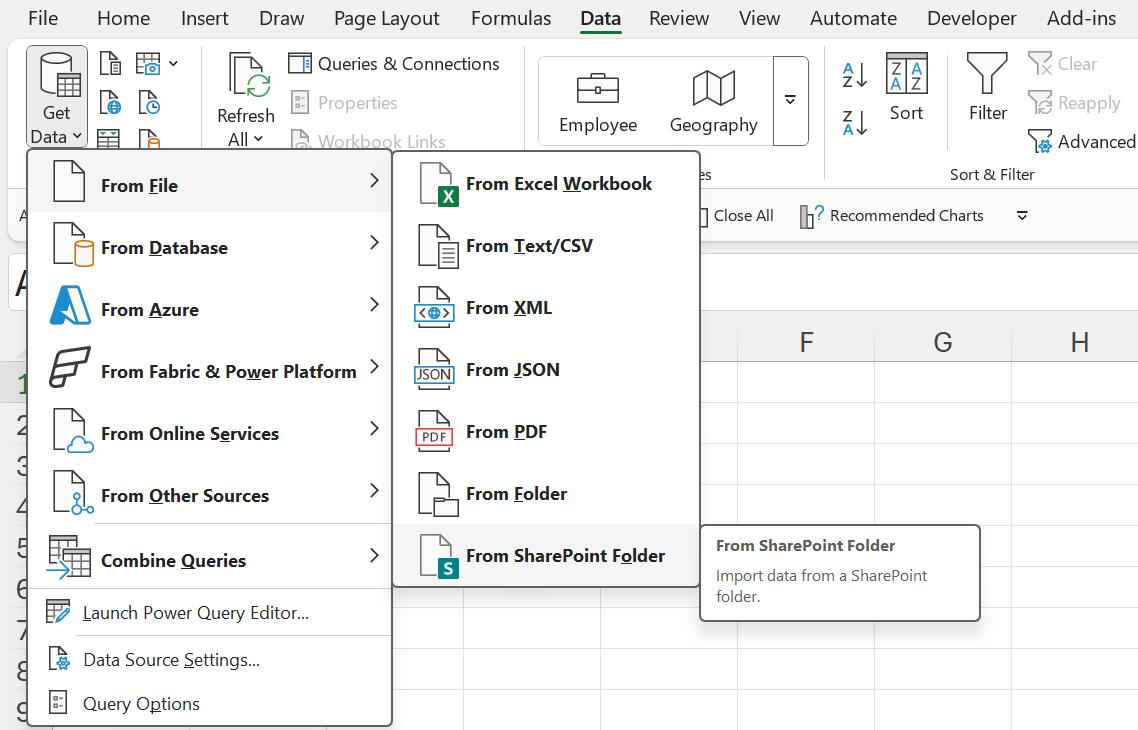
It’s important to take note of the information for the ‘Site URL’ that should be entered.

I need to enter the root only. The URL I used for a single CSV file was:
This means that the root for the site I am using is:
https://sumproduct0.sharepoint.com/sites/SumProductTeam
I enter this, and click ‘OK’:
The ‘Microsoft account’ tab is the same as the ‘Organizational account’ tab on the ‘Access Web Data’ dialog.
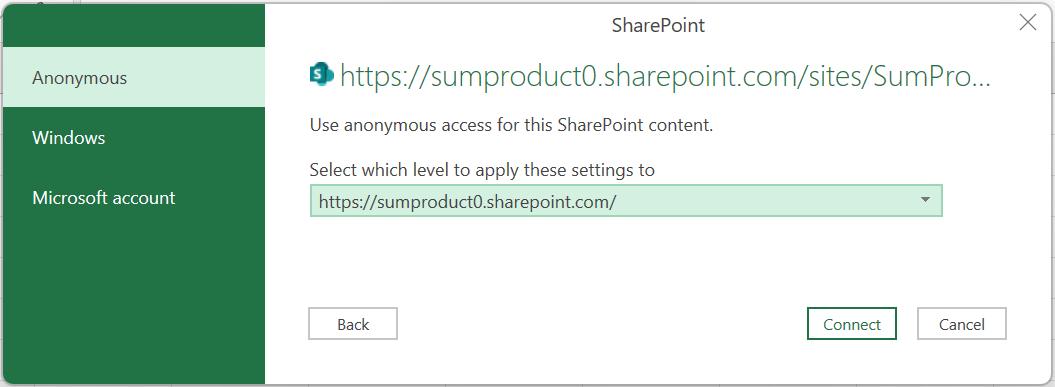
I follow the same process to log in, and choose to Connect:
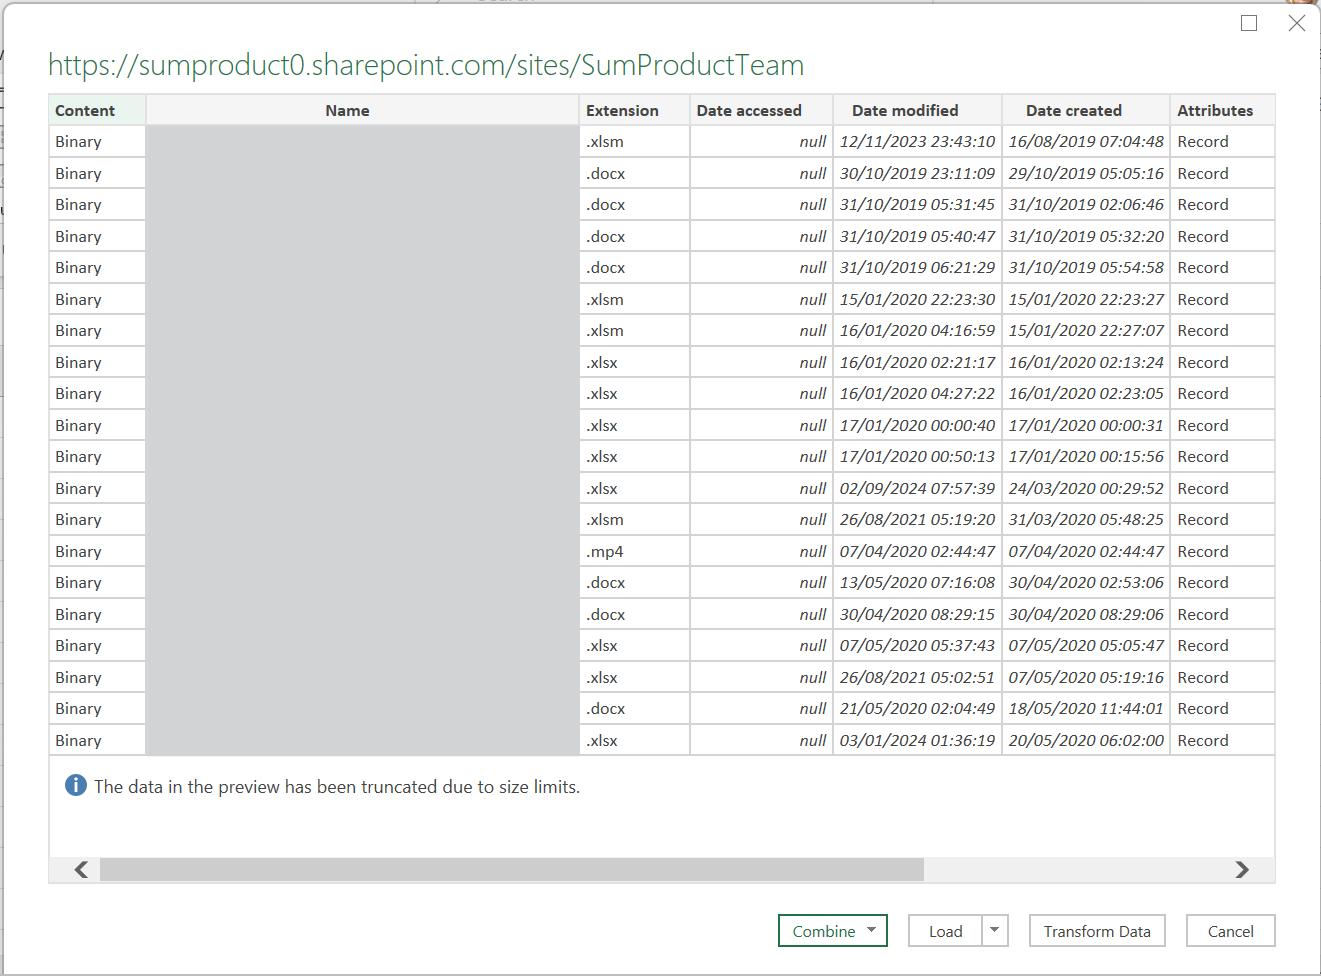
A preview of the data in the site is shown. I have hidden the filenames to preserve confidentiality. I choose to ‘Transform Data’:
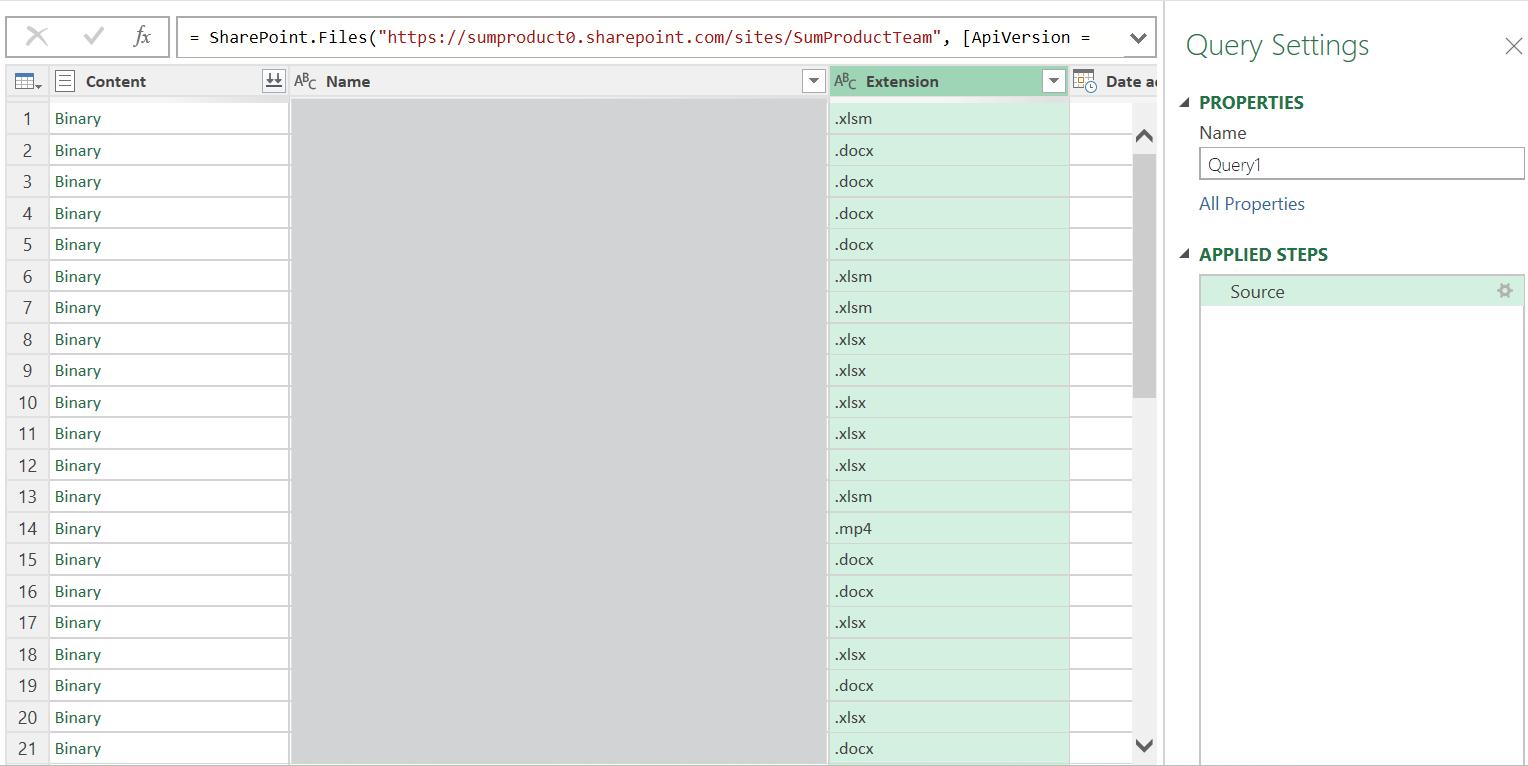
As before, the Name column is hidden. I need to find the files in my folder. I scroll across to the Folder Path column:
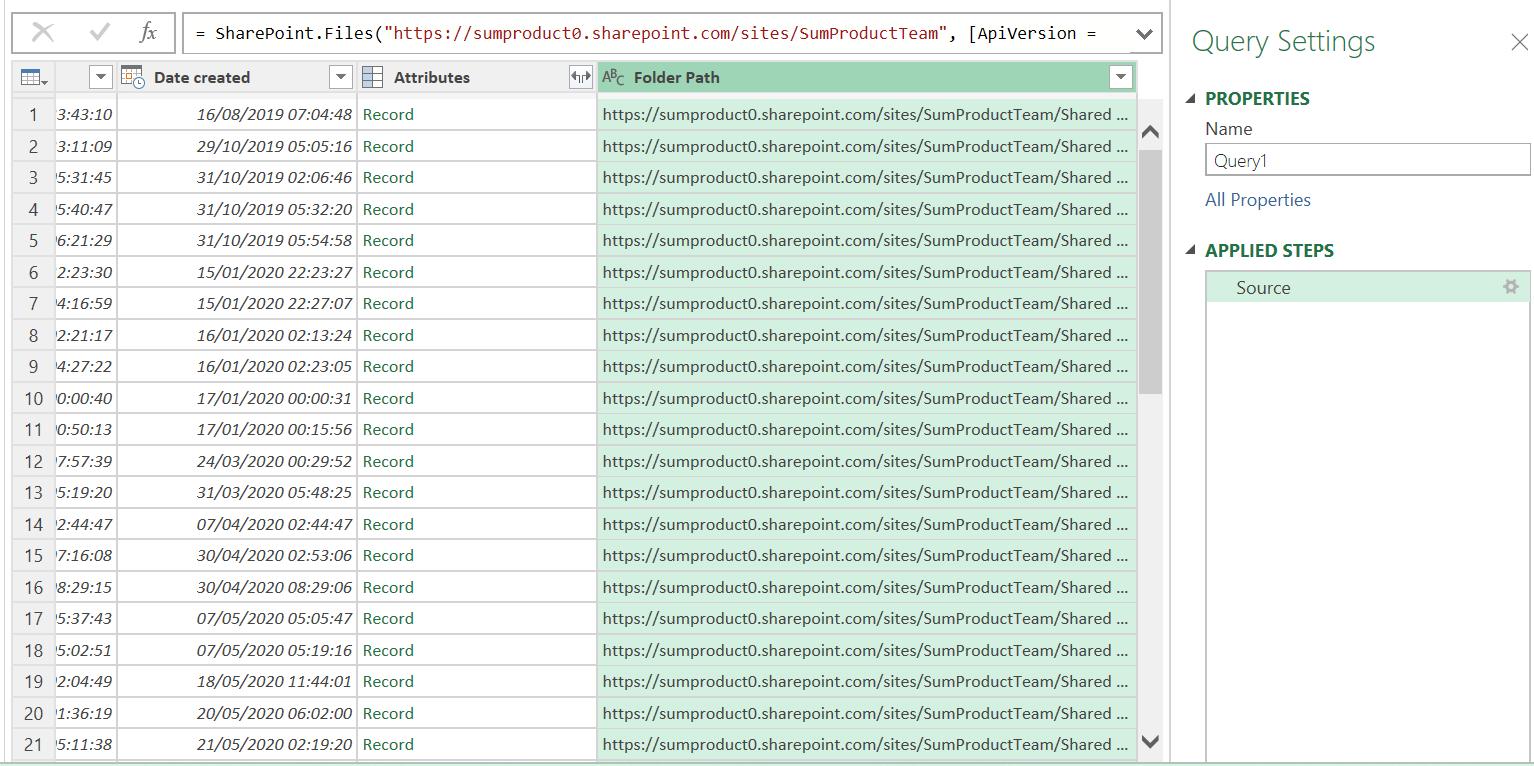
I filter in this column to select only the data in the required folder:
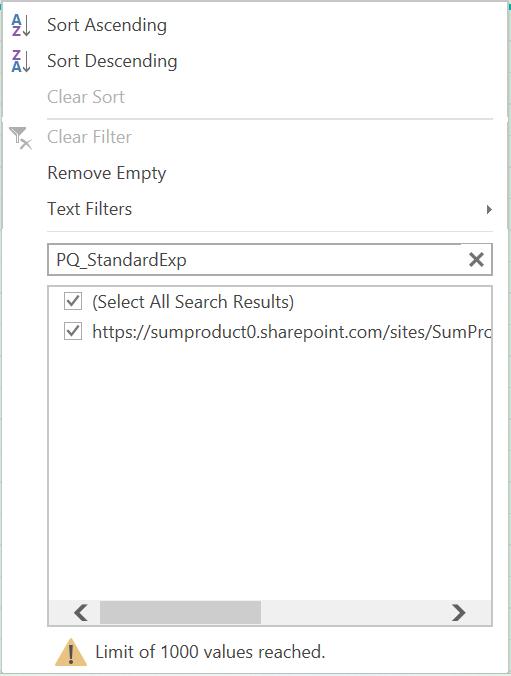
Although only 1,000 values can be shown in the filter window, I may select my folder using the Search bar. Depending upon the amount of data in the organisation, the filter process may take some time.

Next time, I will continue transforming this data.
Come back next time for more ways to use Power Query!

