
Power Query: It’s Good to Share(Point) Part 7
6 November 2024
Welcome to our Power Query blog. This week, I look at extracting data from a SharePoint list.
In this series, I am considering how to access data on SharePoint. SharePoint is used by many companies to store organised data which may then be accessed and shared throughout the organisation. I started with a single file and then moved on to consider combining data in a SharePoint folder.
This time, instead of a folder, I am looking at a SharePoint list:
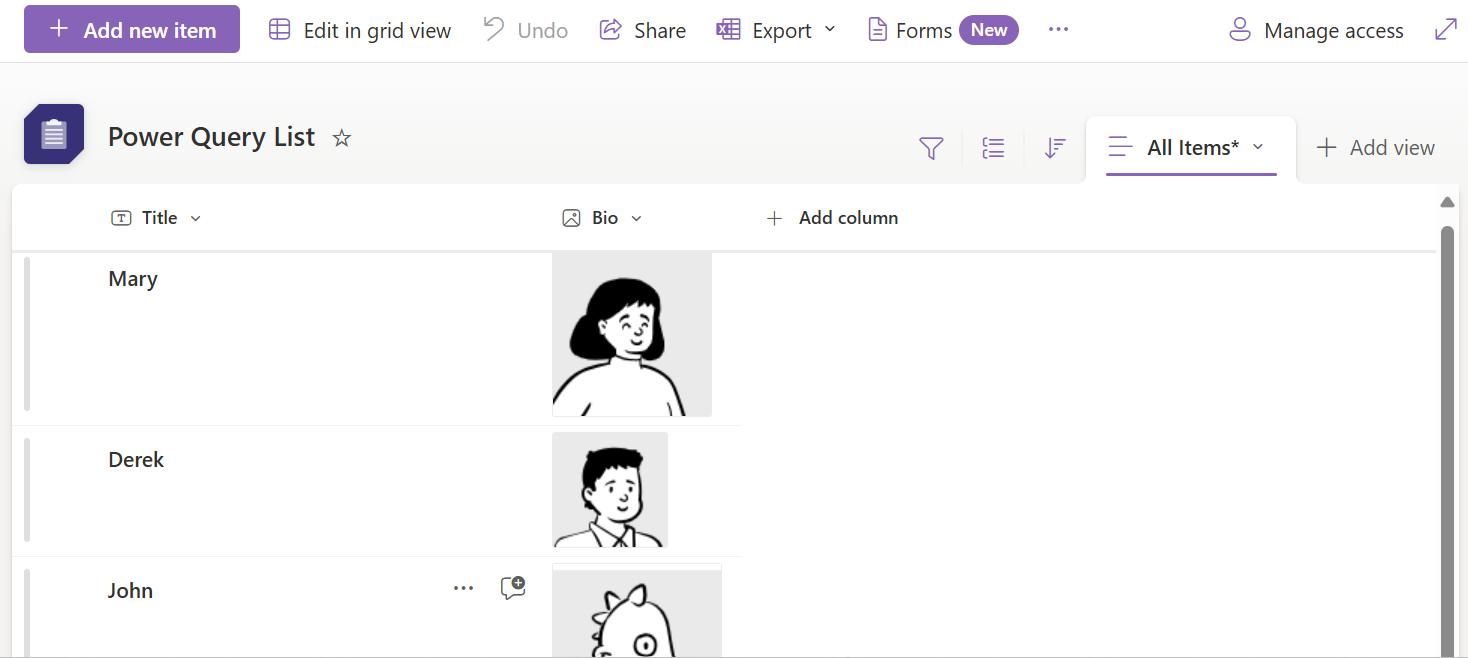
Along with the flattering pictures, the salespeople are responsible for creating expense files and these are linked as attachments. I would like to extract a table with the attached expenses and the responsible salesperson. Regular readers will not be surprised to discover that the expense files are CSV files, I’m sure!
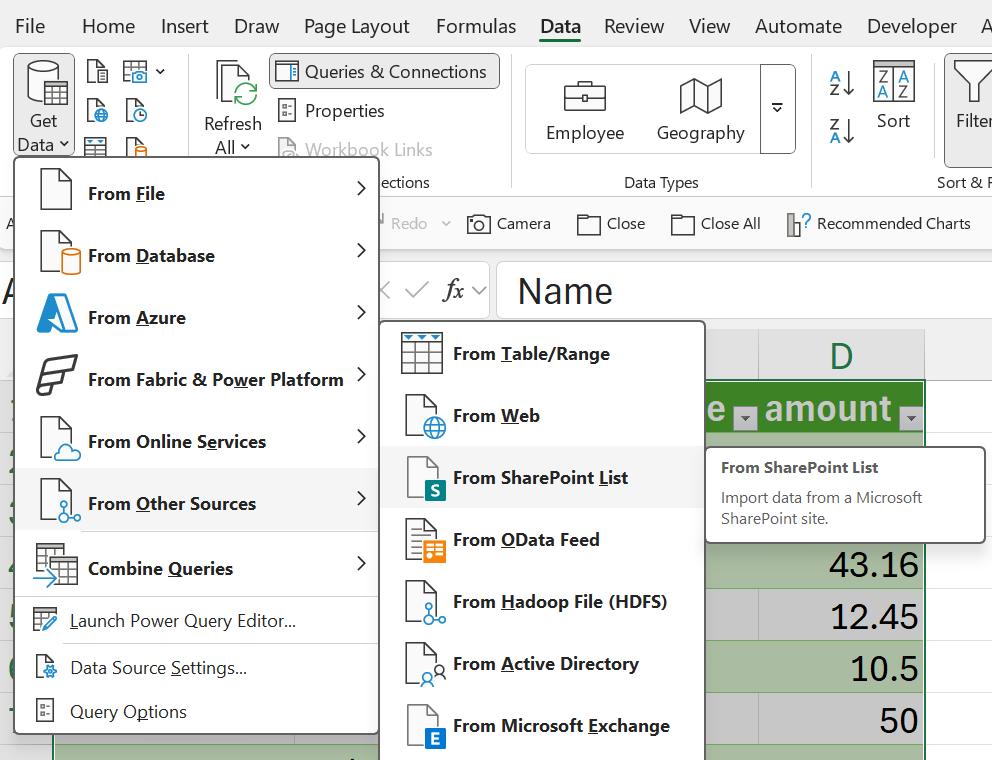
I start in my Excel workbook, where I access the option I need from the ‘From Other Sources’ tab of the ‘Get Data’ dropdown:
In this series on SharePoint data, it’s no surprise to see that we need to enter the URL of the SharePoint site:
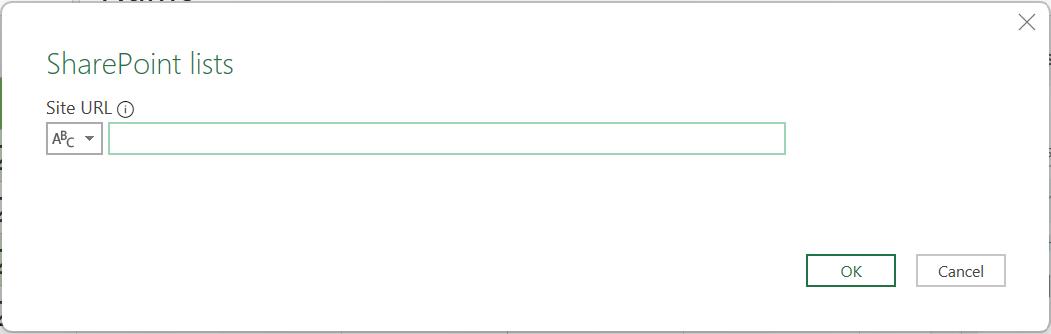
As we discovered in Part 4, this is:
https://sumproduct0.sharepoint.com/sites/SumProductTeam
I enter this and click ‘OK’. If necessary, I follow the same process to log in, and choose to Connect:
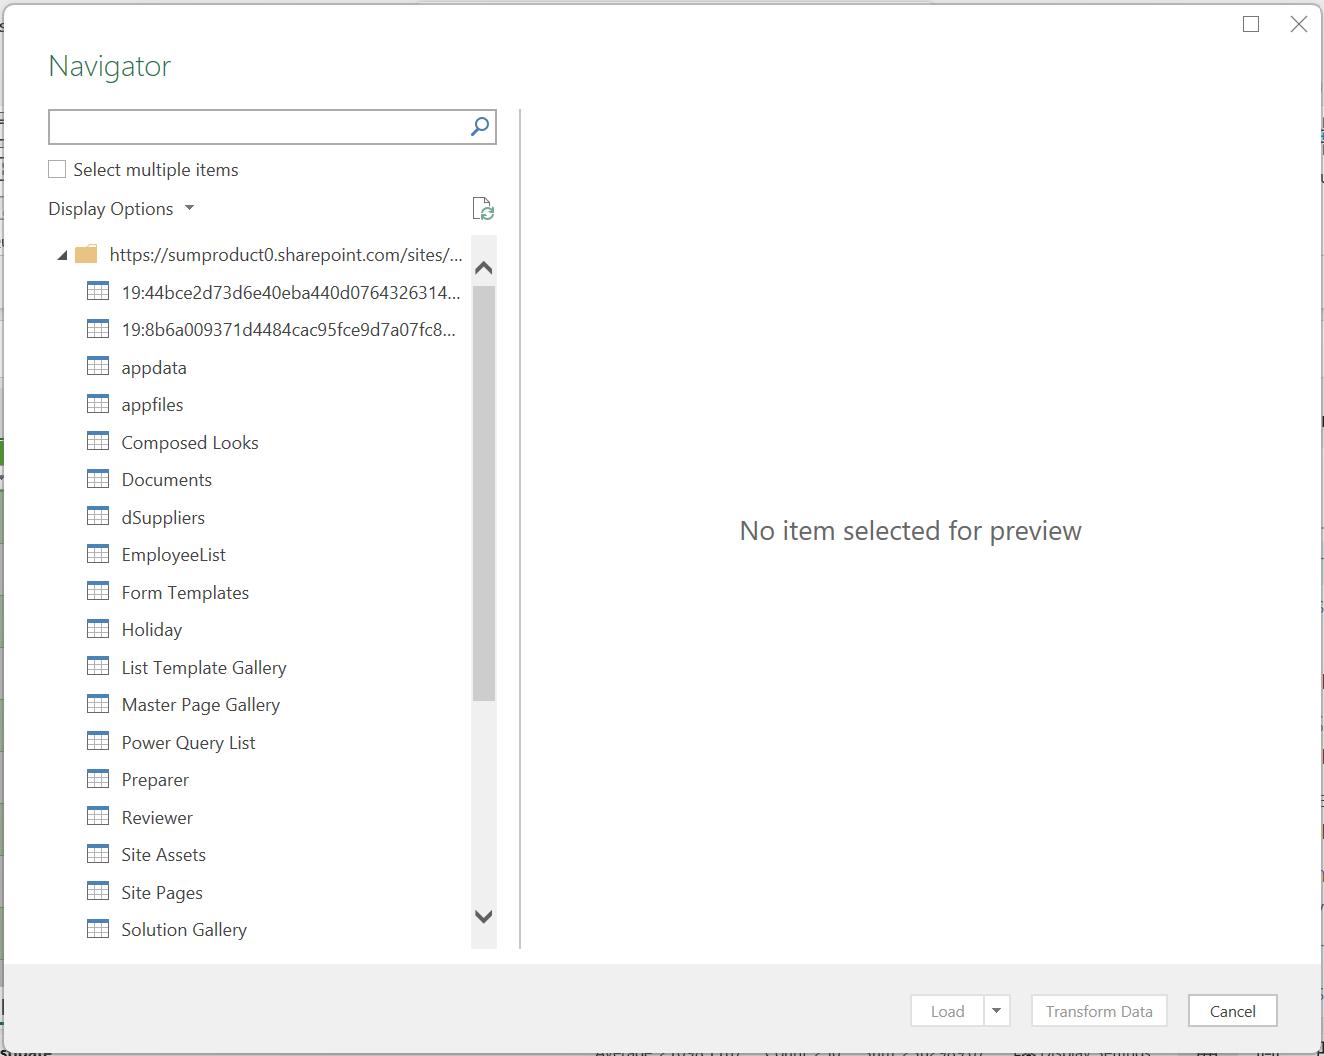
I could select multiple lists if I wish, but I only need ‘Power Query List’:
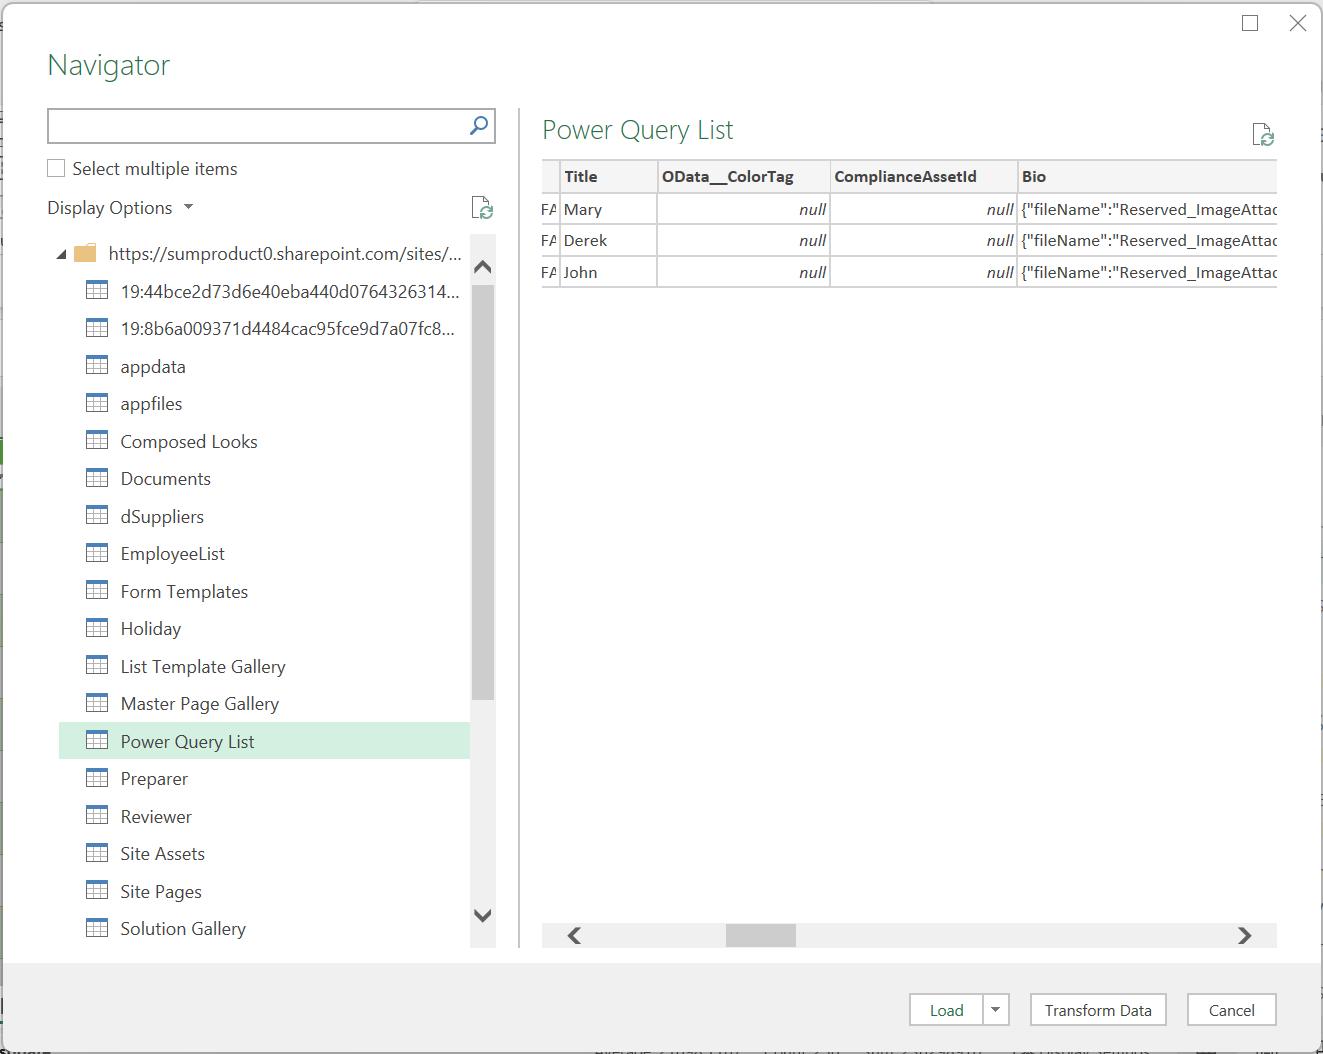
There are numerous columns I don’t need. I choose to ‘Transform Data’:
I have the Source step and the Navigation step that I would expect, but the third generated step is ‘Renamed Columns’. This behaviour appears to be prompted by this particular source type. Let’s start by looking at the Source step:
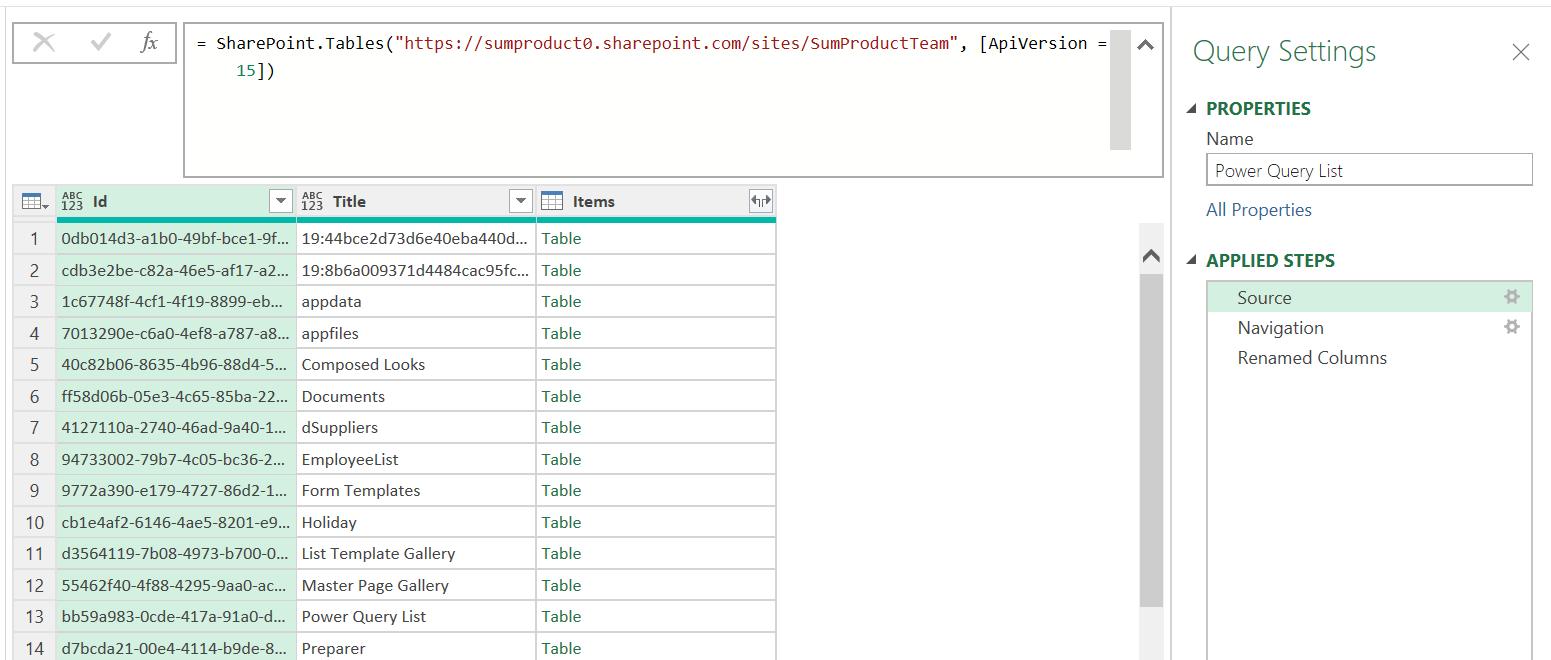
I use the URL and the Sharepoint.Tables() function that I discovered last week. This has produced a table containing an identifier Id, the Title, and a table of data.
The Navigation step then expands the table for ‘Power Query List’.
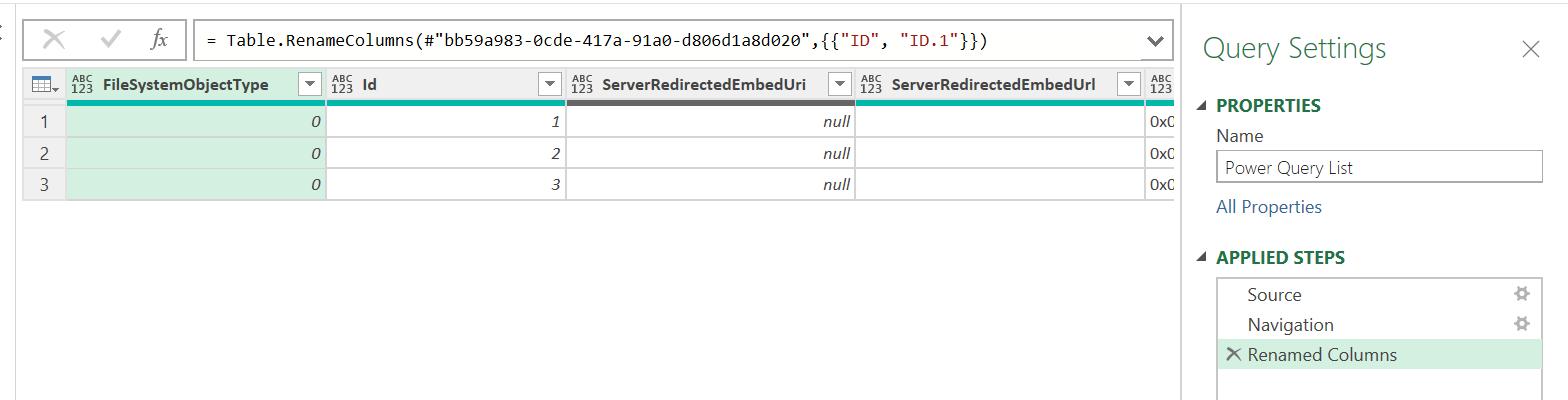
This gives me two [2] columns with the same name, Id and ID.
The ‘Renamed Columns’ step renames ID to ID.1 and is generated to avoid any confusion.
= Table.RenameColumns(#"bb59a983-0cde-417a-91a0-d806d1a8d020",{{"ID", "ID.1"}})
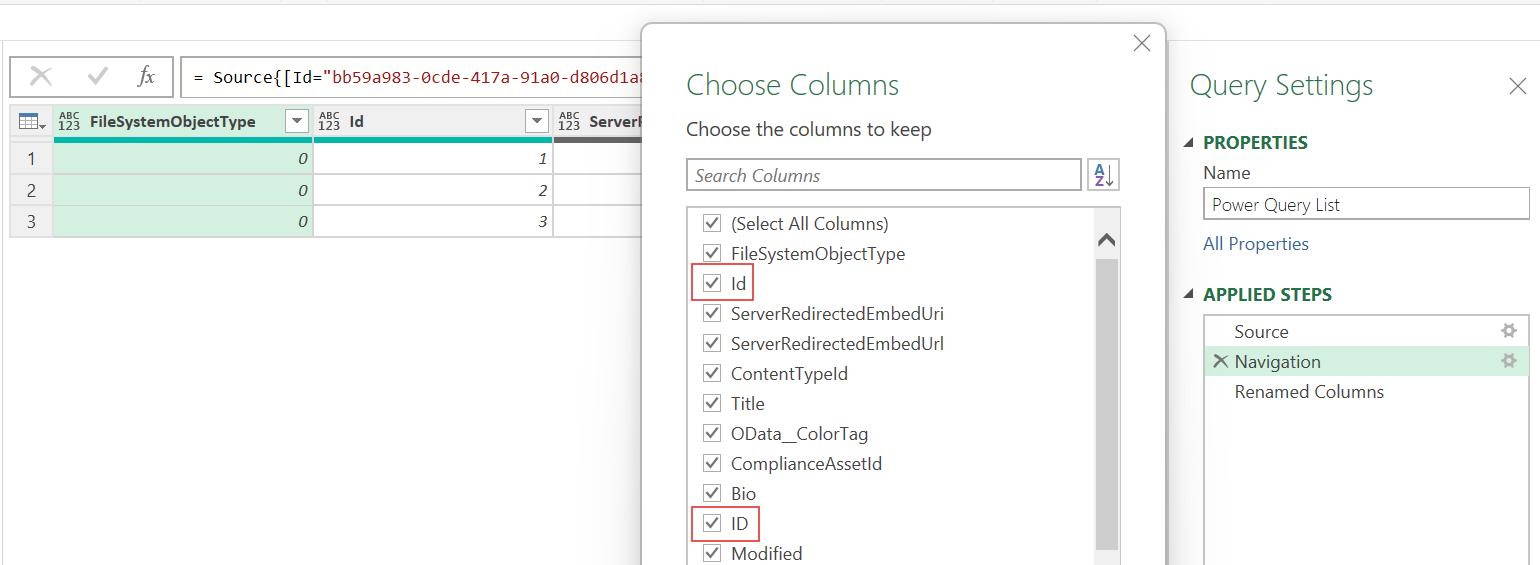
I use ‘Choose Columns’ from the Home tab to decide which columns I need:
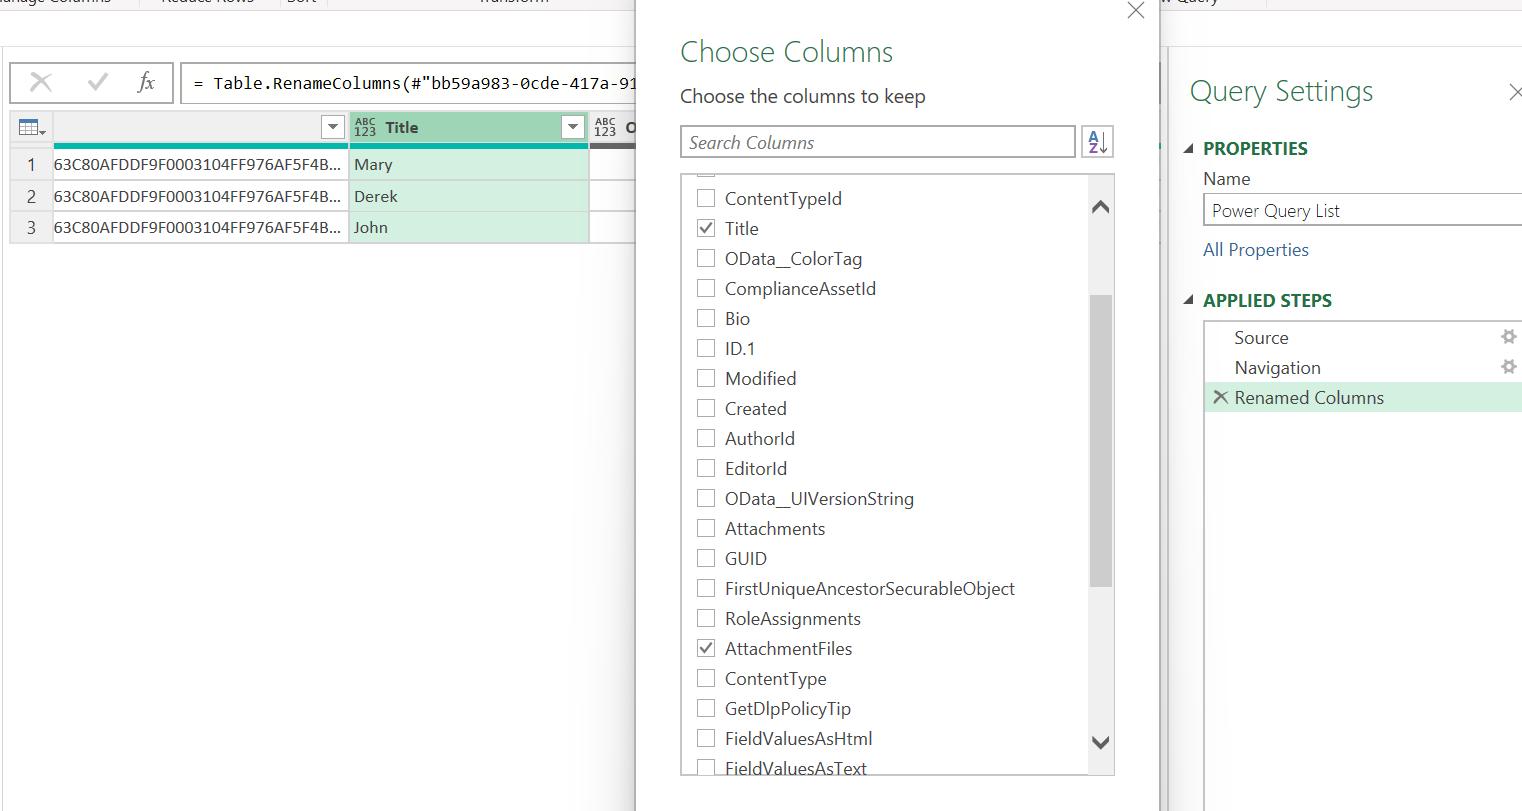
I can see I need to keep the Title column, as that is the salesperson responsible for the expenses. I also need AttachmentFiles:

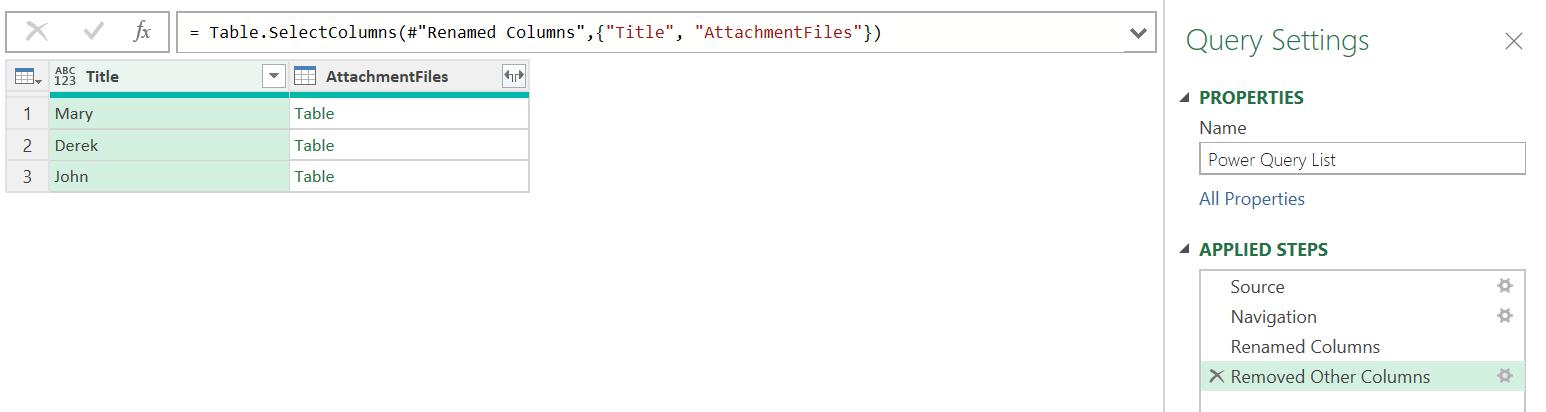
I click OK, and the other columns are removed:
Next time, I will continue transforming this data.
Come back next time for more ways to use Power Query!