Power Query: In Your Face(book)
20 September 2017
Welcome to our Power Query blog. Today I am going to look at importing data from one of the available online services you might have heard of, Facebook.
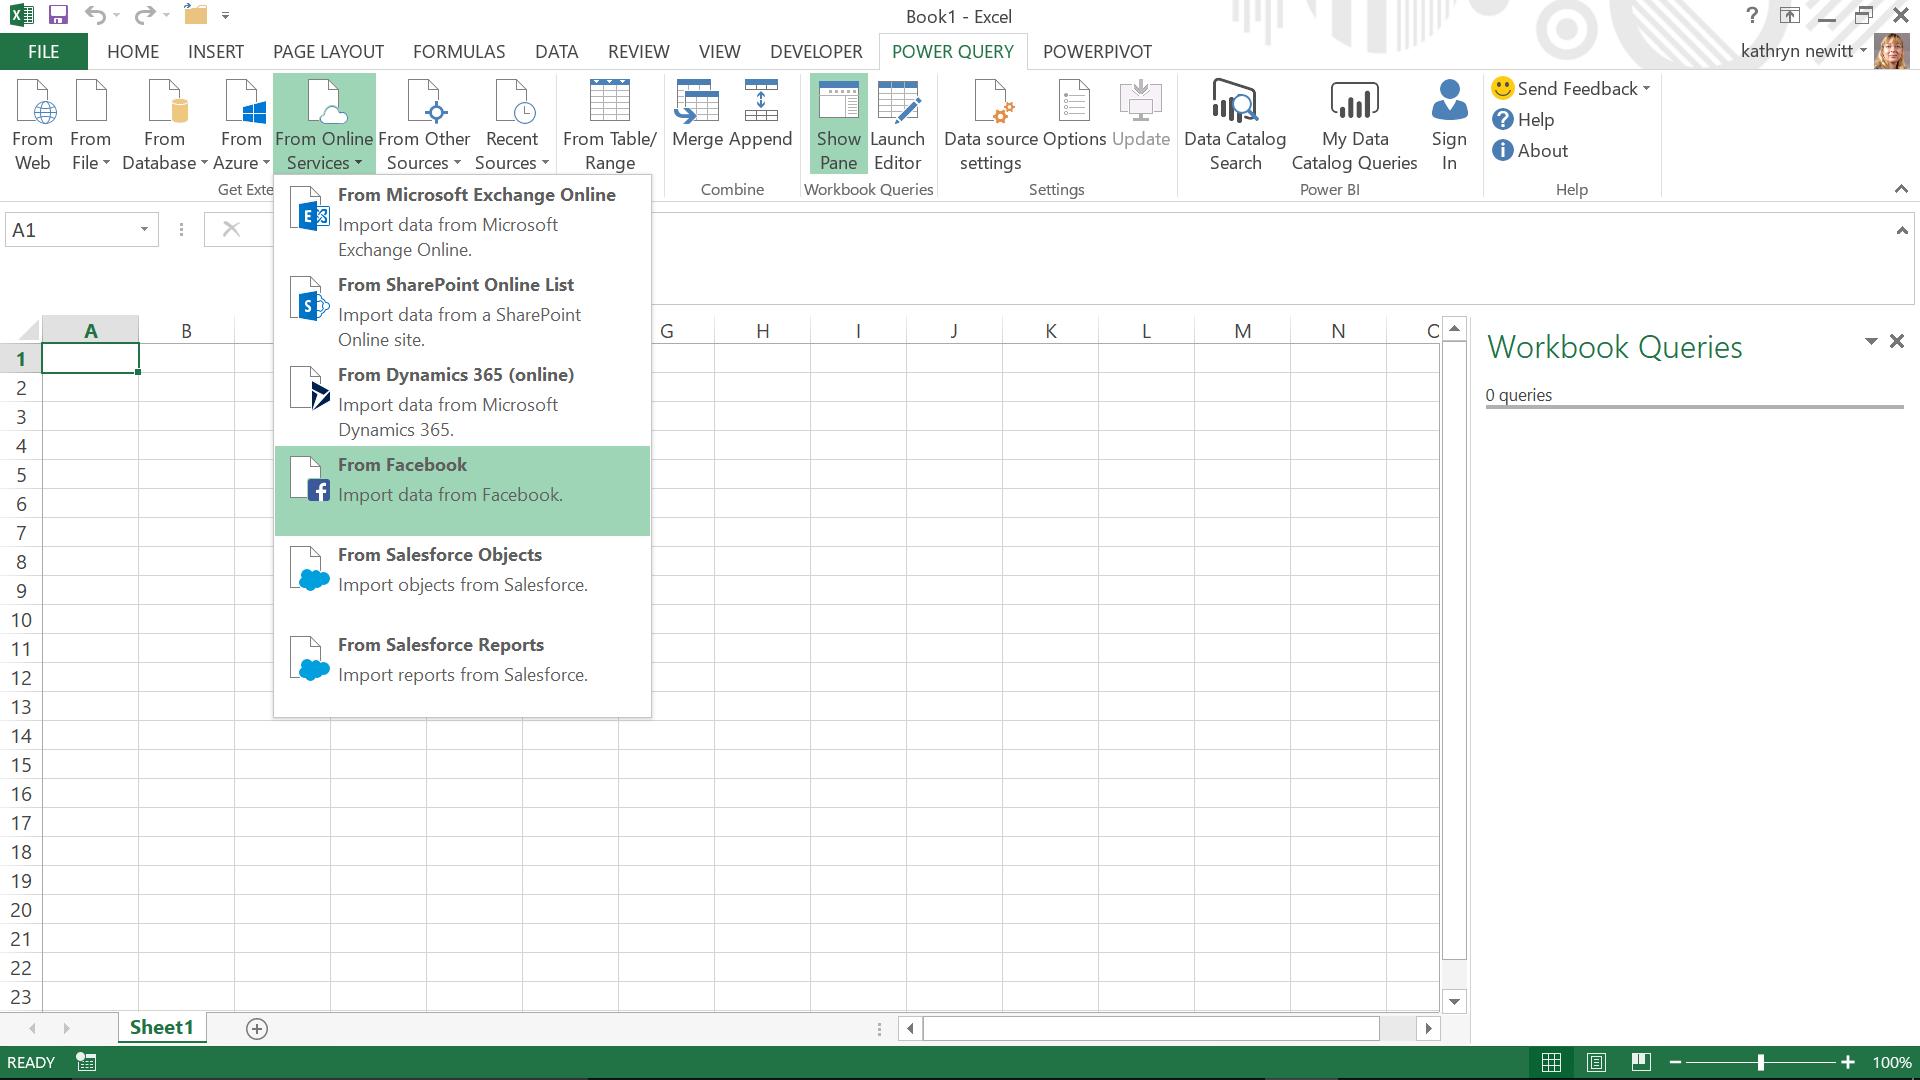
Whilst much of the data I deal with comes from workbooks and databases, it can be useful to pull in data from other sources. There are a number of sites traditionally associated with business, but social media sites like Facebook are becoming more accepted business channels due to their high usage and range of users. The screen below shows the online services which can be accessed from Power Query (2013):
The first thing I notice when I choose to connect to Facebook, is that a warning screen appears. Whilst it is always good practice to be wary of internet sites that may not be kept up to date or maintained efficiently, this is not my only concern. Since Facebook is a separate company, the connector is effectively beyond the control of Microsoft and I need to acknowledge this before I can continue.
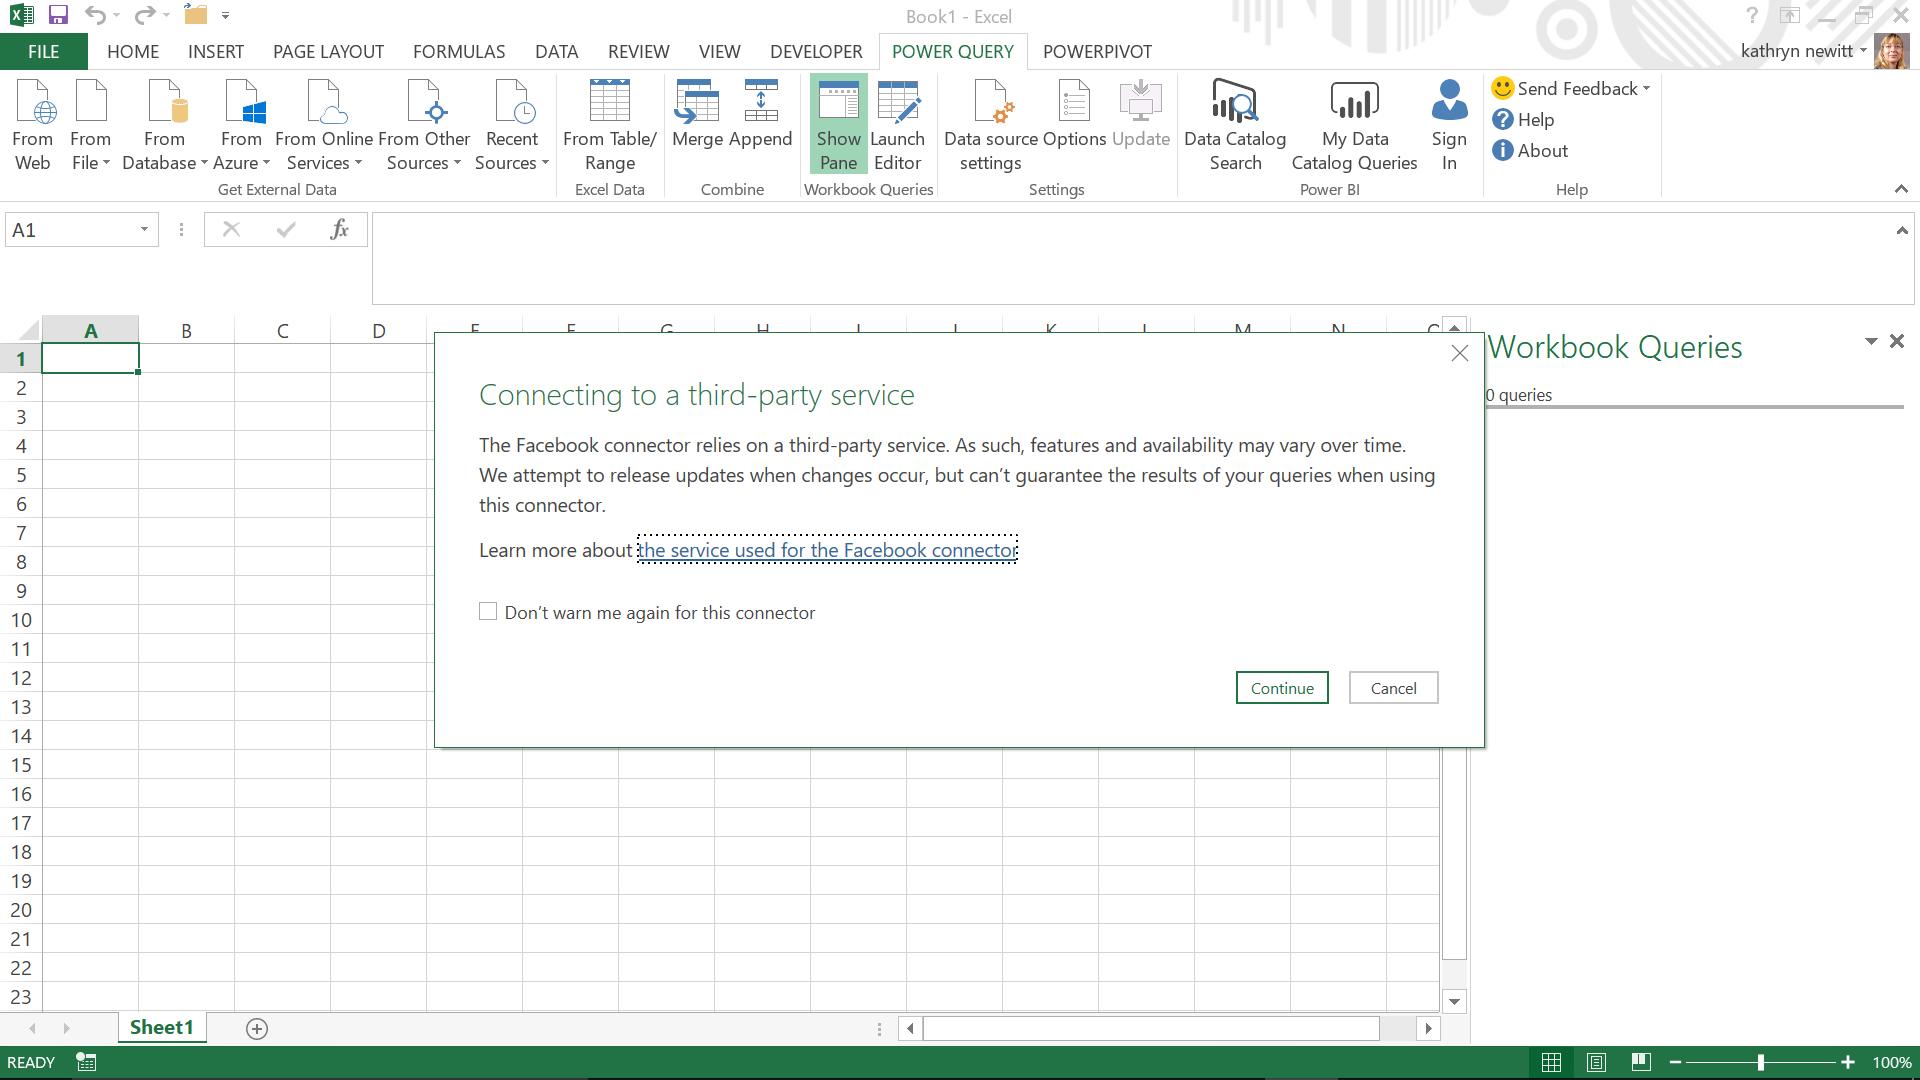
The option to ‘Learn more about the service…’ simply takes me to the Microsoft help pages, where I can use the search facility to get a basic overview about connecting to Facebook.
I choose to ‘Continue’…
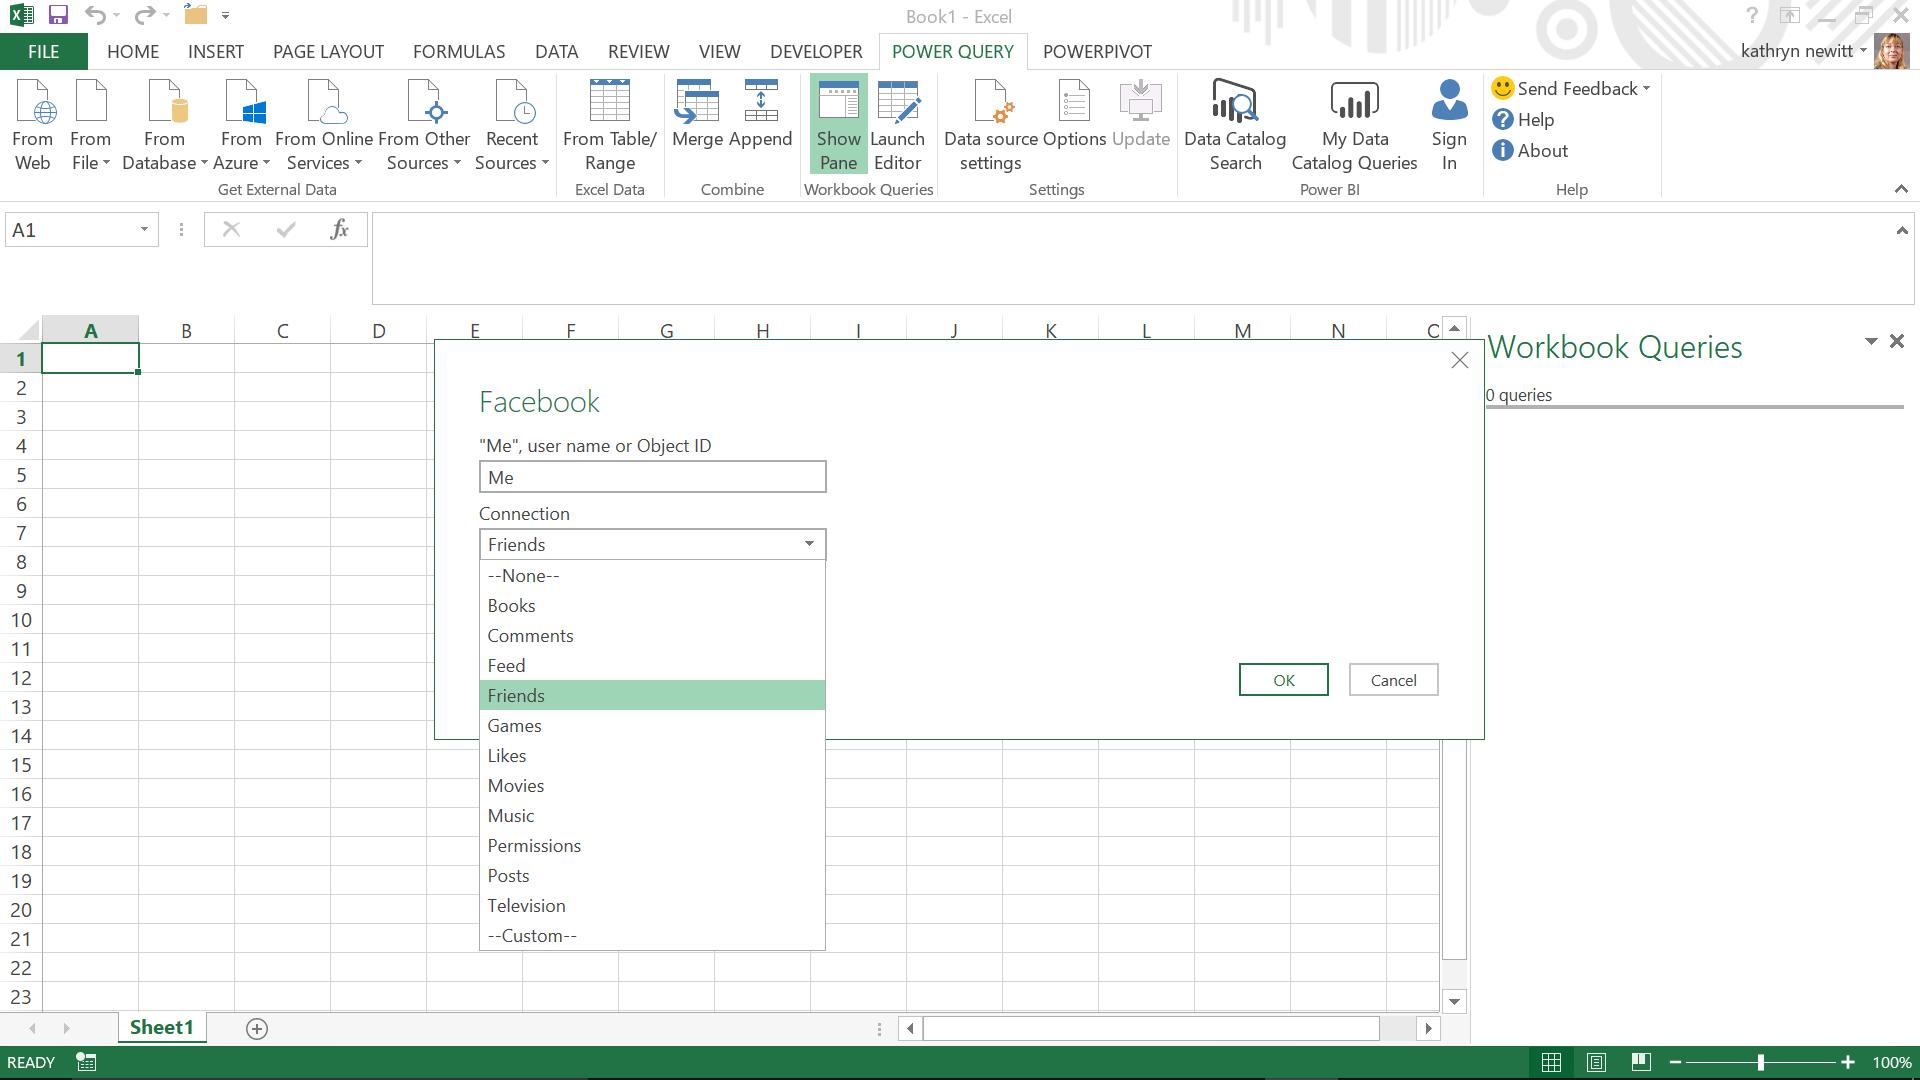
The options that are already set up for me to upload are shown in the screen above. Also, I have the option of setting up a ‘Custom’ connection if I am aware of the name of a list on my Facebook profile which does not already appear on the dropdown. A note of caution though: since the connector is not controlled by Microsoft, these options may not always pull back data – but it is an interesting experiment. I choose ‘Permissions’, since my friends would probably not appreciate me importing any data that would have them appear on this blog! Clicking ‘OK’ takes me to the Facebook login, which actually uses Power BI:
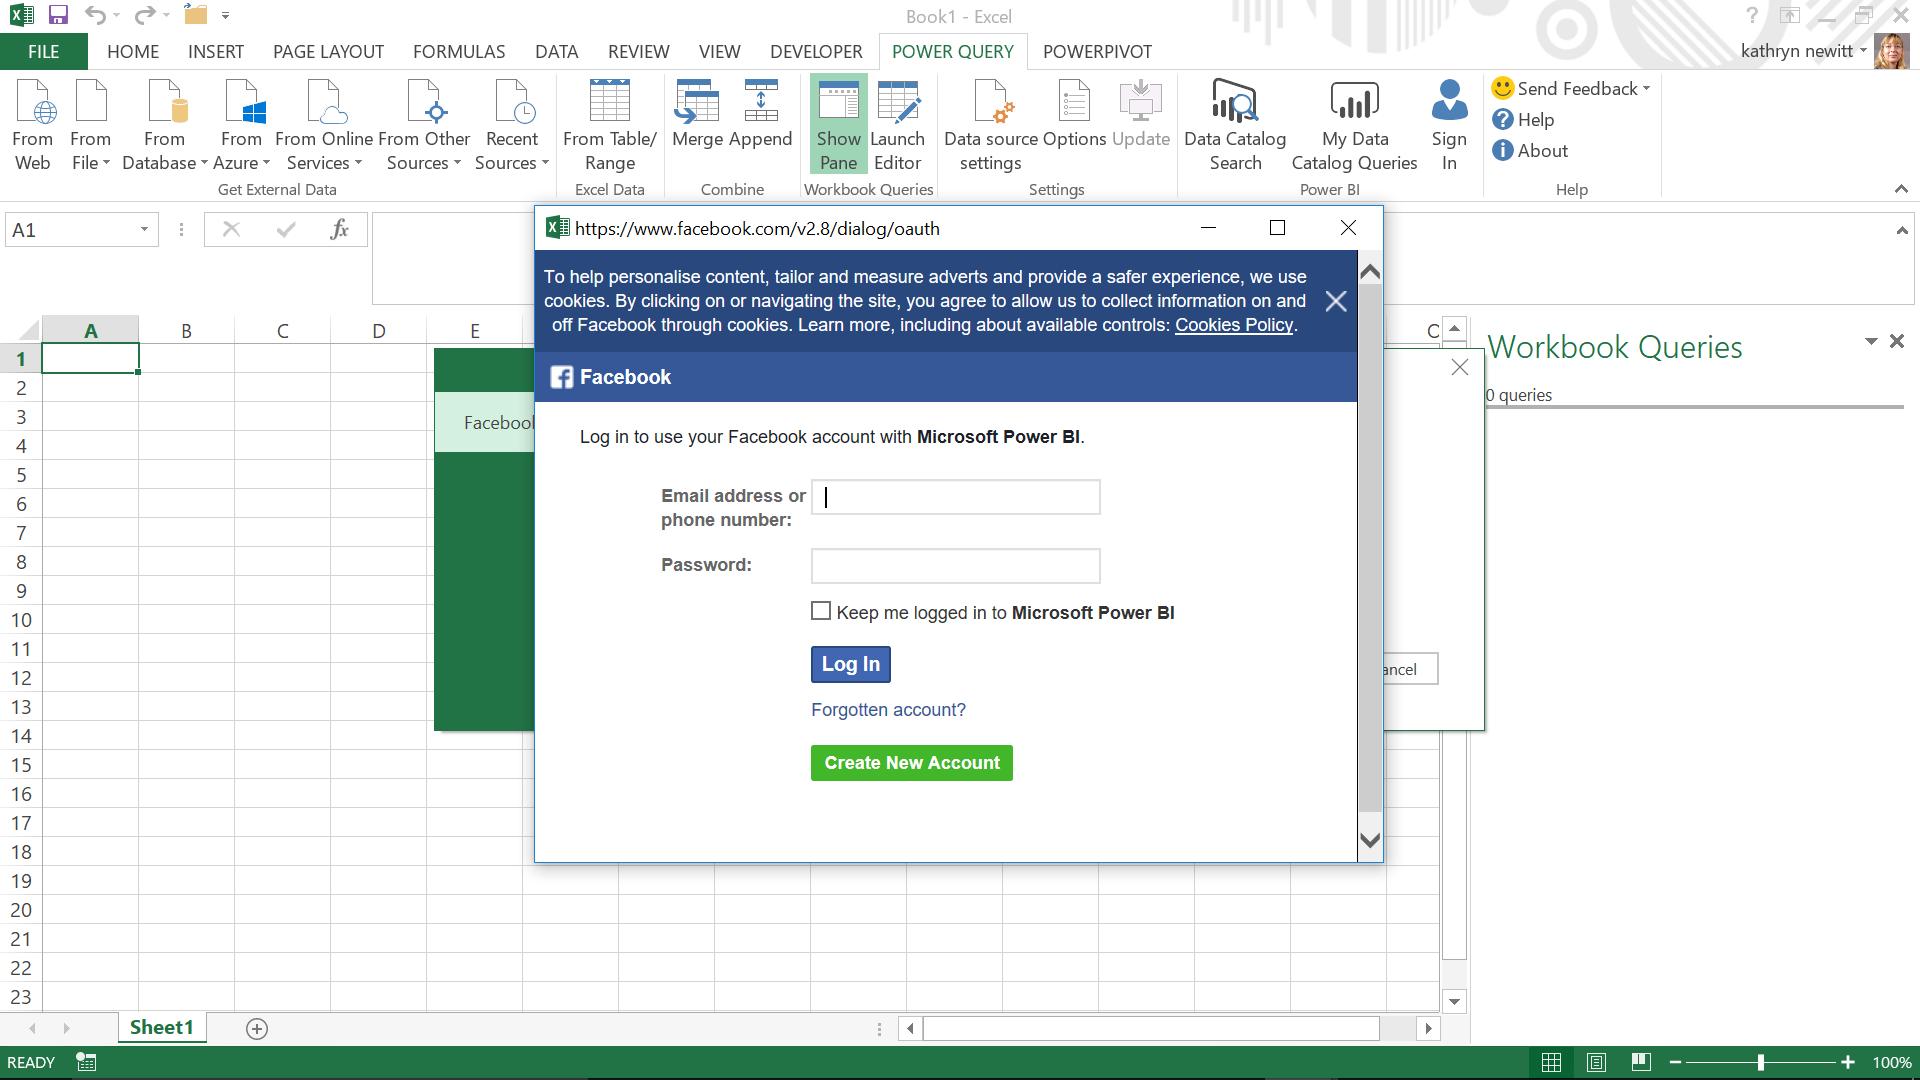
Having (secretly!) entered my login information, I am presented with another screen which will allow Power BI access to my account.
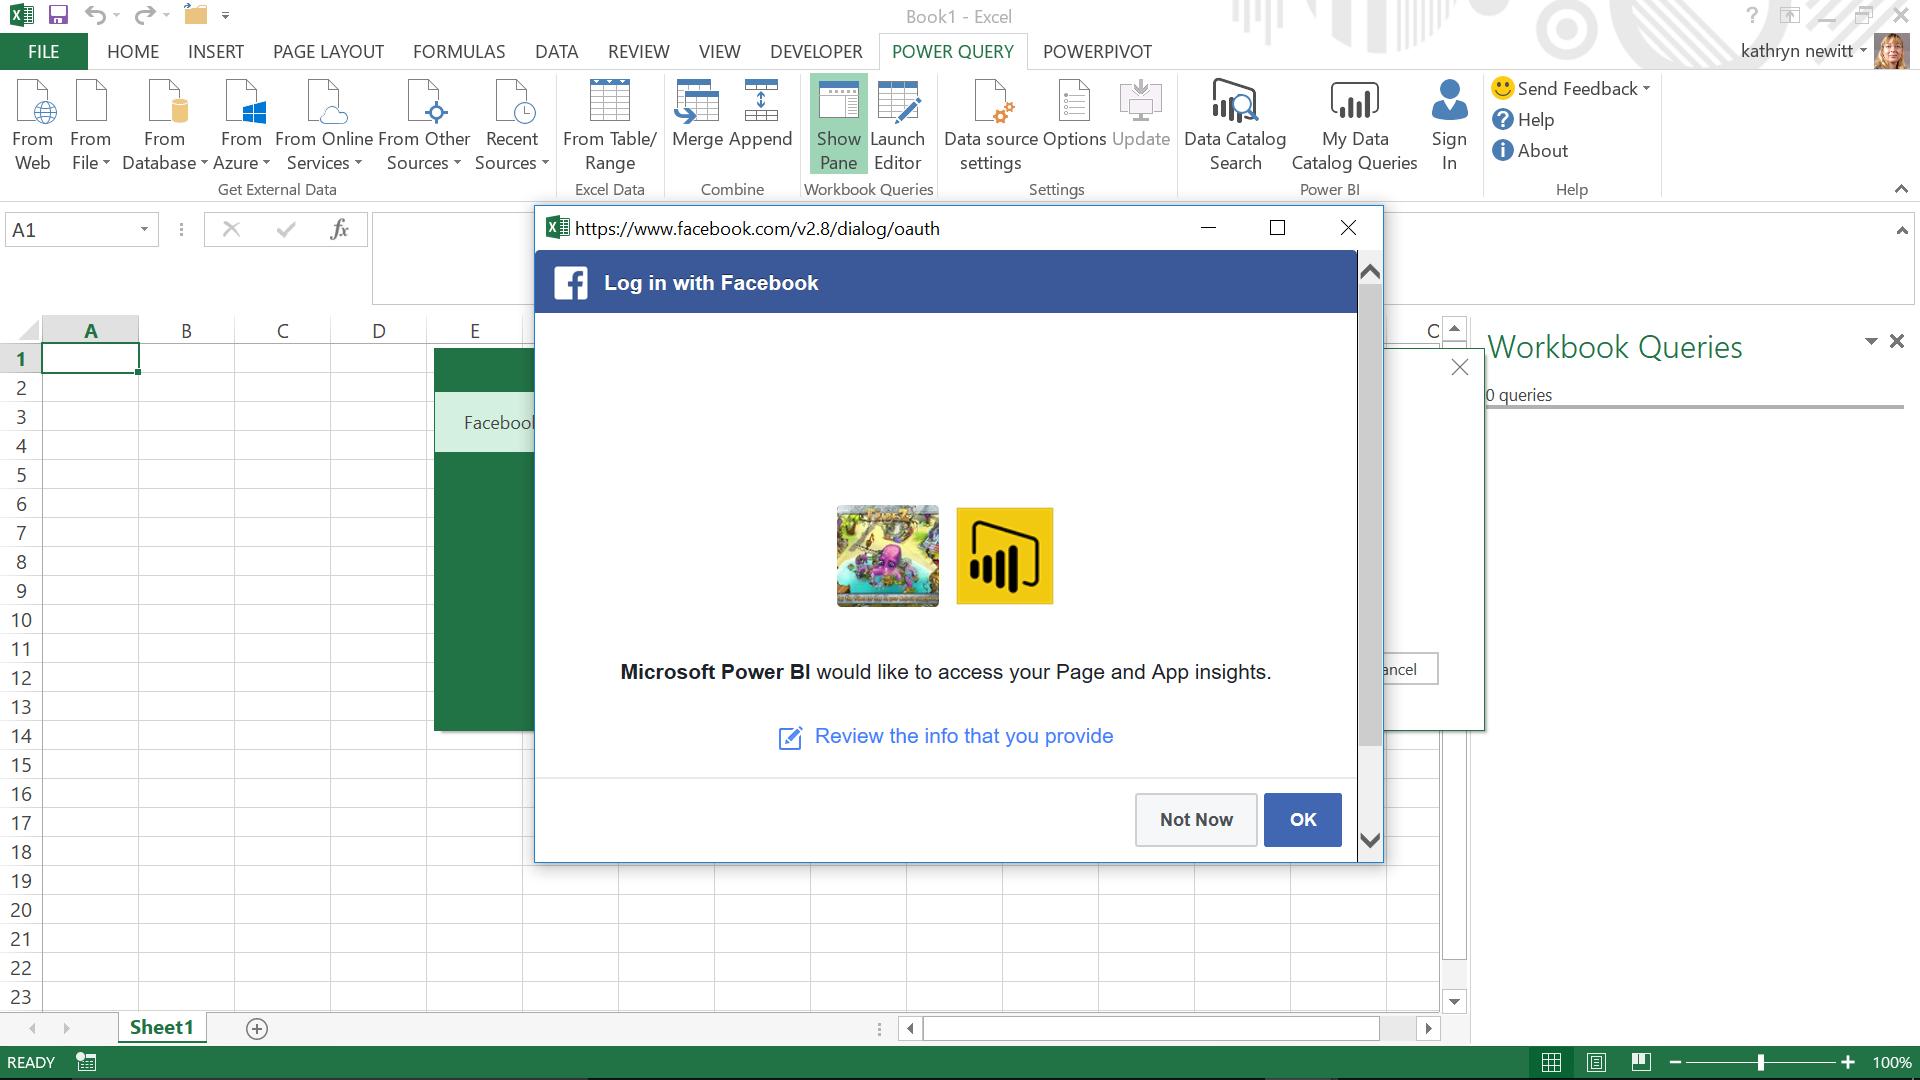
If I choose to ‘Review the info’, I currently have some basic options like preventing my friends’ lists from being accessed.
As I am fine with allowing access for the account I am using, I choose ‘OK’.
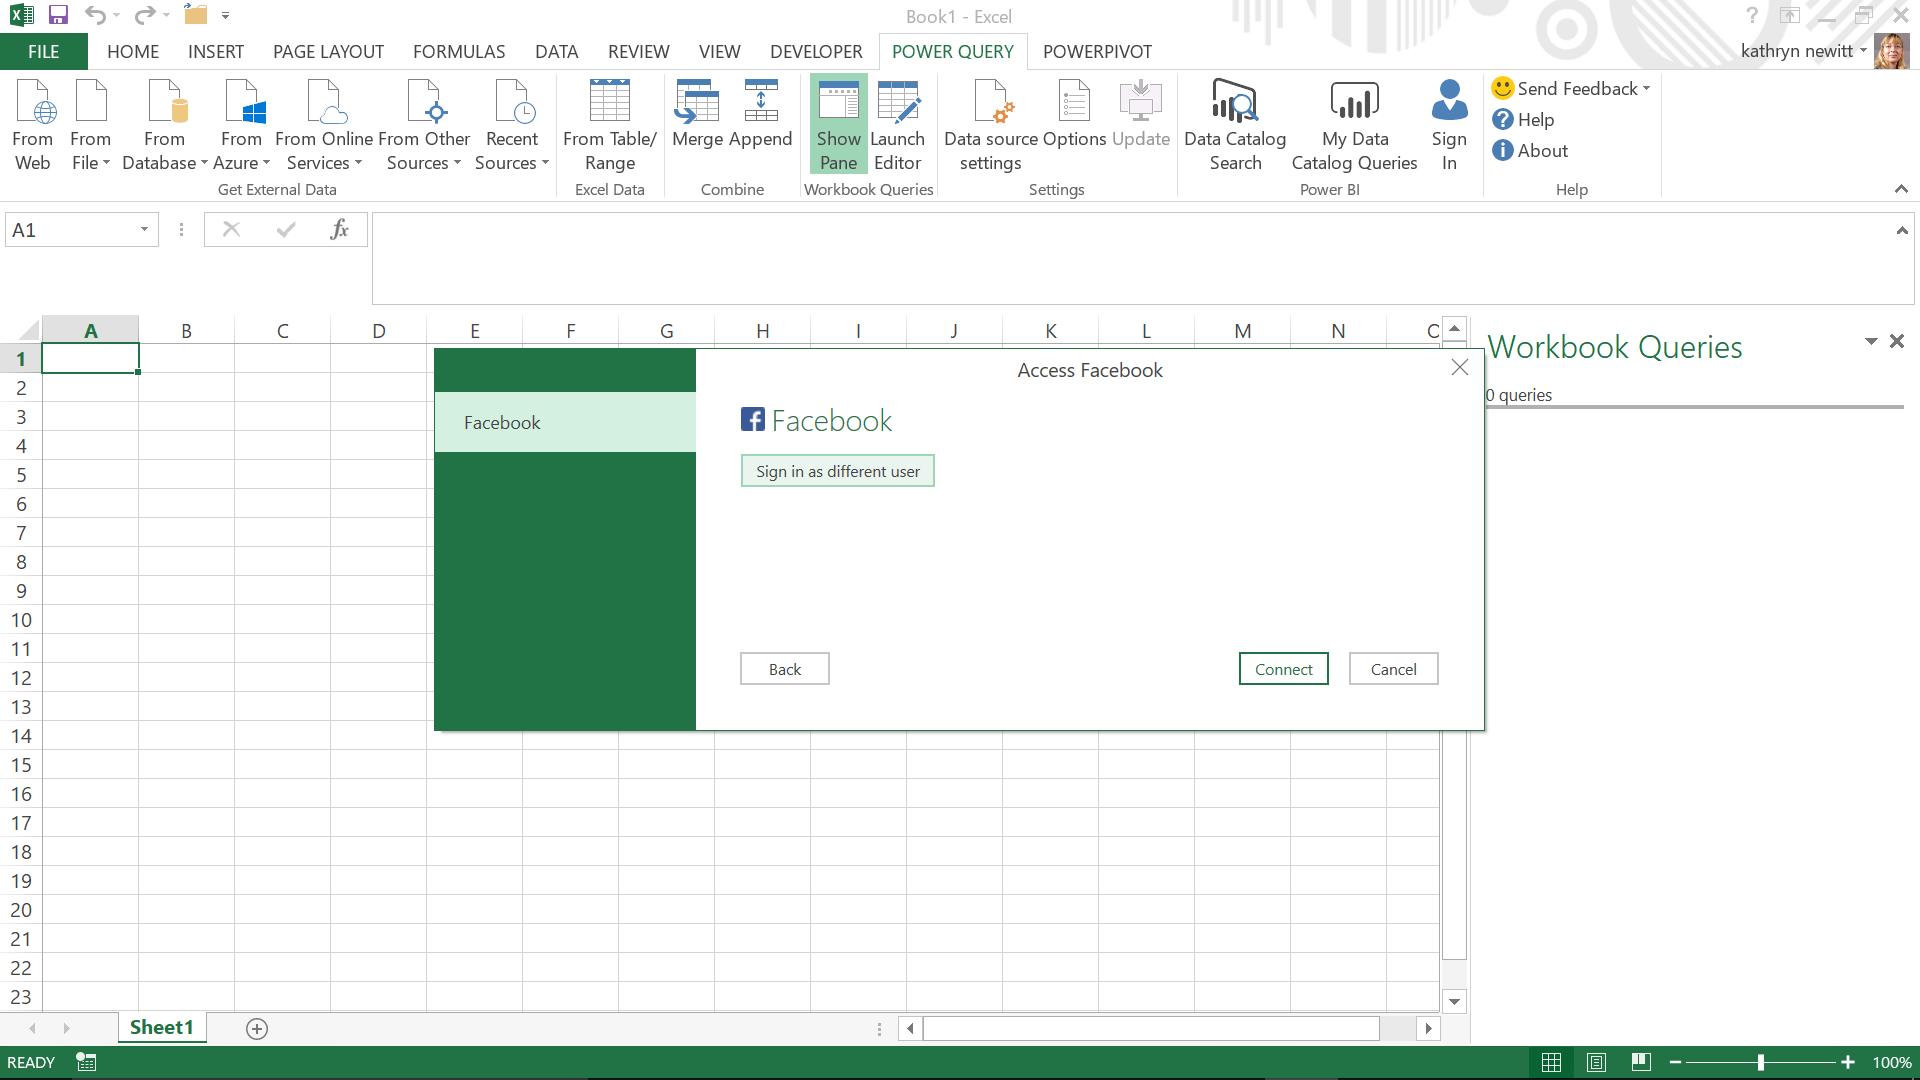
Now I have selected my account and accepted access, I choose to ‘Connect’:
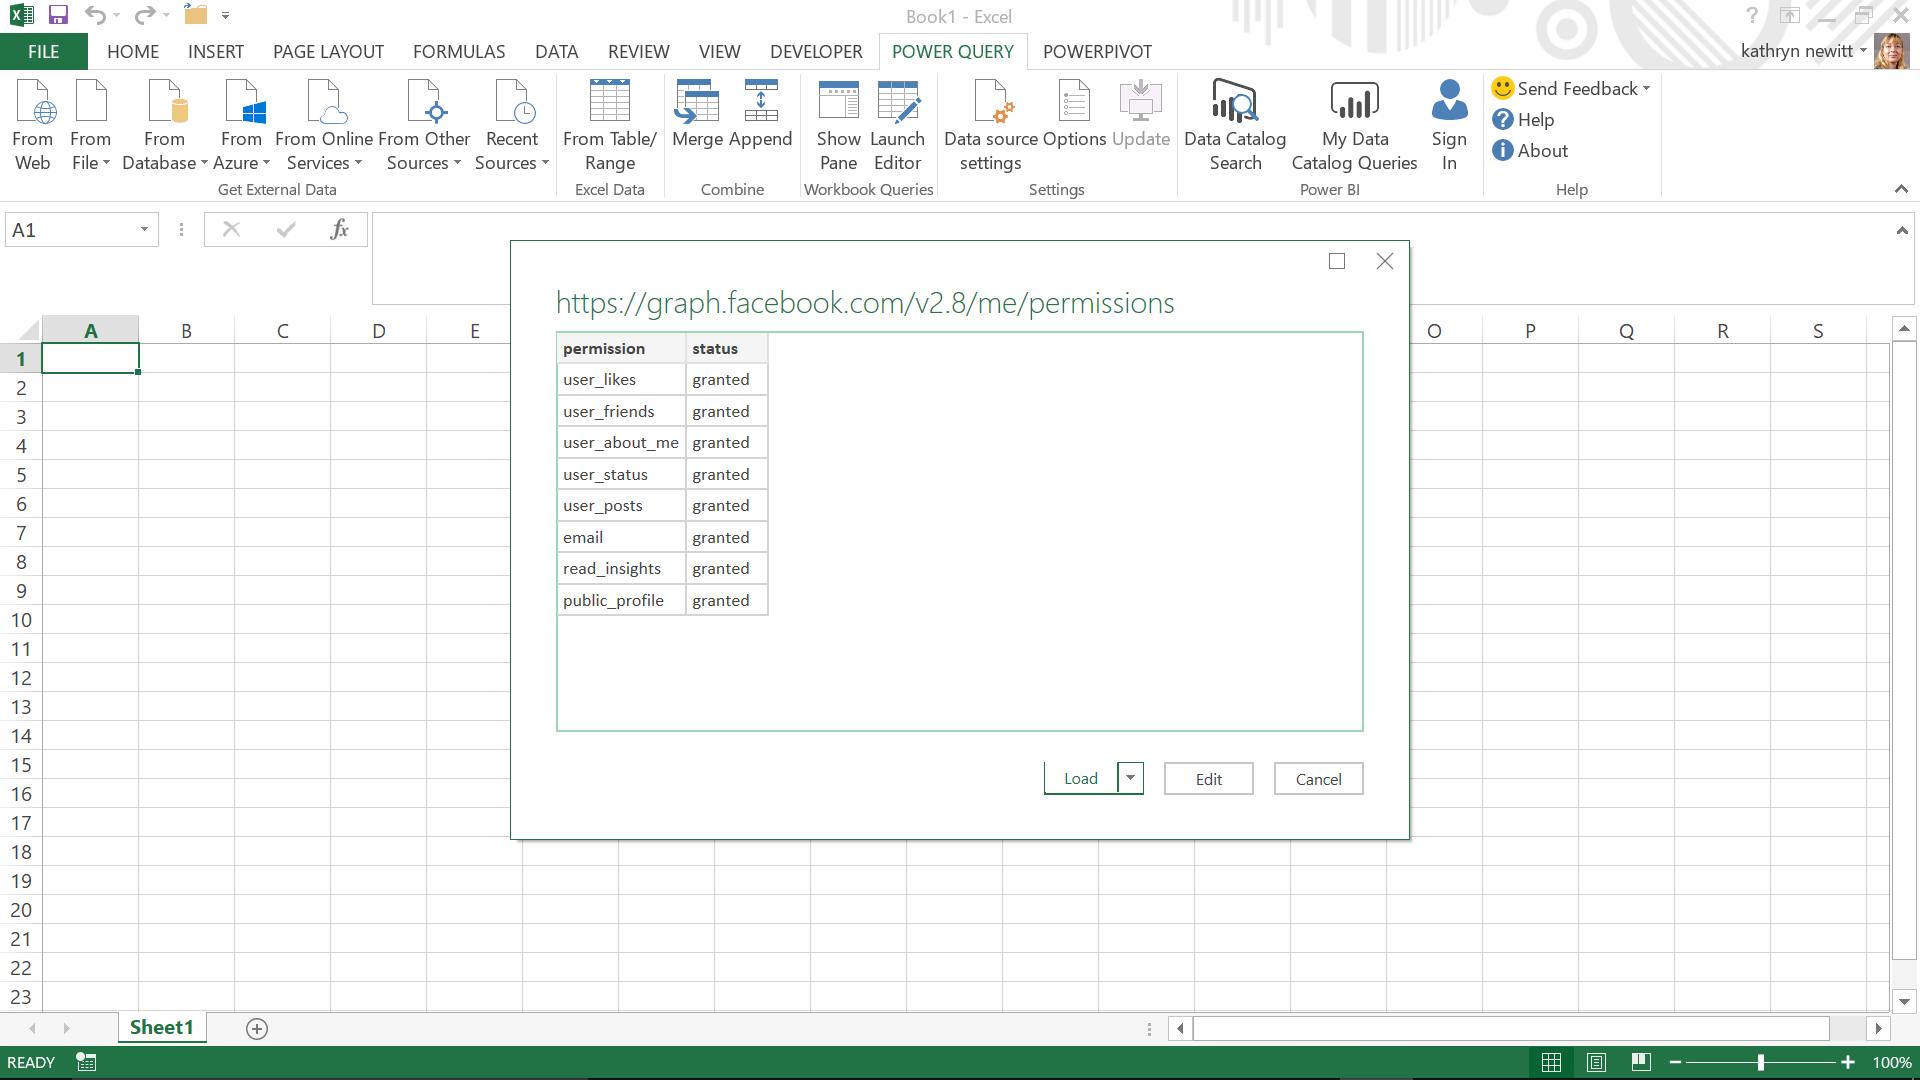
A table has been extracted, and I could choose to ‘Load’ or ‘Load To…’ immediately, but I think the safest option is to ‘Edit’:
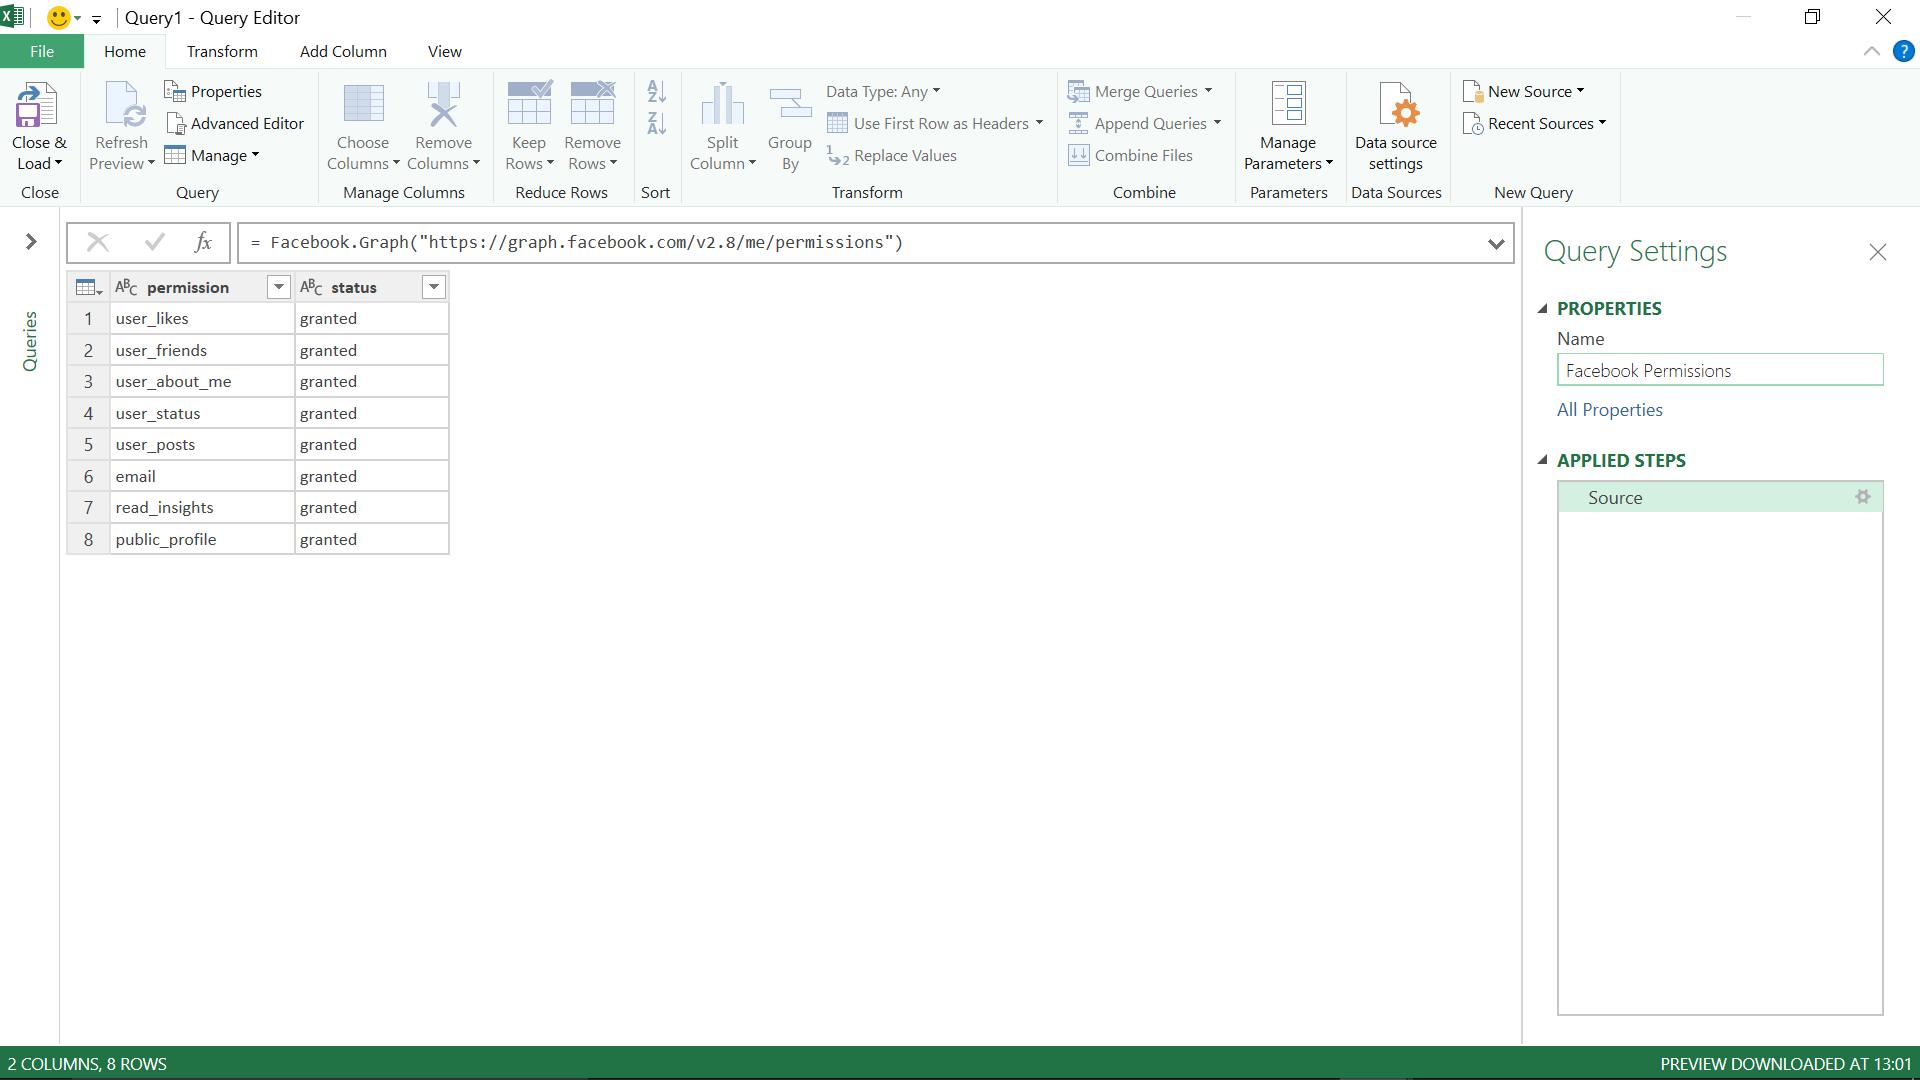
The data from my Facebook connection appears. If I want to edit or remove the connection to Facebook, I go to the ‘Data source settings’ in the ‘Data Source’ section on the ‘Home’ tab. I can also access my data sources from the ‘POWERQUERY’ tab in my Excel worksheet.
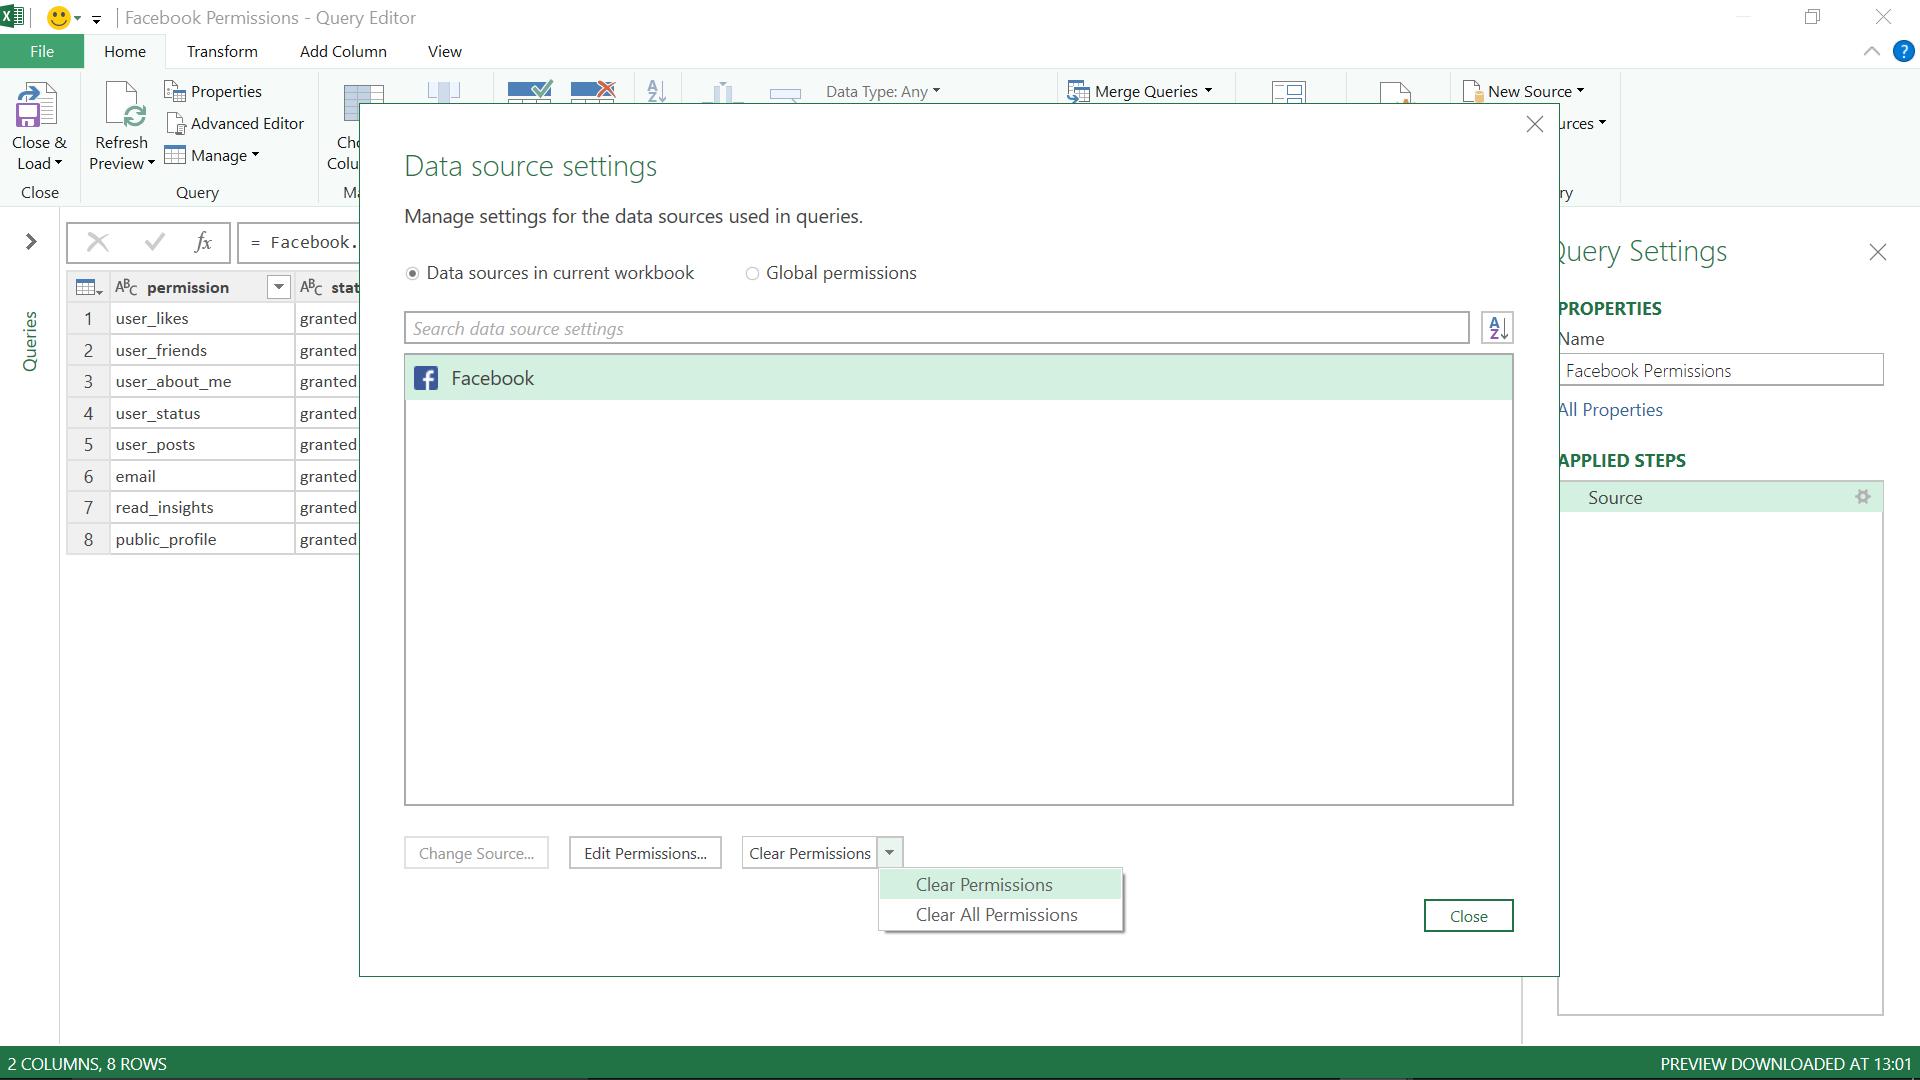
I can choose to ‘Clear Permissions’ (‘All’ would apply if I had other connections in my workbook), or I can choose to ‘Edit Permissions’. Clearing permissions removes this source from the list, so I choose the latter.
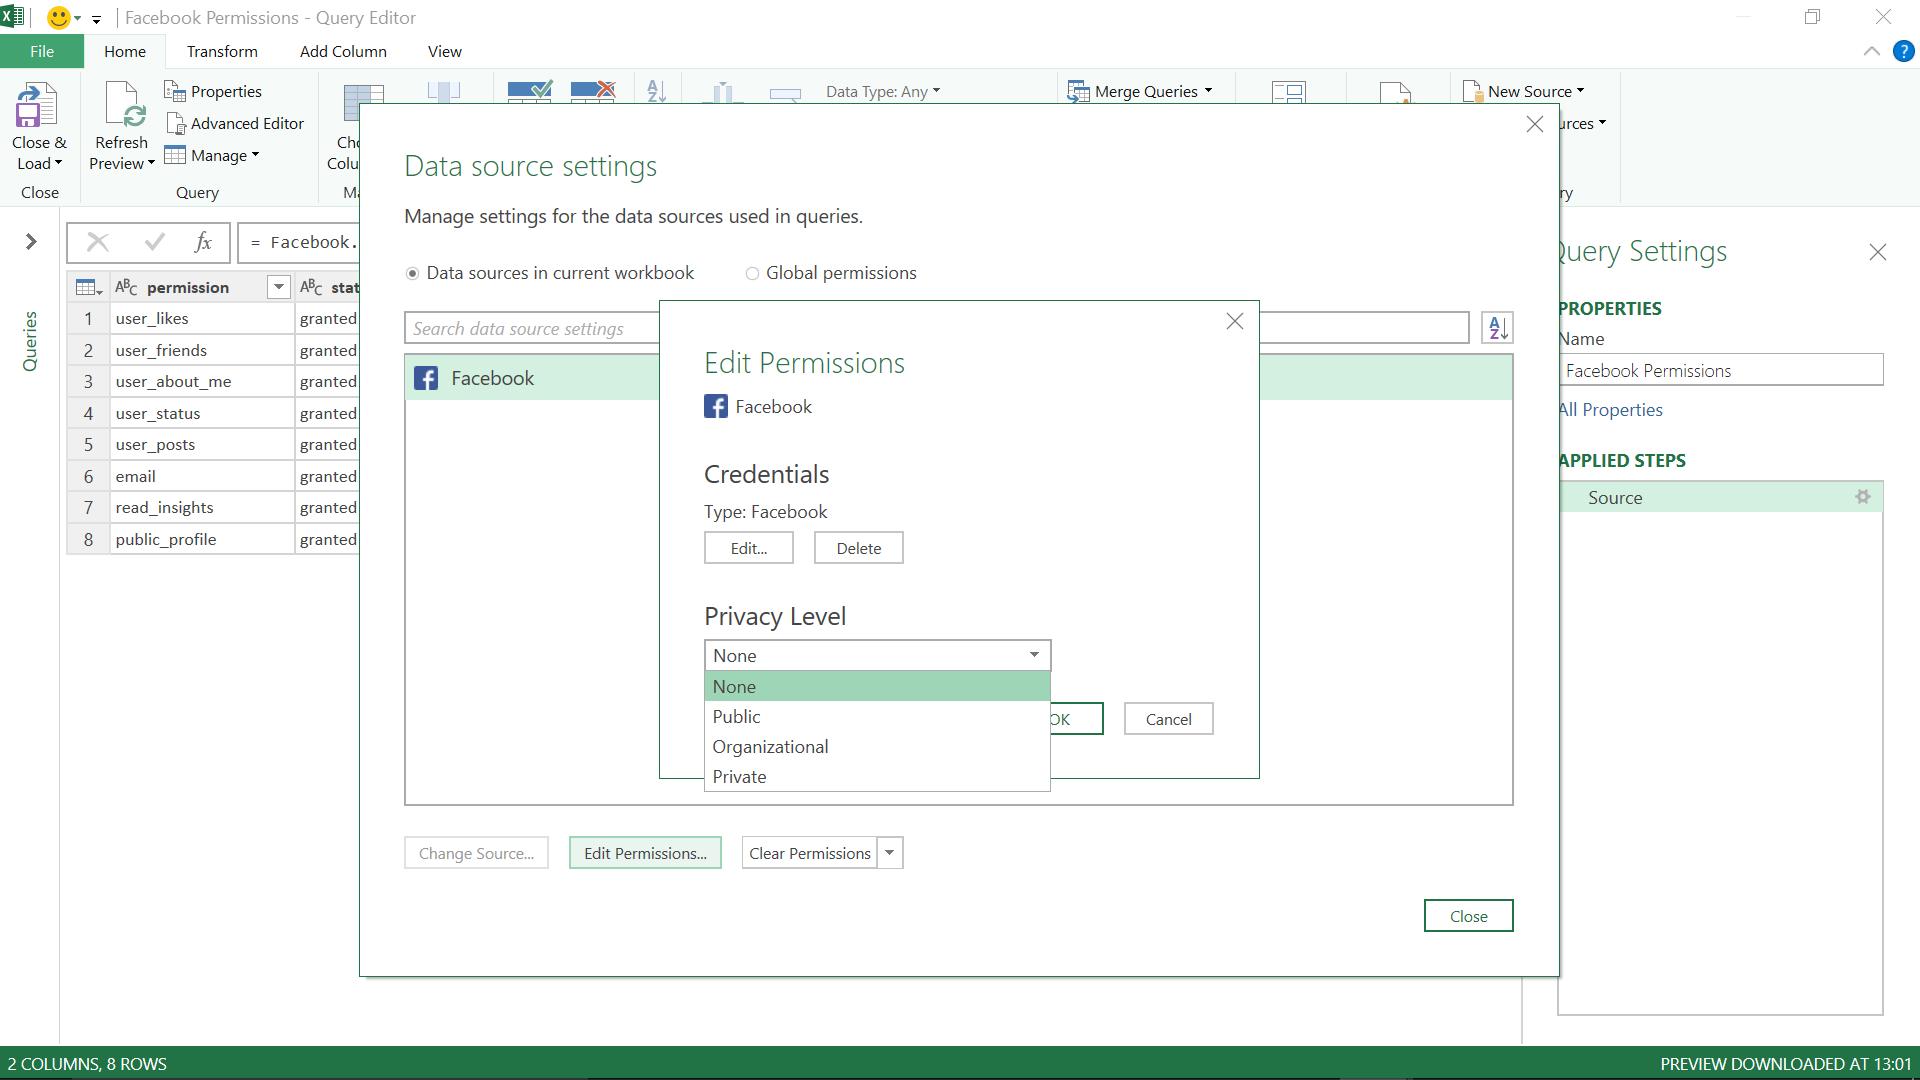
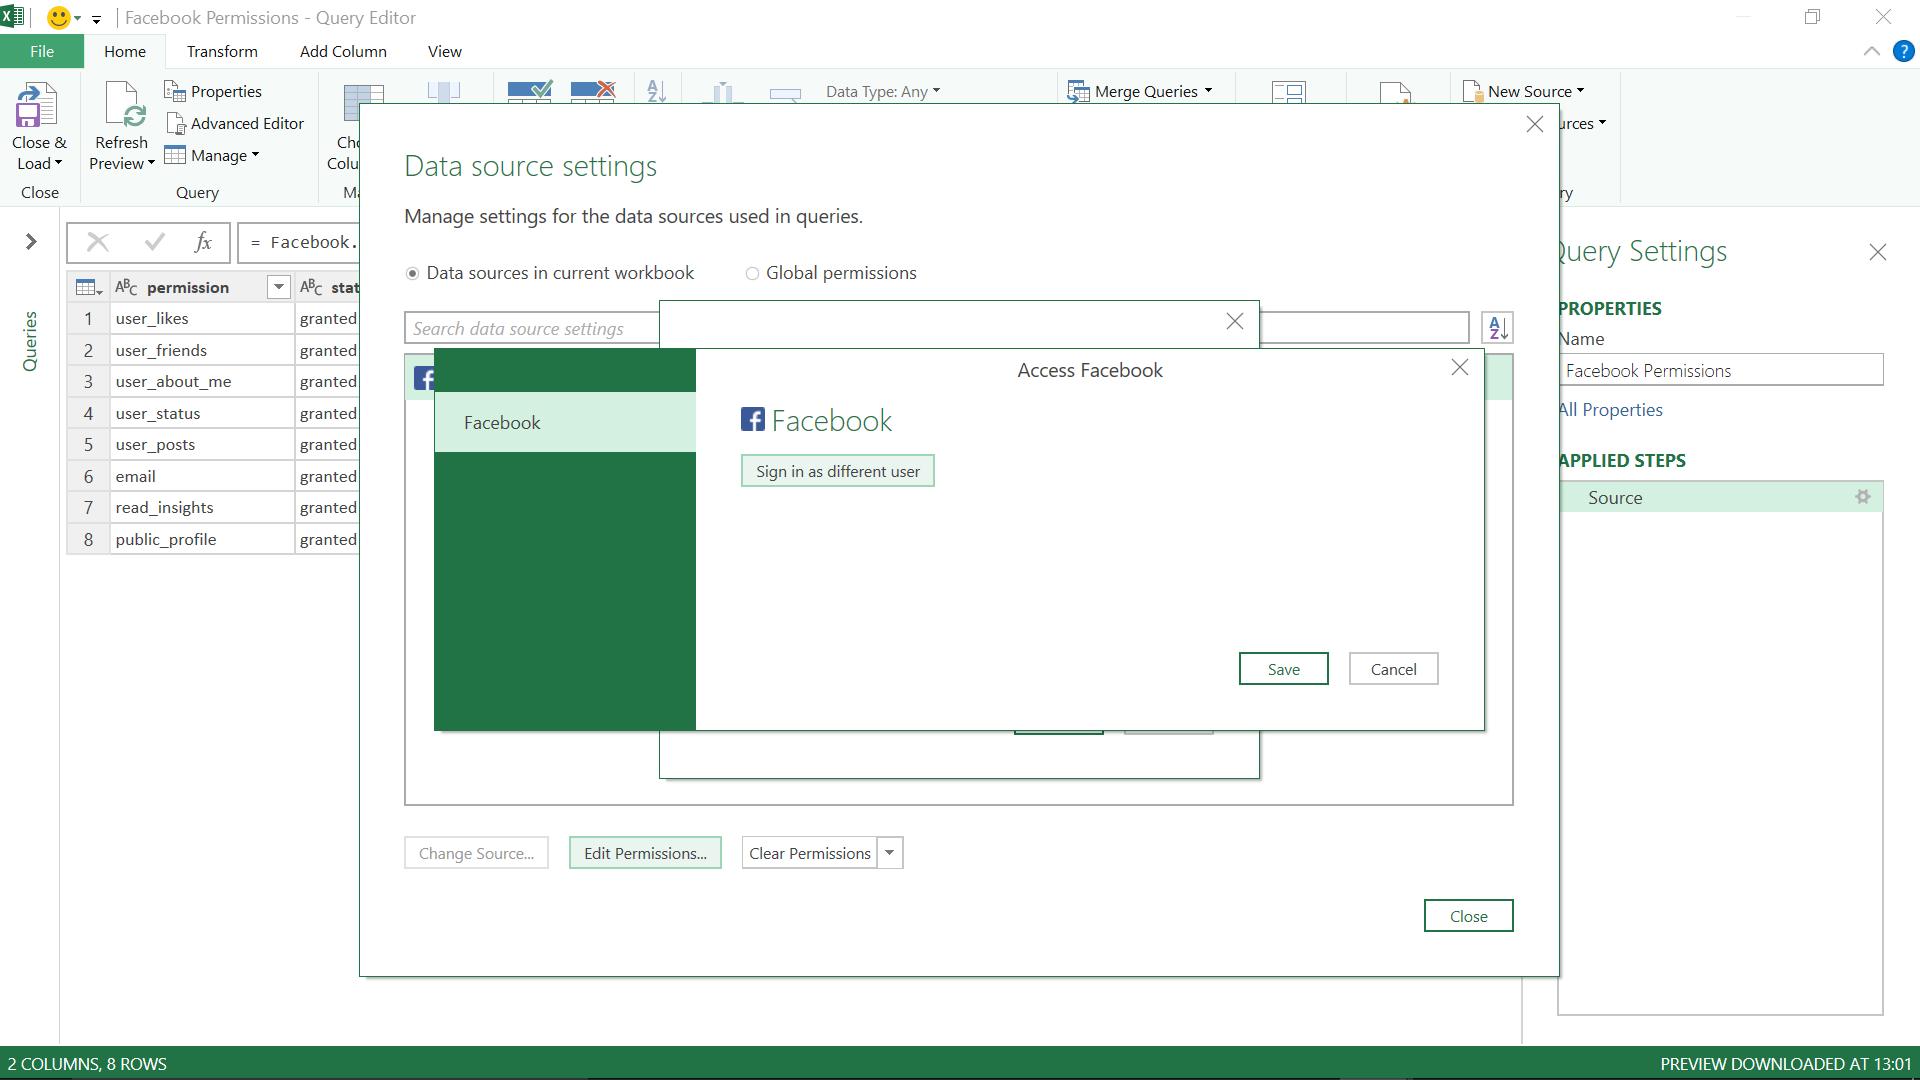
Here I can set the privacy level of the extracted data, and I can choose to ‘Delete’ or ‘Edit’ my login permissions. ‘Delete’ performs the same function as the ’Clear Permissions’ button on the main ‘Data source settings’ screen and removes this data source. Choosing to ‘Edit’ allows me to change user.
Obviously, given the nature of social media, and the external status of the connector, connecting to Facebook to access data is not without its risks. But in an increasingly connected world, it’s an interesting tool to have, as long as it is used carefully!
Want to read more about Power Query? A complete list of all our Power Query blogs can be found here. Come back next time for more ways to use Power Query!

