Power Query: See it, Save it, Sort it - Part 5
15 June 2022
Welcome to our Power Query blog. This week, I amend my merge to filter my data.
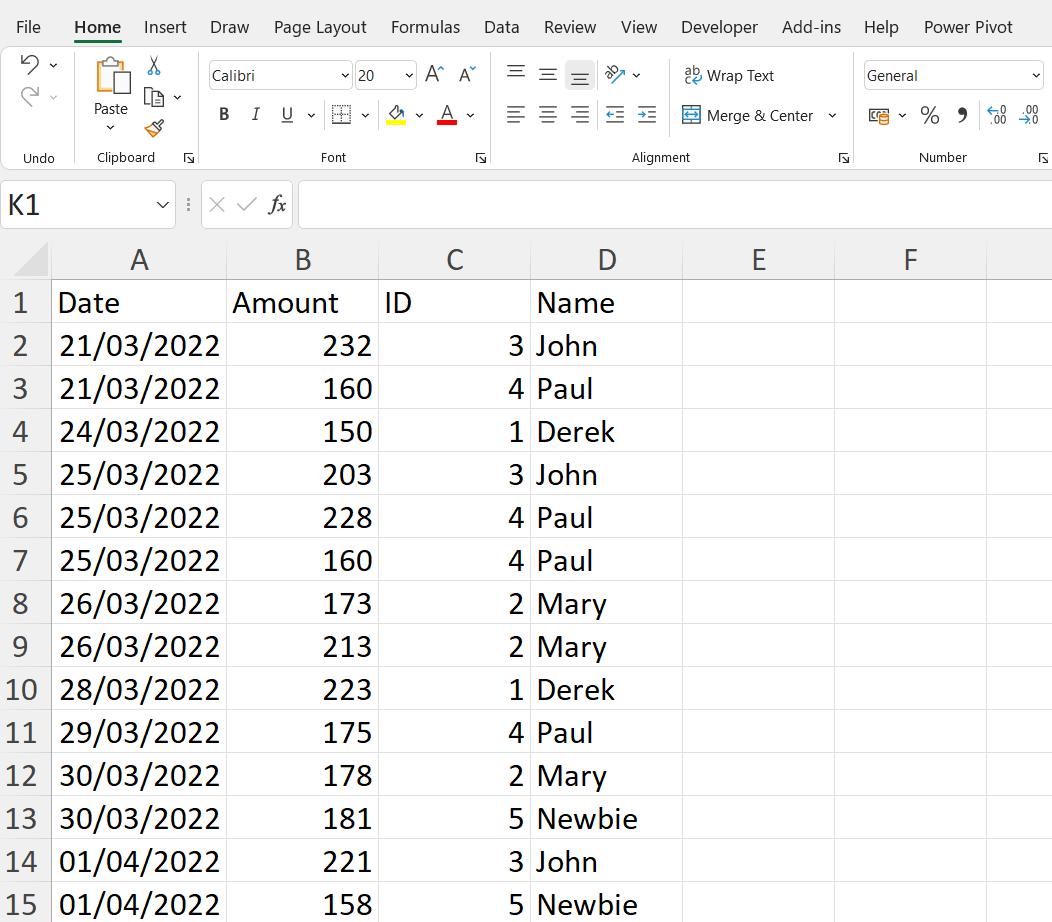
In Power Query: See it, Save it, Sort it – Part 1, I started with some data for my imaginary salespeople:

and extracted it into Power Query, in order to perform some transformations.

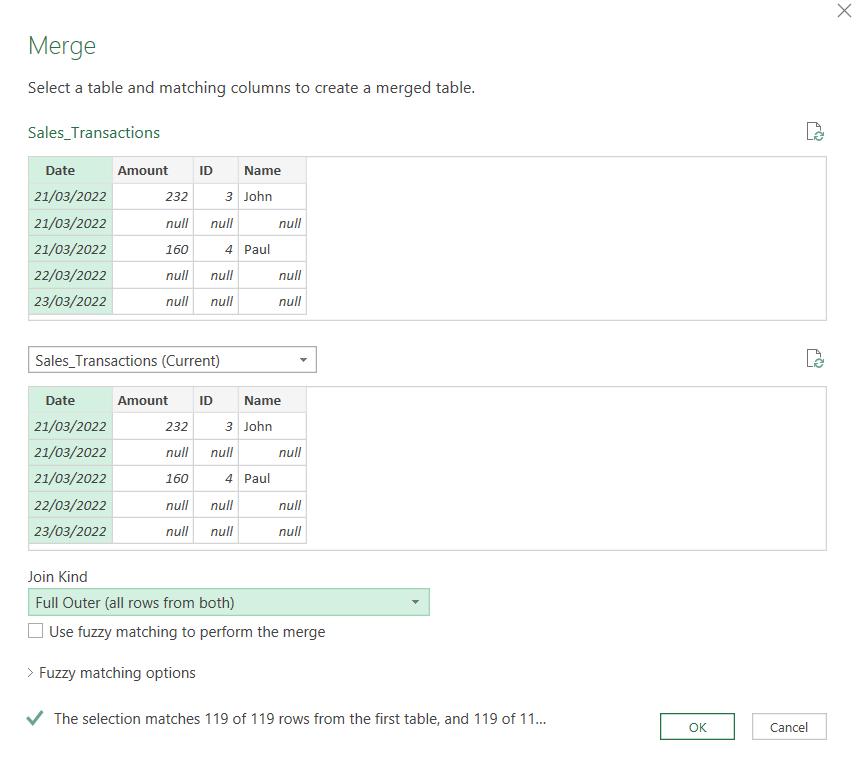
Last week, I chose to merge the table with itself on Date, and chose a ‘Full Outer’ join:

This left me with a column of tables, which I expanded to create a Date.1 column.

This time, I go back to my ‘Merged Queries’ step:

The M code for this step is:
= Table.NestedJoin(#"Sorted Rows", {"Date"}, #"Sorted Rows", {"Date"}, "Sorted Rows", JoinKind.FullOuter)
where ‘Sorted Rows’ is the name of the previous step. If I replace the second ‘Sorted Rows’ with ‘Changed Type’, this will give me Sales_Transactions before I appended the data:

I amend the M code in the ‘Merged Queries’ step by editing the code in the Formula bar:
= Table.NestedJoin(#"Sorted Rows", {"Date"}, #"Changed Type", {"Date"}, "Sorted Rows", JoinKind.FullOuter)
When I enter this change, nothing seems to happen:

However, if I go to the ‘Expand Sorted Rows’ step, I can see that not all values in Date.1 are now populated:

The rows which have null in Date.1 are the appended data from Full_Dates that I need to keep, along with the original data from Sales_Transactions:
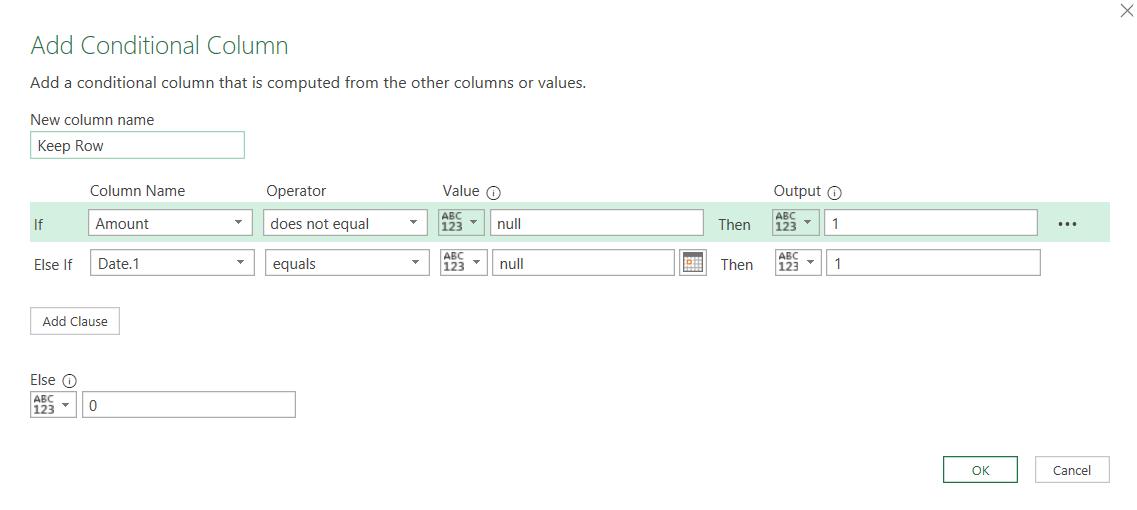
I can do this by creating a flag by adding a ‘Conditional Column’ from the ‘Add Column’ tab:

This brings up a dialog, where I can enter the conditions for the row to be kept.

I want to keep the rows where Amount is not null or Date.1 is null. This ensures I only keep the appended rows from Full_Dates if I don’t already have data for that day.

Now I can filter on Keep Row and keep all rows where it is one [1].

This gives me the data I need, and I right-click on Keep Row and select Remove.

Next time I will continue transforming my data.
Come back next time for more ways to use Power Query!

