
Power Query: Split Folder Part 3
16 April 2025
Welcome to our Power Query blog. This week, I continue transforming the data for the file type queries.
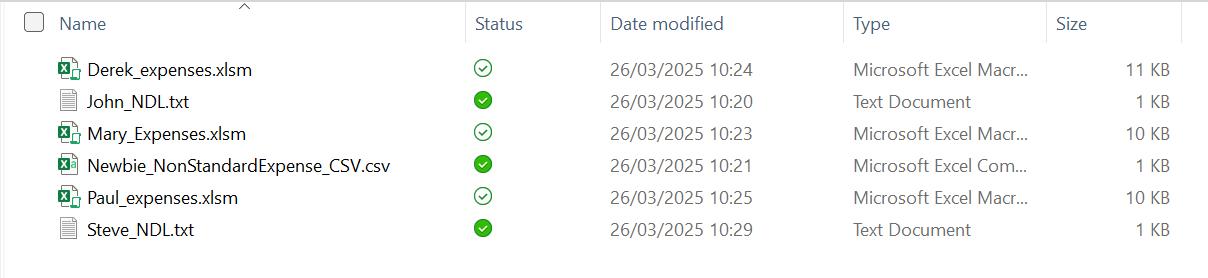
I have covered the topic of getting files from a folder in several blogs; the latest series was Excel Files from a Folder Fiddle. In this series, I will look at how I may extract files from a folder, where some of the files require different transformations to others. The folder shown below contains expense data for May 2024, but not all formats are the same:
My task is to transform all the data and append into a single output Table.
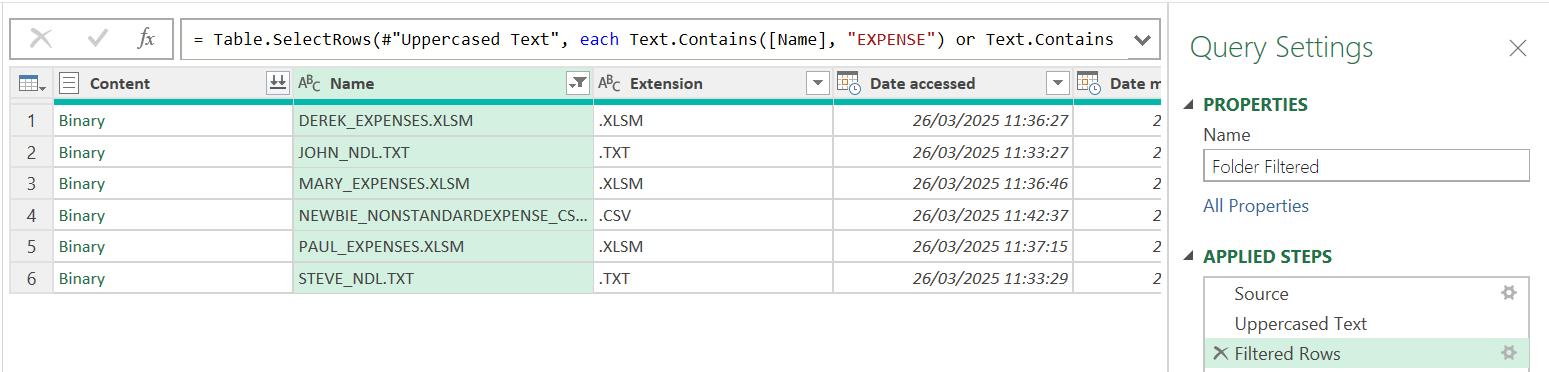
In Part 1, I used the ‘From Folder’ connector to extract data from the folder and transformed / filtered the data to ensure I only had the expense data.
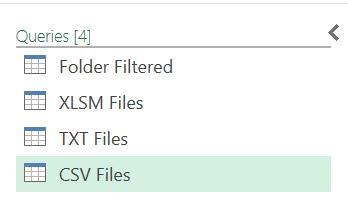
I took three [3] reference copies of Folder Filtered, one for each file type:
Last time, I transformed the data in XLSM Files and TXT Files. The XLSM Files transformations were reasonably straightforward, since the sheet name was consistent.
The transformations for TXT Files were more involved, as I needed to make the changes to TXT_Transform Sample File and ensure that there were no references to data unique to the first file.
This time, I’ll transform CSV Files. Currently, there is only one CSV file, but I will assume that there could be more when I refresh the data, so I will use the ‘Combine Files’ approach. I begin by filtering, as I did for the other queries:

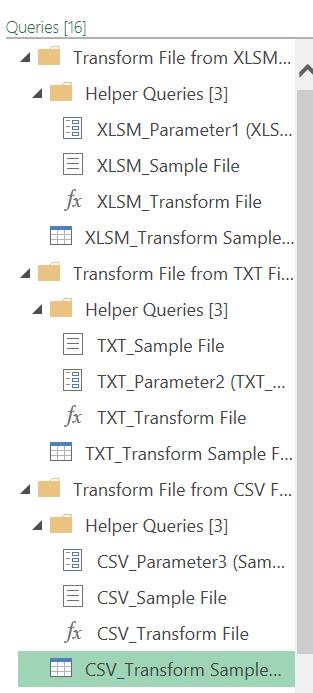
Next, I combine the files in the Content and take the defaults in the ‘Combine Files’ dialog to begin the process. I rename the Power Query generated ‘Helper Queries’ as I did for the other file type queries:
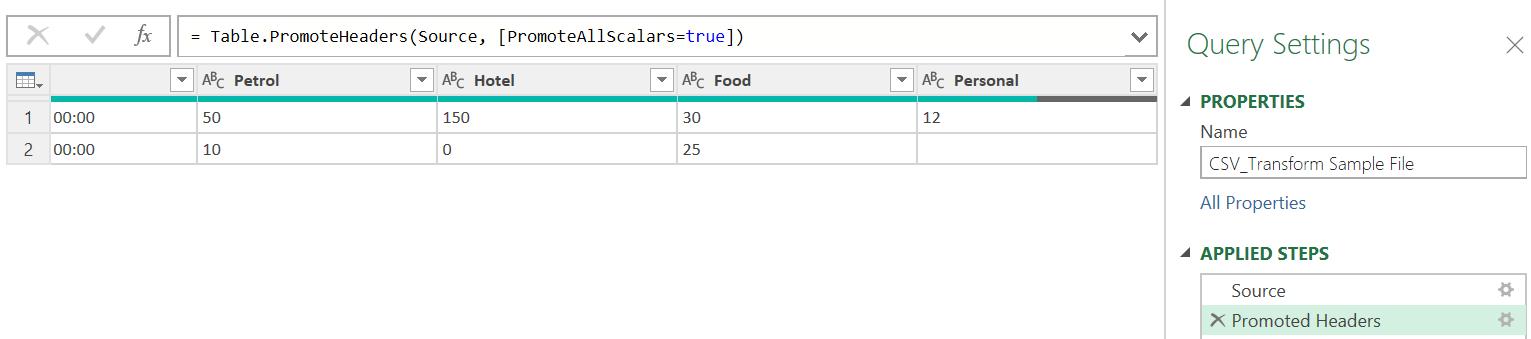
Since there are multiple transformations needed for this data, I will transform the CSV_Transform Sample File query:
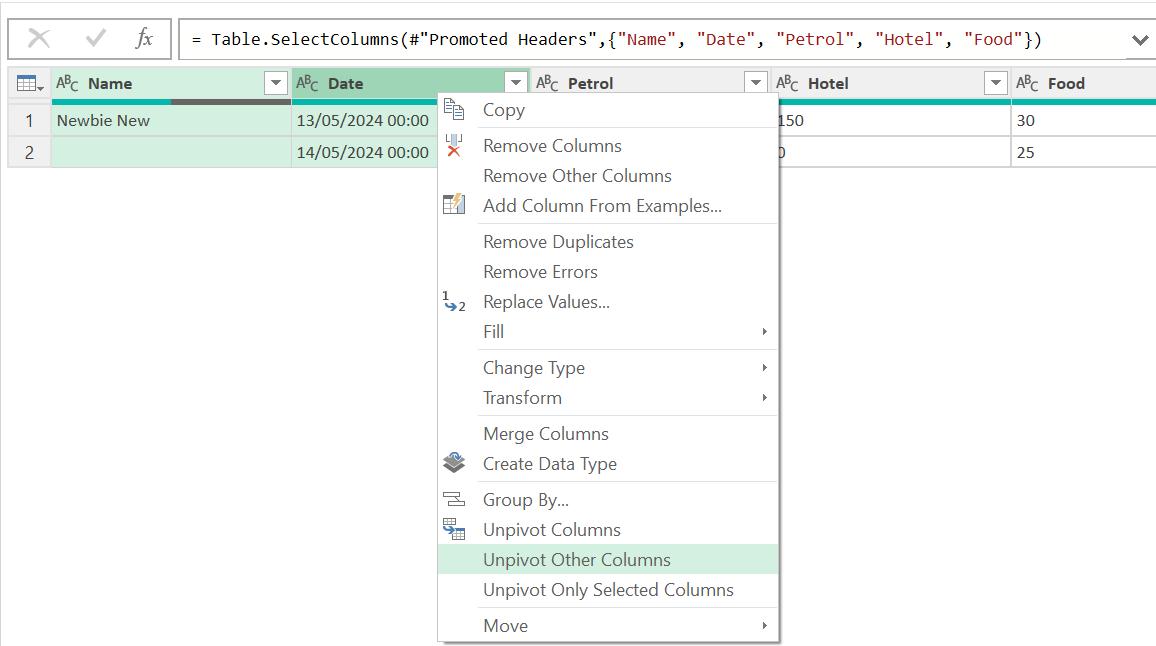
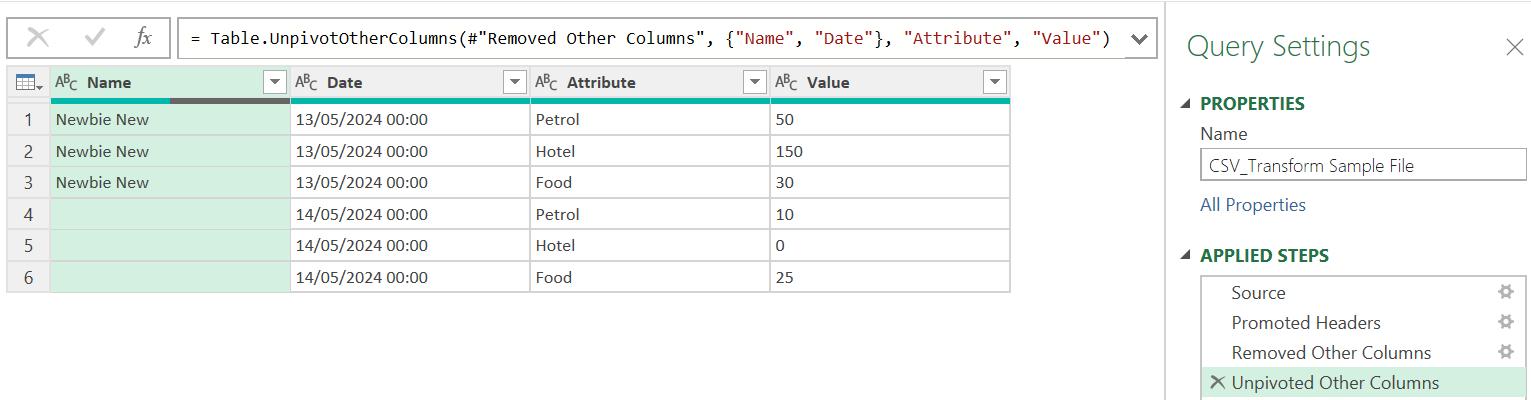
Since Newbie has added a Personal column, I need to remove this. I need to avoid naming this column in the step as other CSV files may not have this column. Instead, I choose to keep the other columns and ‘Remove Other Columns’. My next step is to select the Name and Date columns, and choose to ‘Unpivot Other Columns’ to bring the expense data into one column:
The data is now in a similar format to the other file type queries:
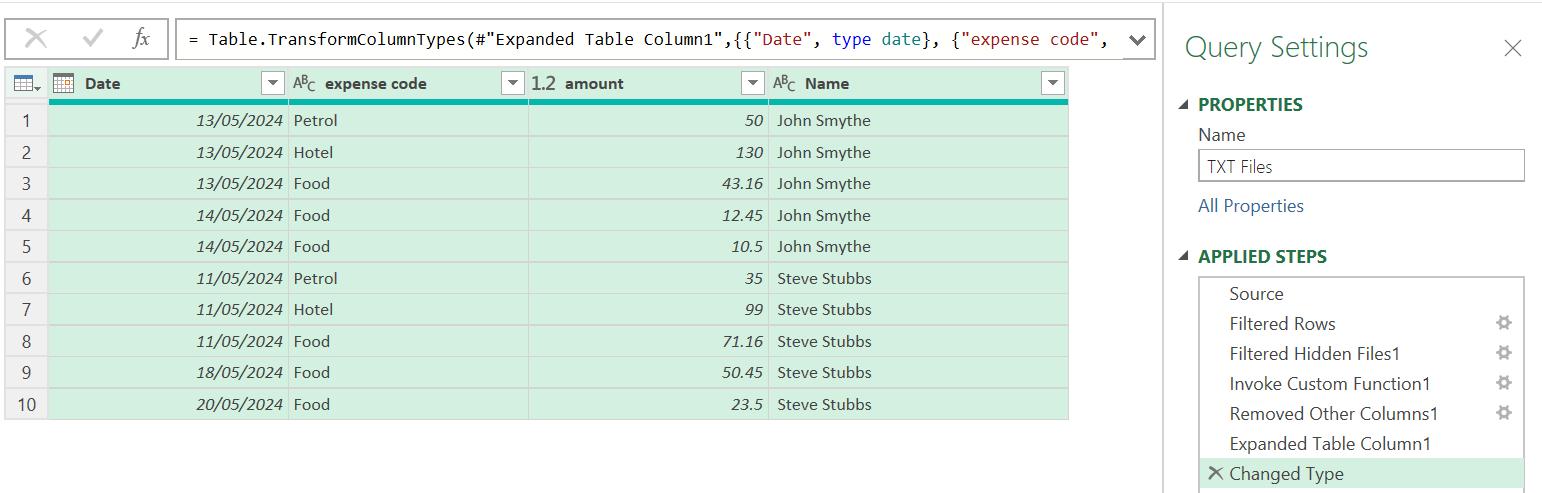
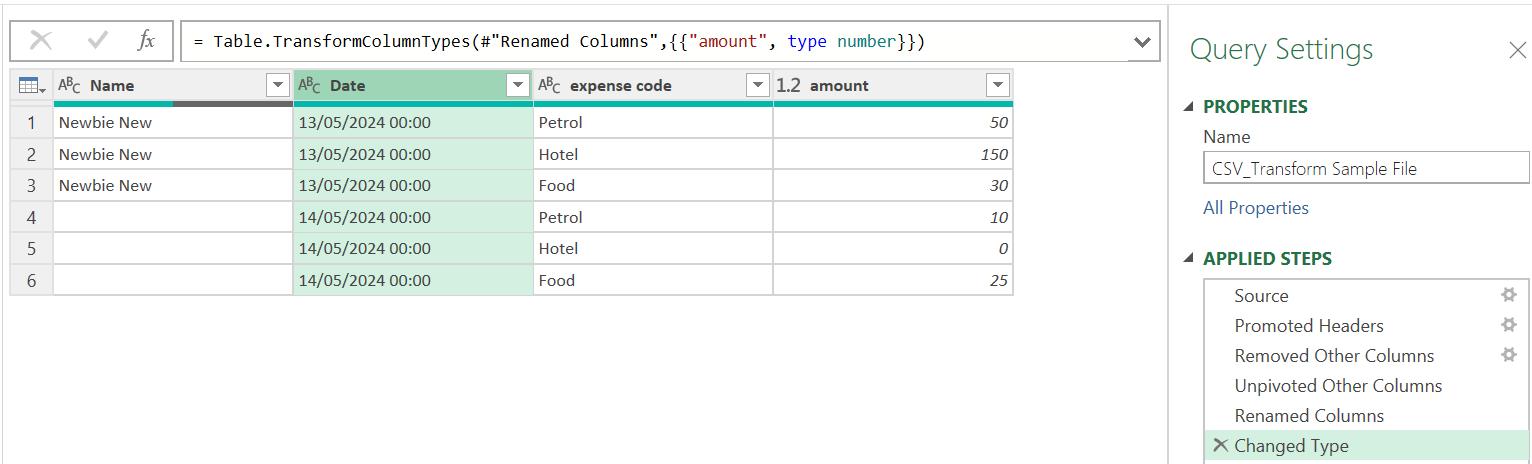
There are a few more changes to make. I need to rename Attribute to expense code, and Value to amount. I also need to change the data type of amount to a decimal number:
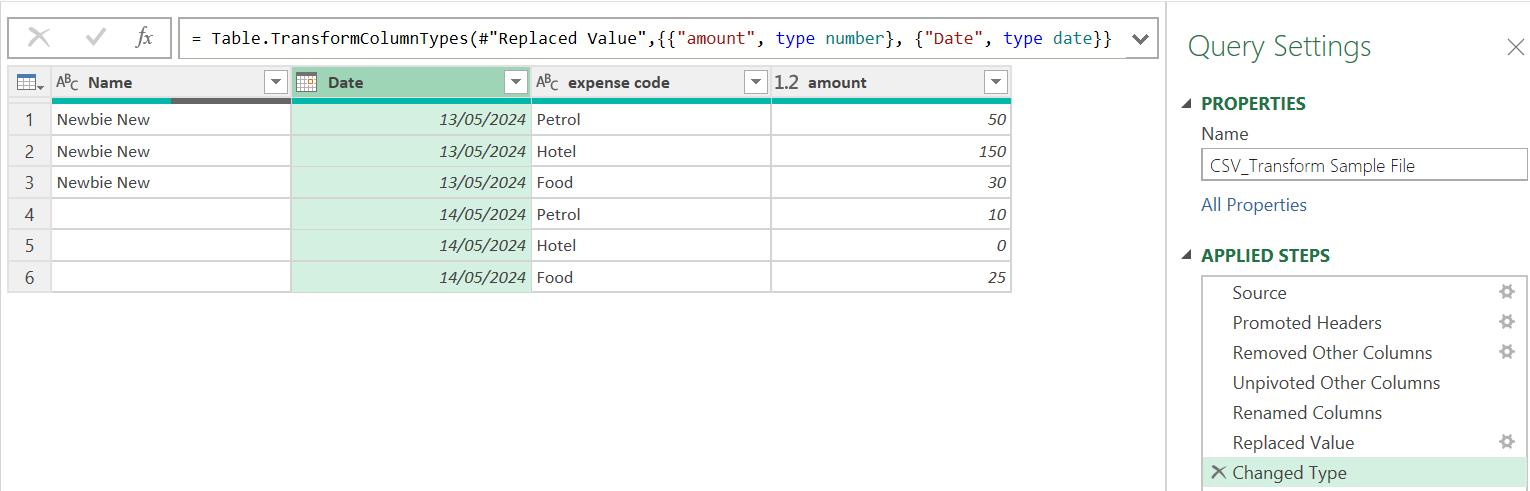
I would also like to change Date to a ‘date’ data type, but since there is a time, it will give me an error. I could either change it to a datetime data type and then to a date; this must be a separate step or else I can remove the time by replacing the string “00:00” with nothing. I choose to insert the latter as a step before the ‘Changed Type’ step, so that I may only have one ‘Changed Type’ step:
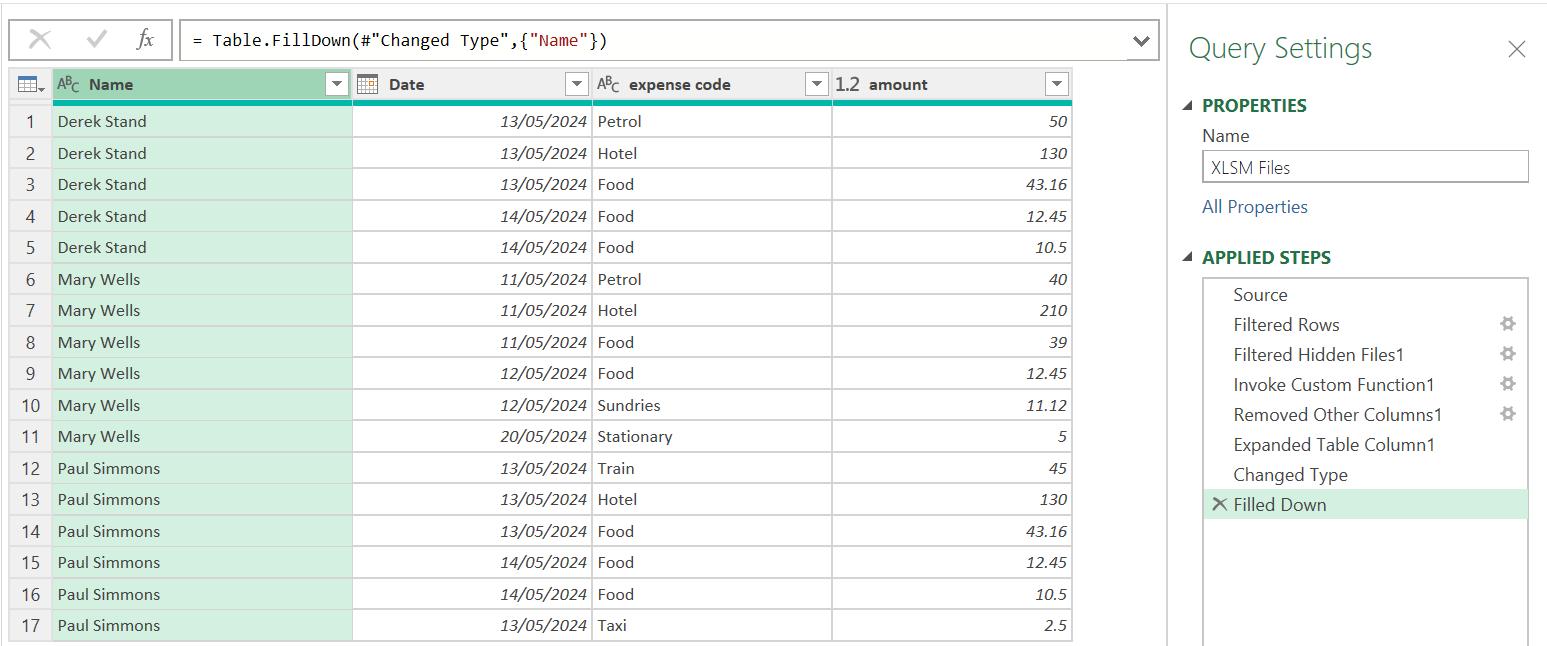
To fill down the Name column, I will replace space with null and then use the ‘Fill Down’ functionality. I notice that there is a zero [0] in one of the amounts, but I keep this in case it is something that Newbie plans to update with the correct value.
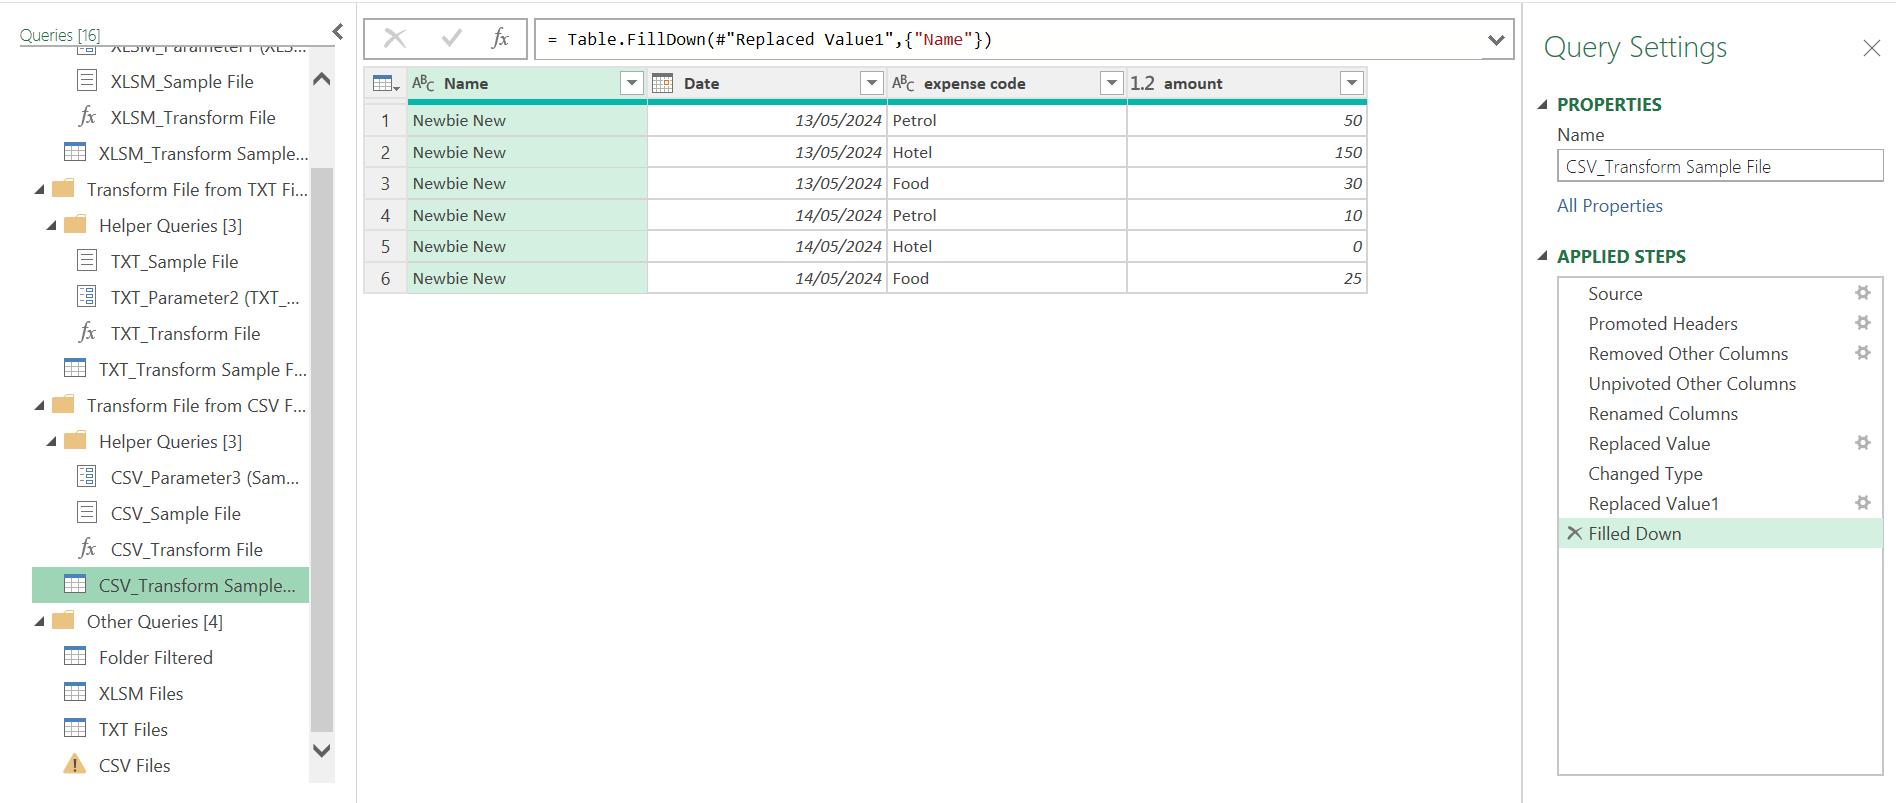
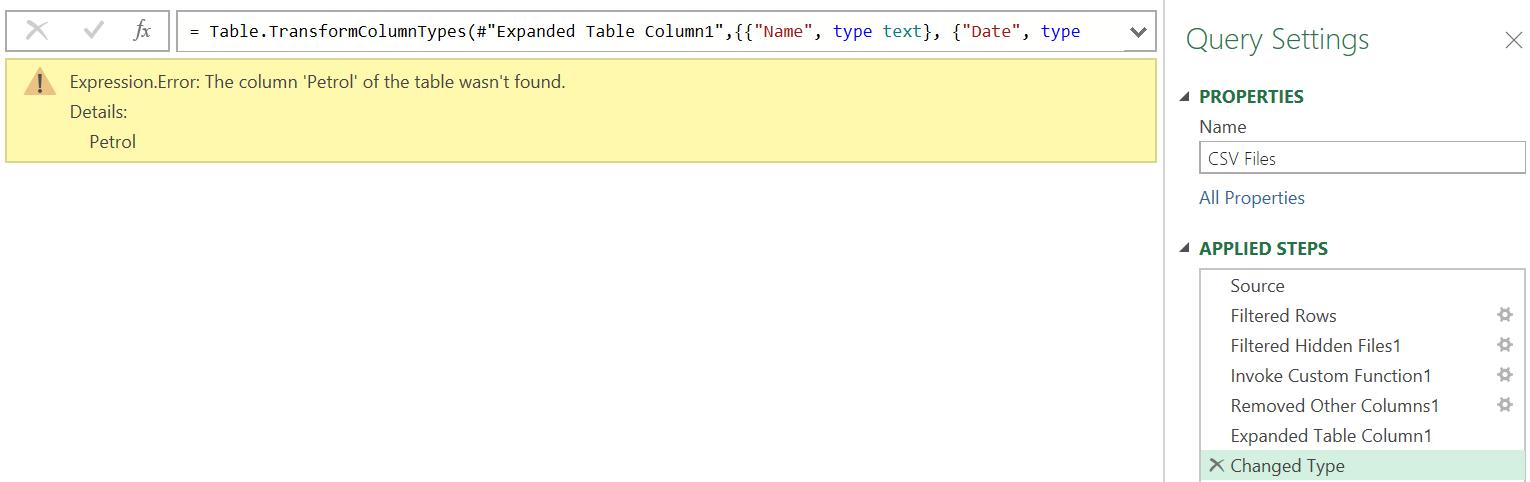
I have the same issue with CSV Files that I had with TXT Files. The ‘Changed Type’ step assumes I still have the original columns:
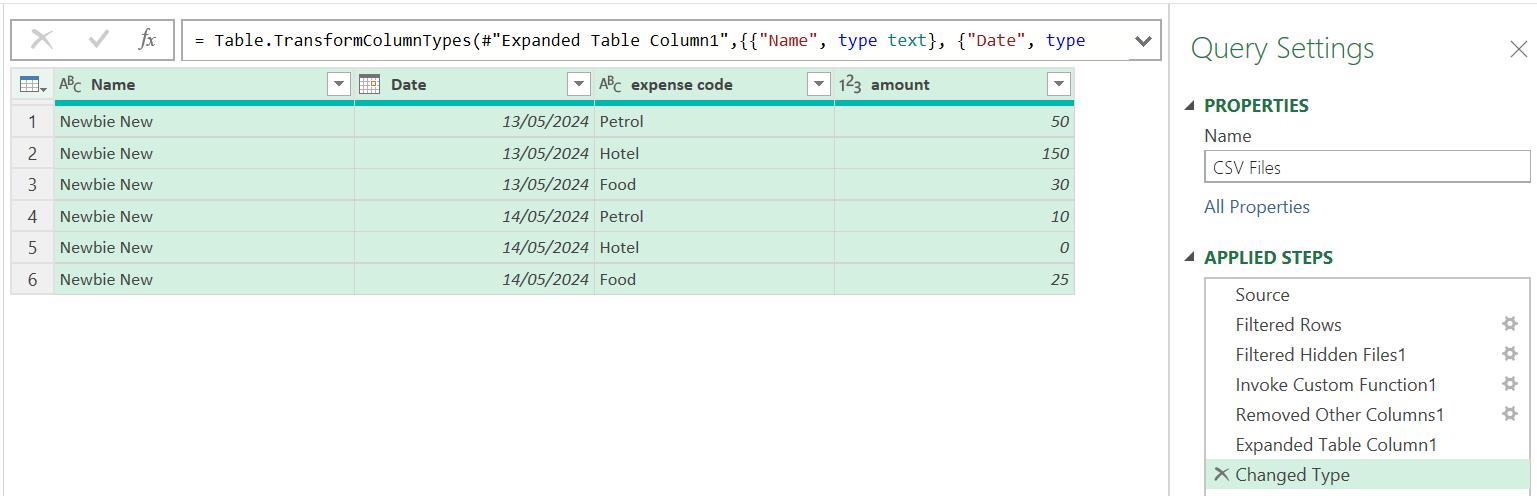
I delete the ‘Changed Type’ step, select all my columns and use ‘Detect Data Type’ from the Transform tab:
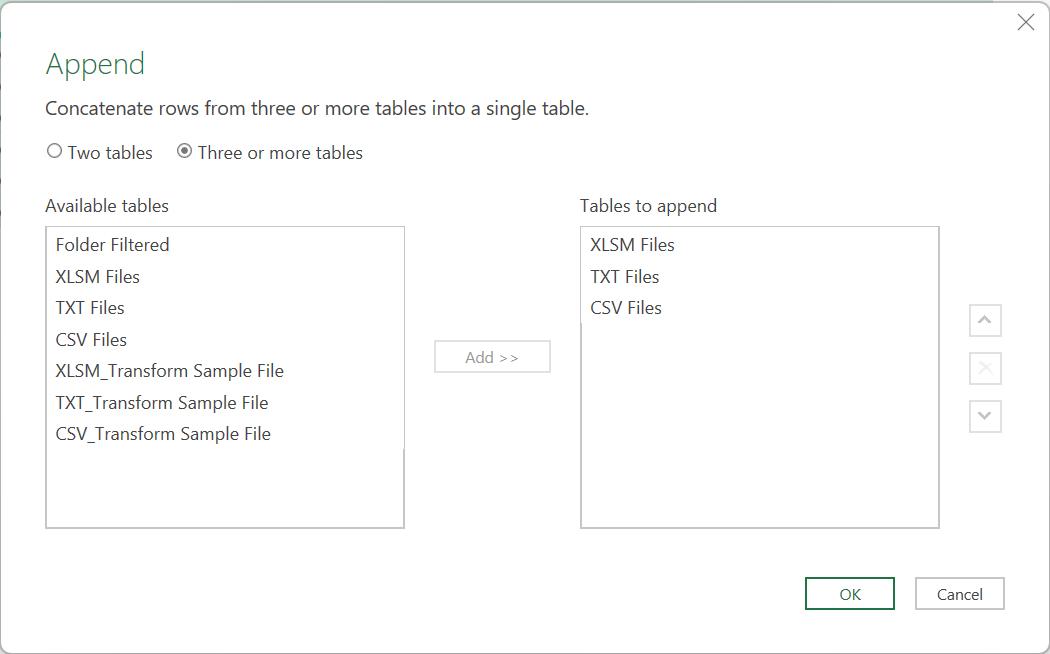
I may now append my data using ‘Append Queries as New’ from the Home tab of any of the three [3] data type queries:
I click OK to create a new query:
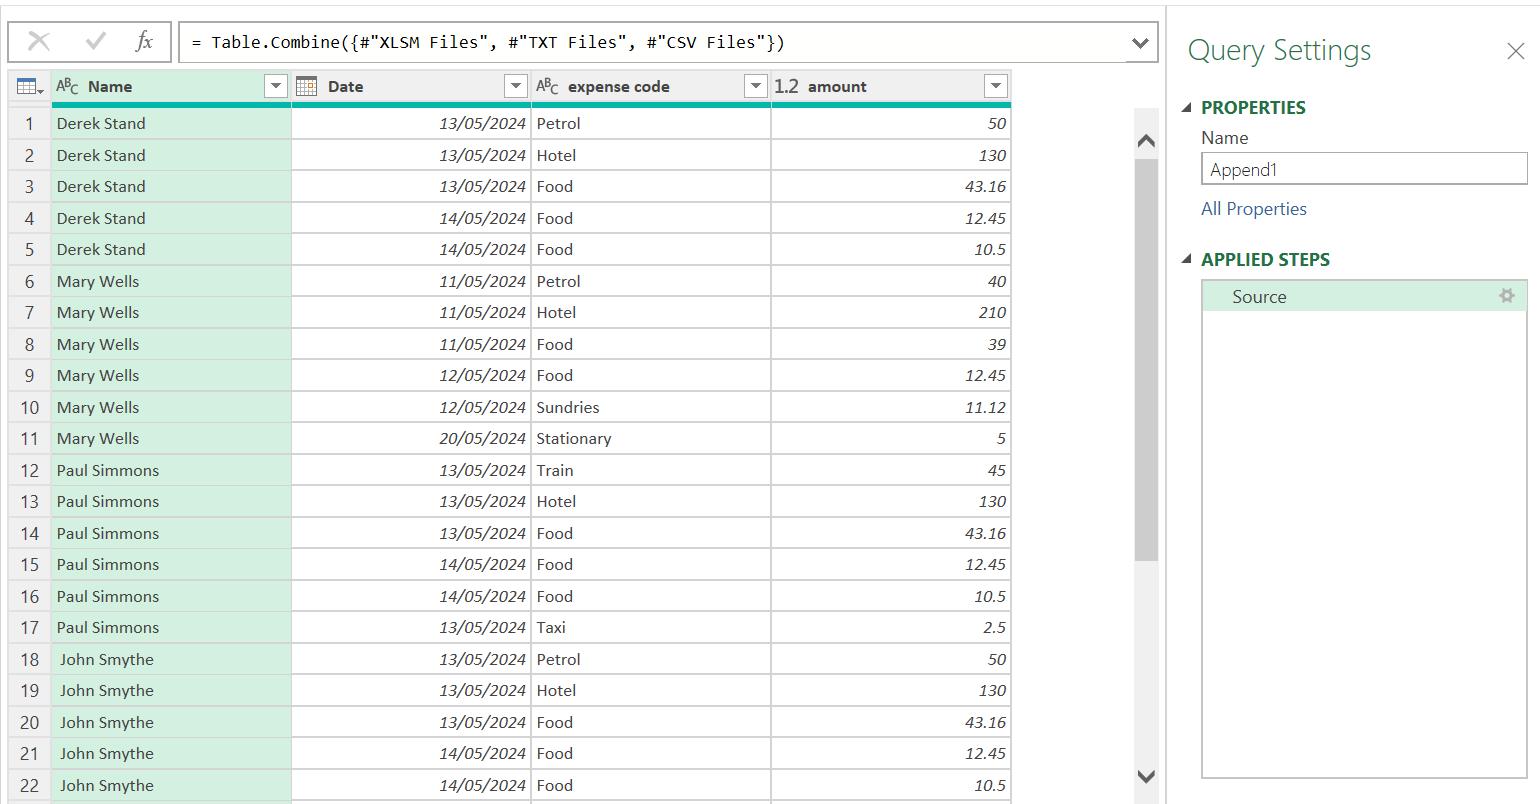
I rename the query Monthly Expense Data and sort the data in ascending Date order:
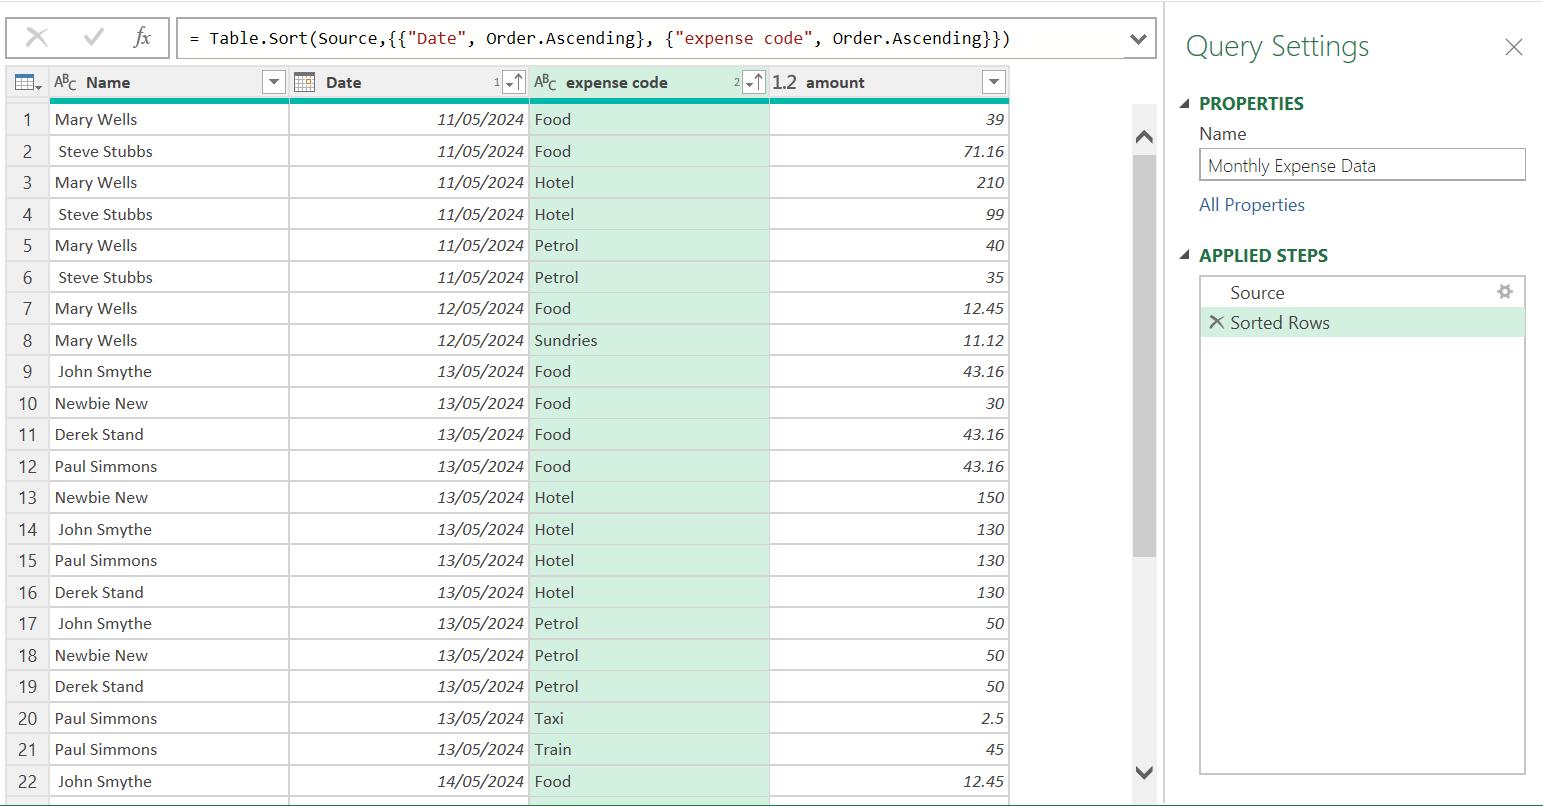
Finally, I ‘Close & Load To…’ and choose to view Monthly Expense Data in a Table:
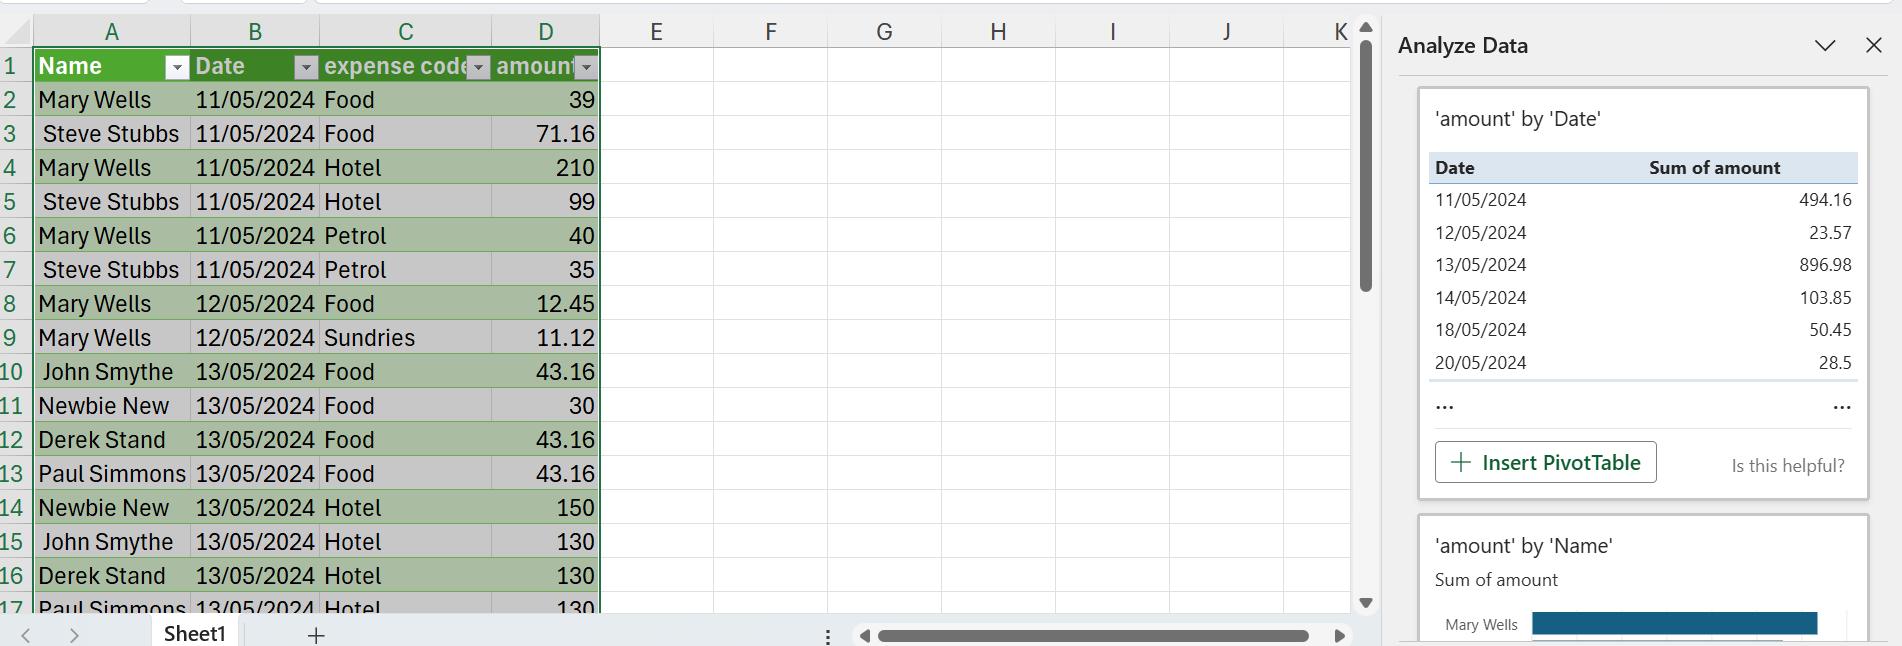
I may now perform analysis on this data. Next time, I will test the process by changing and adding data and explore how I may refine the process.
Come back next time for more ways to use Power Query!